Camera Review

Pentax 67 review

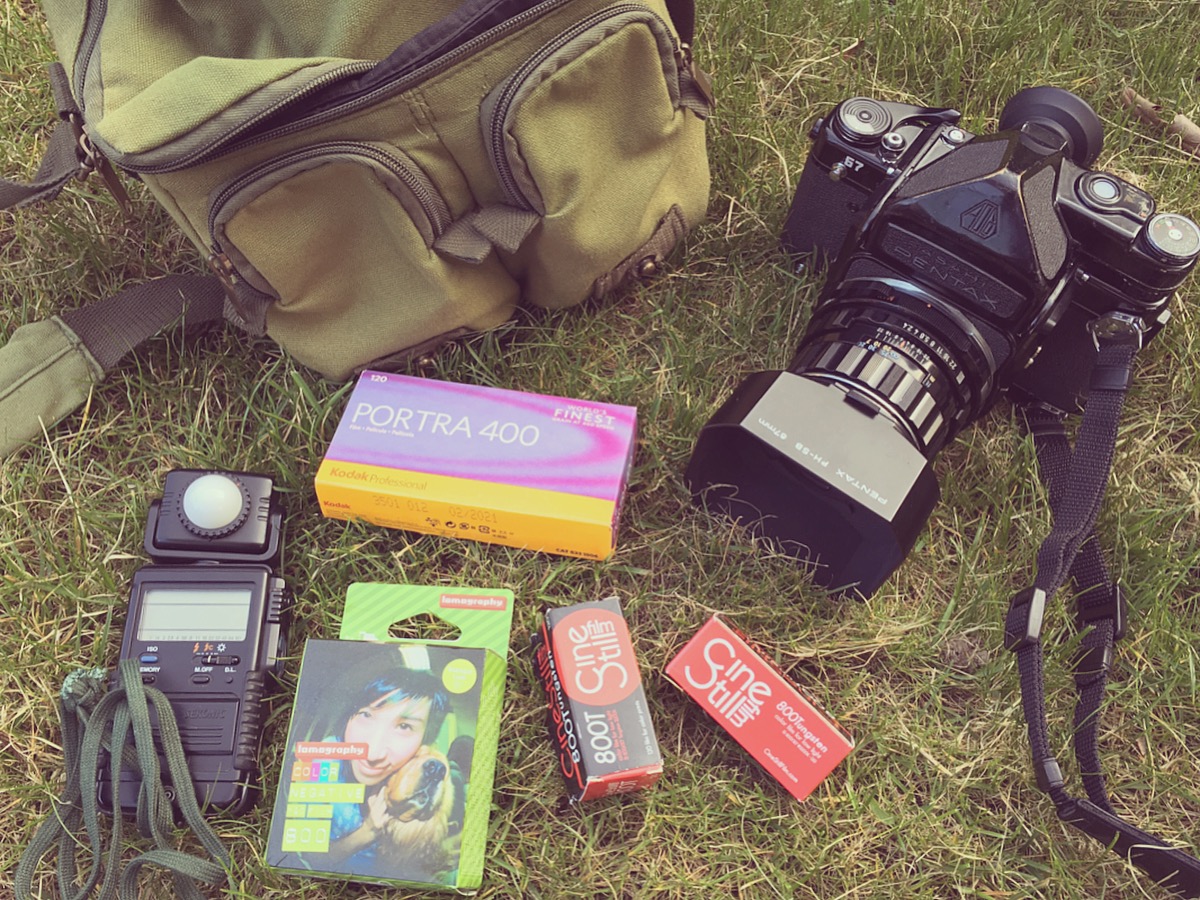
Ever since I first picked up a film camera and got slowly drawn deeper into the wonderful world of film, I’d heard tell of a mythical monstrous machine called the Pentax 67, today dear friends I am happy to report that my long held dream of owning such a mechanical marvel is realised - behold! the behemoth!!

IMG_0533.JPG

So… another new camera eh? yes dear friends - let me take a moment to explain… I’ve sold all my Digital camera equipment!! I’m officially now full time film only! regular visitors to the website will have noticed a different look/format - no more commercial/events/wedding pages, in fact I’ve completely re-imagined my photographic practice so that it’s more in line with my passions and interests and one thing that i had realised for some time was that my digital gear only ever saw the light of day for commercial/events work - having decided to forgo that area of work my digital kit was effetively rendered redundant - i loved my Canon 6D, it served me very well in the 33,000 ish clicks that i made with it.

Having decided on this course of action and sold off all my digital kit and studio lights i was in the market for a suitable main battle camera to replace my 6D and of course in a very short space of time my attention rested upon the Pentax 67!

IMG_1266.jpg

I’ve spent the last couple of weeks putting the Pentax 67 through it’s paces,adding a few more lenses and accessories to the set up, just generally getting to grips with it and starting a complete overhaul of my portfolio with the resulting images, let’s take her out for a spin and I’ll show you around….

A BIG part of the draw towards this camera was this lens - the Super Multi Coated Takumar 105mm 2.4 - it is properly LEGENDARY!! able to simultaneously render dream like out of focus areas alongside super sharp and crisp details, giving a wonderfully 3D effect - it’s my favourite lens ever, ever, ever! Here are three of my fave portraits shot with it so far :)

The 105mm fulfills the ‘standard’ focal length on 6X7 format giving an equivalent field of view to a 58mm lens on standard 35mm format, what’s even better is that thanks to a cheap adapter I can also use this amazing lens on my other Pentax medium format camera the Pentax 645 (see review of that camera HERE) when used in this way thanks to the smaller negative size of the 645 it works as an 85mm portrait lens :)

Anyway back to the Pentax 67 - in use it’s actucally a very simple and surprisingly ergonomic experience for such a large camera, as usual the internet is rife with ill judged, misinformed claptrap perpetuated by people who’ve never even held the camera - first and foremost being the “you can’t shoot it handheld” to which i say (insert swear word of choice) I’ve had sharp results hand holding this beast consistently at 1/60 of a second with no problem at all and with a bit more care and attention 1/30 is totally doable too, the mass of the camera is such that any mirror slap is soaked up by the sheer weight of the camera body, plus most of the vibrations/noise comes from the mirror returning to it’s start position i.e. after the shutter has closed and the frame has been exposed so total myth about handholding.

IMG_0884.JPG

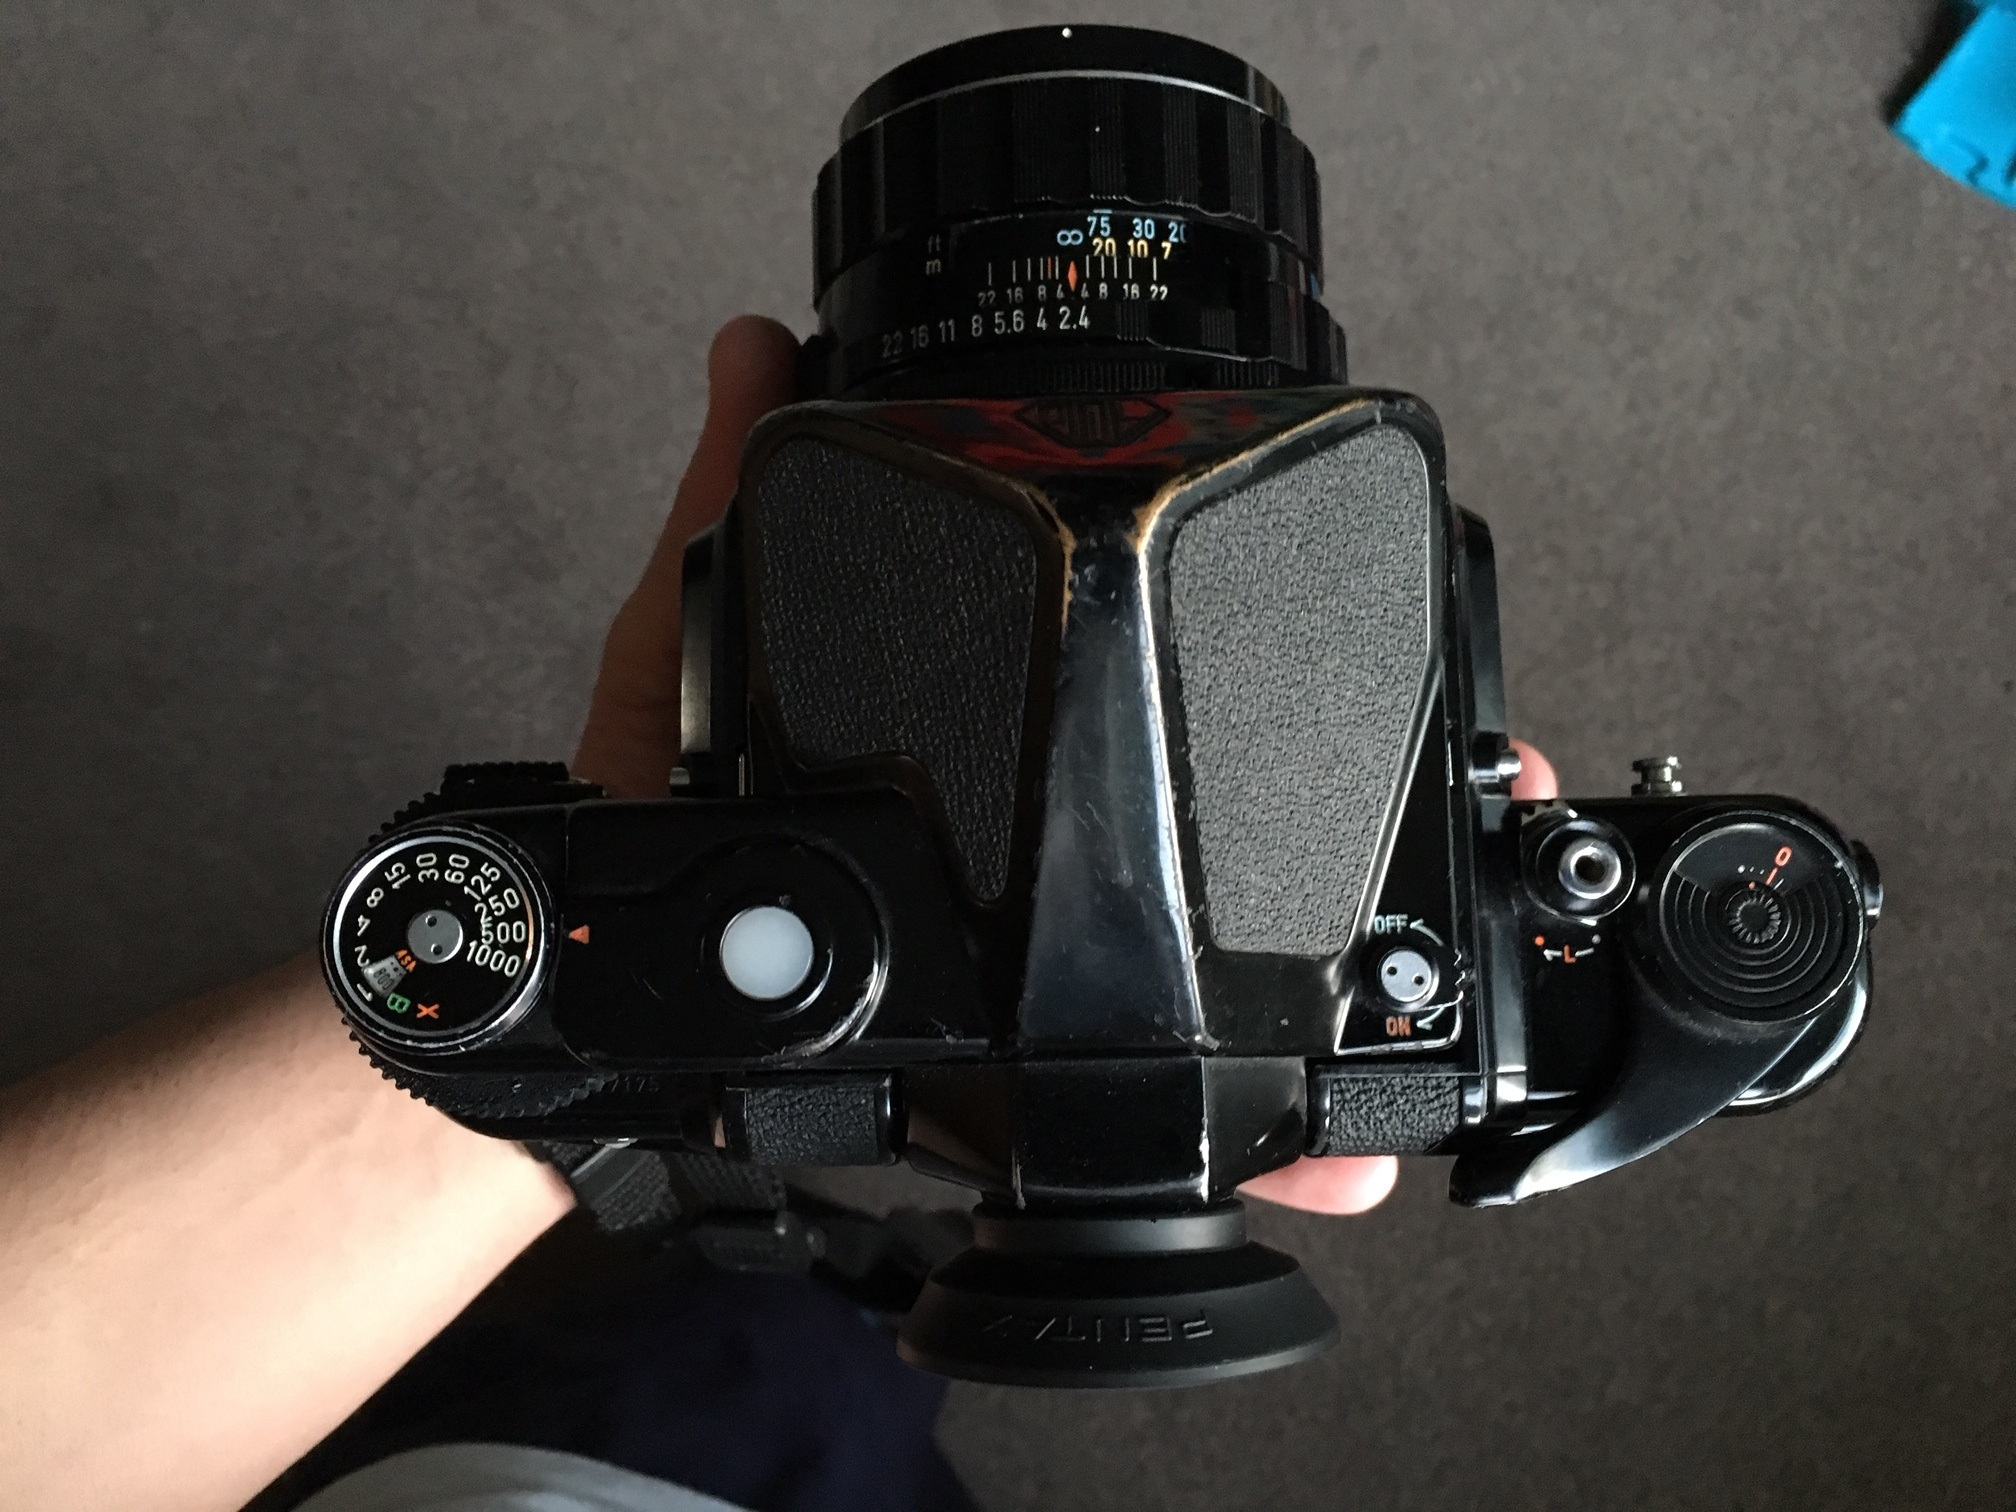
My version of the Pentax 67 is the thrid version and dates from about 1989 - 1994 (I have no idea how to specifically date the camera by it’s serial number) and to my mind is the best version; earlier models had some mechanical issues present within them from the outset and of course are also much older, there is also a later model the 67ii which is the pinnacle of the range but… it’s EXPENSIVE! and really the only thing it adds is a built in grip (I don’t need this) and an aperture priority mode (I don’t need that either)! so if you’re looking for one of these cameras then go for one that says ‘67’ on the front of the body (earlier models have 6x7 written on the front)

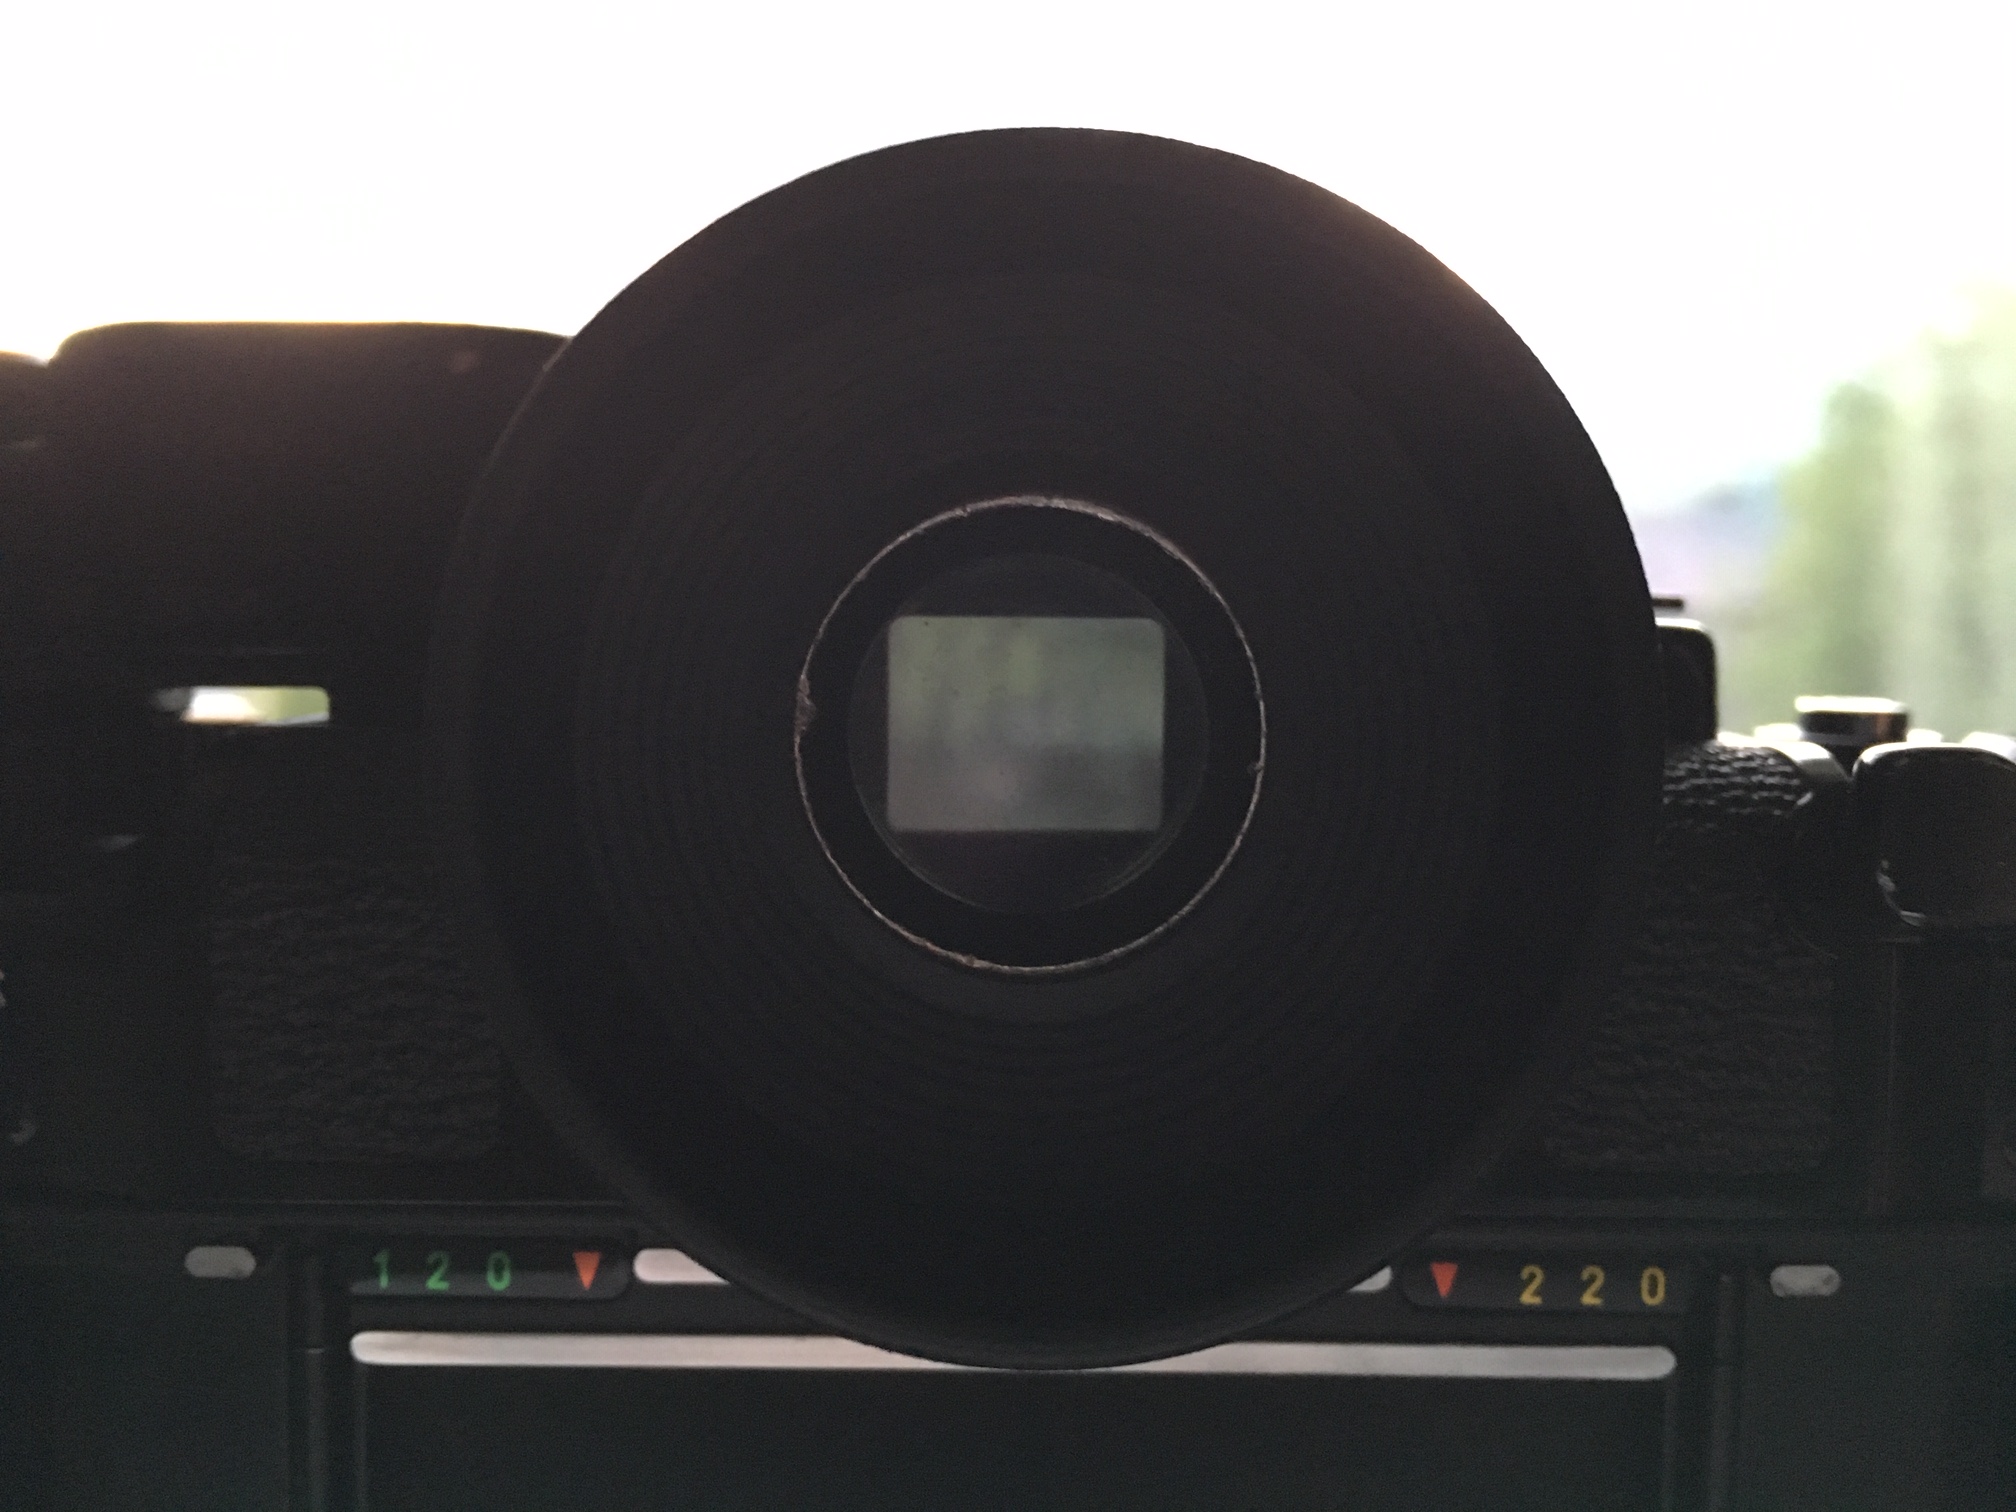
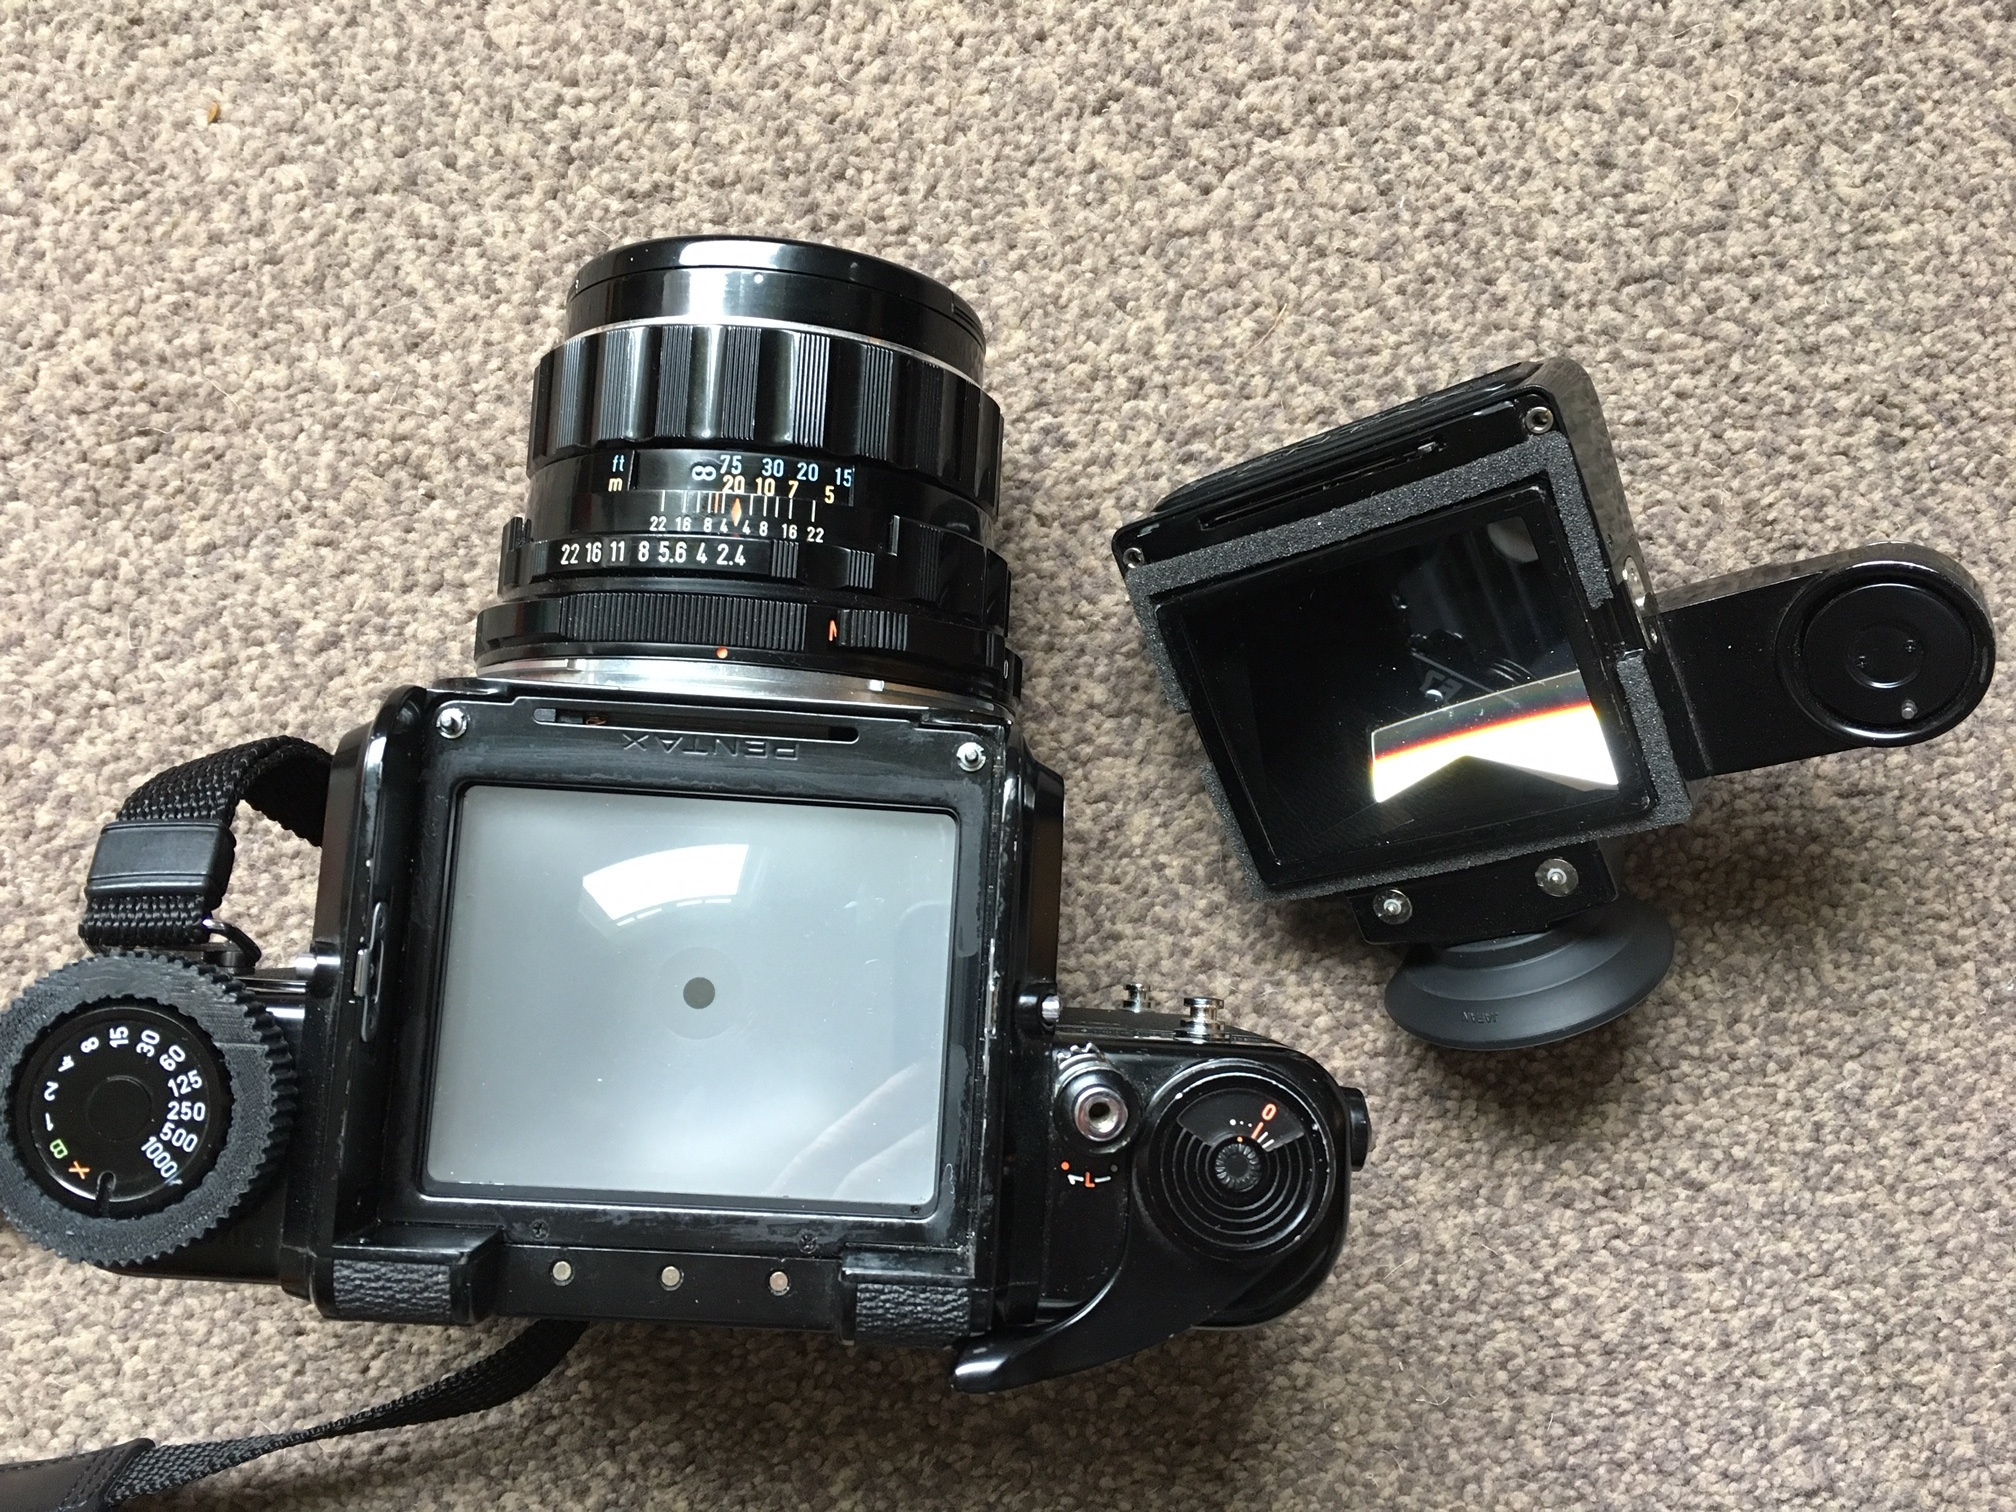
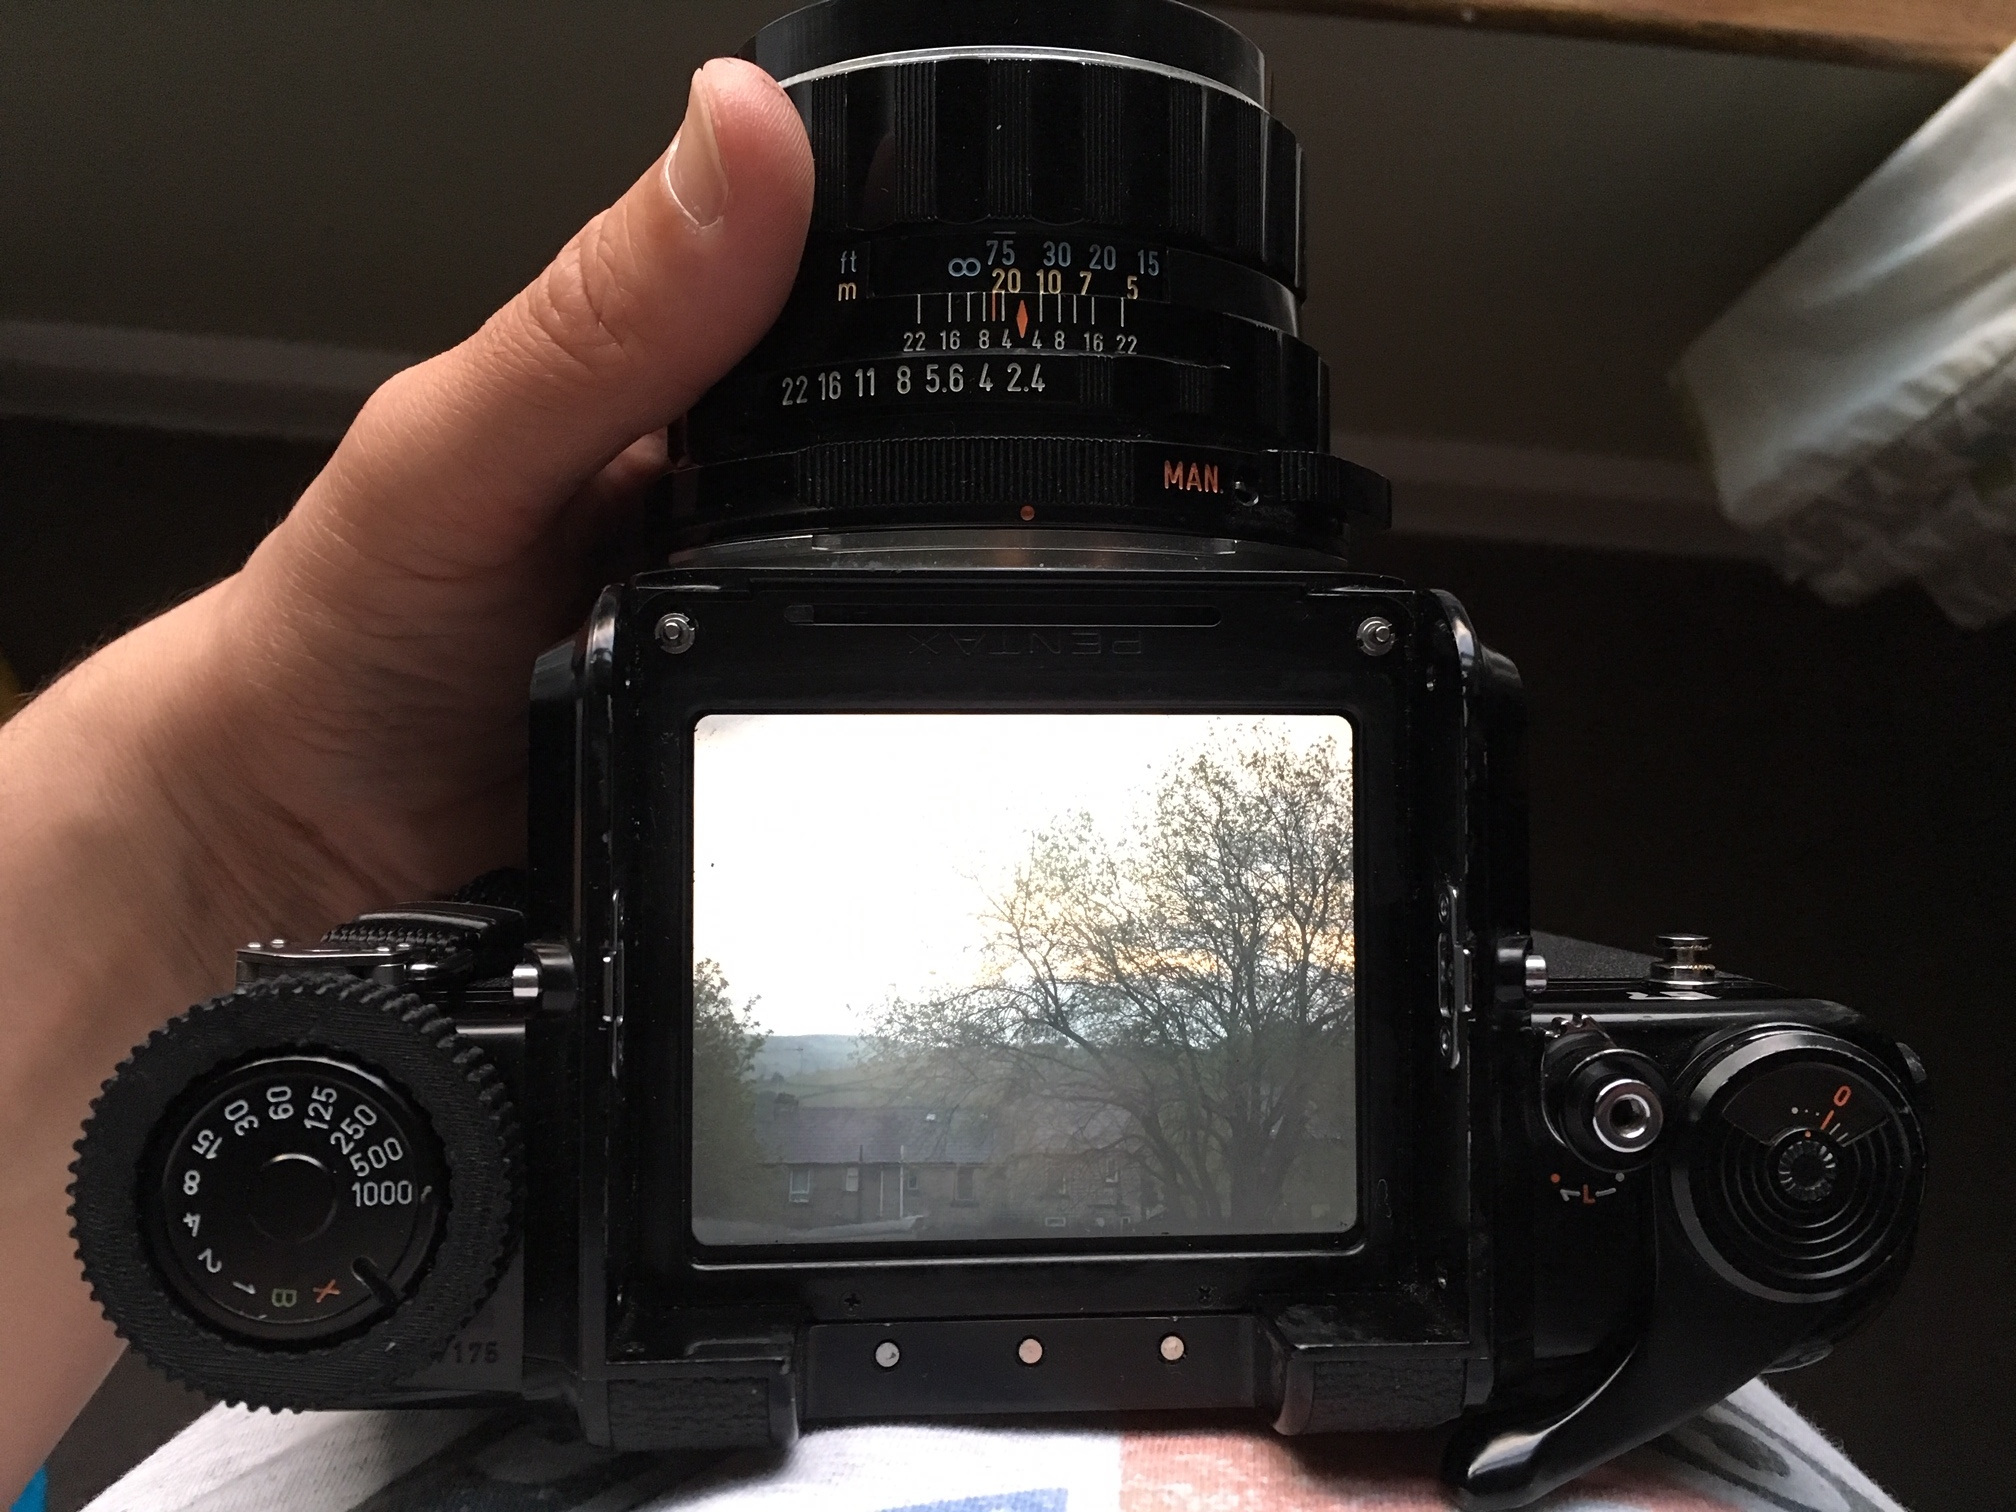
It’s a modular system which means that you can change the prism finder to a wasit level if you like or a metered/non metered head - mine came with a metered head. looking through the prism the finder is about 90% of the actual image which is a bit of a shame but i guess having a 100% finder on a camera this big would have rendered it too unwieldy, it’s not the brightest viewfinder in the world but it’s good and pops into focus well, remove the prism and the focussing screen is HUGE and wonderful!!

let’s get this out of the way… it’s heavy… no denying that, you’ll notice that you have this camera slung over your shoulder!! it’s also big, no getting away from it - although considering the format of negative you’re working with it’s actually smaller than other 6x7 cameras, I really like the straight forward SLR format too - this makes it very easy to transition from your 35mm manual SLR camera and just start shooting straight away.

My latest fave camera combo - the P67 alongside the lovely Nikon F2 a perfect match

My latest fave camera combo - the P67 alongside the lovely Nikon F2 a perfect match

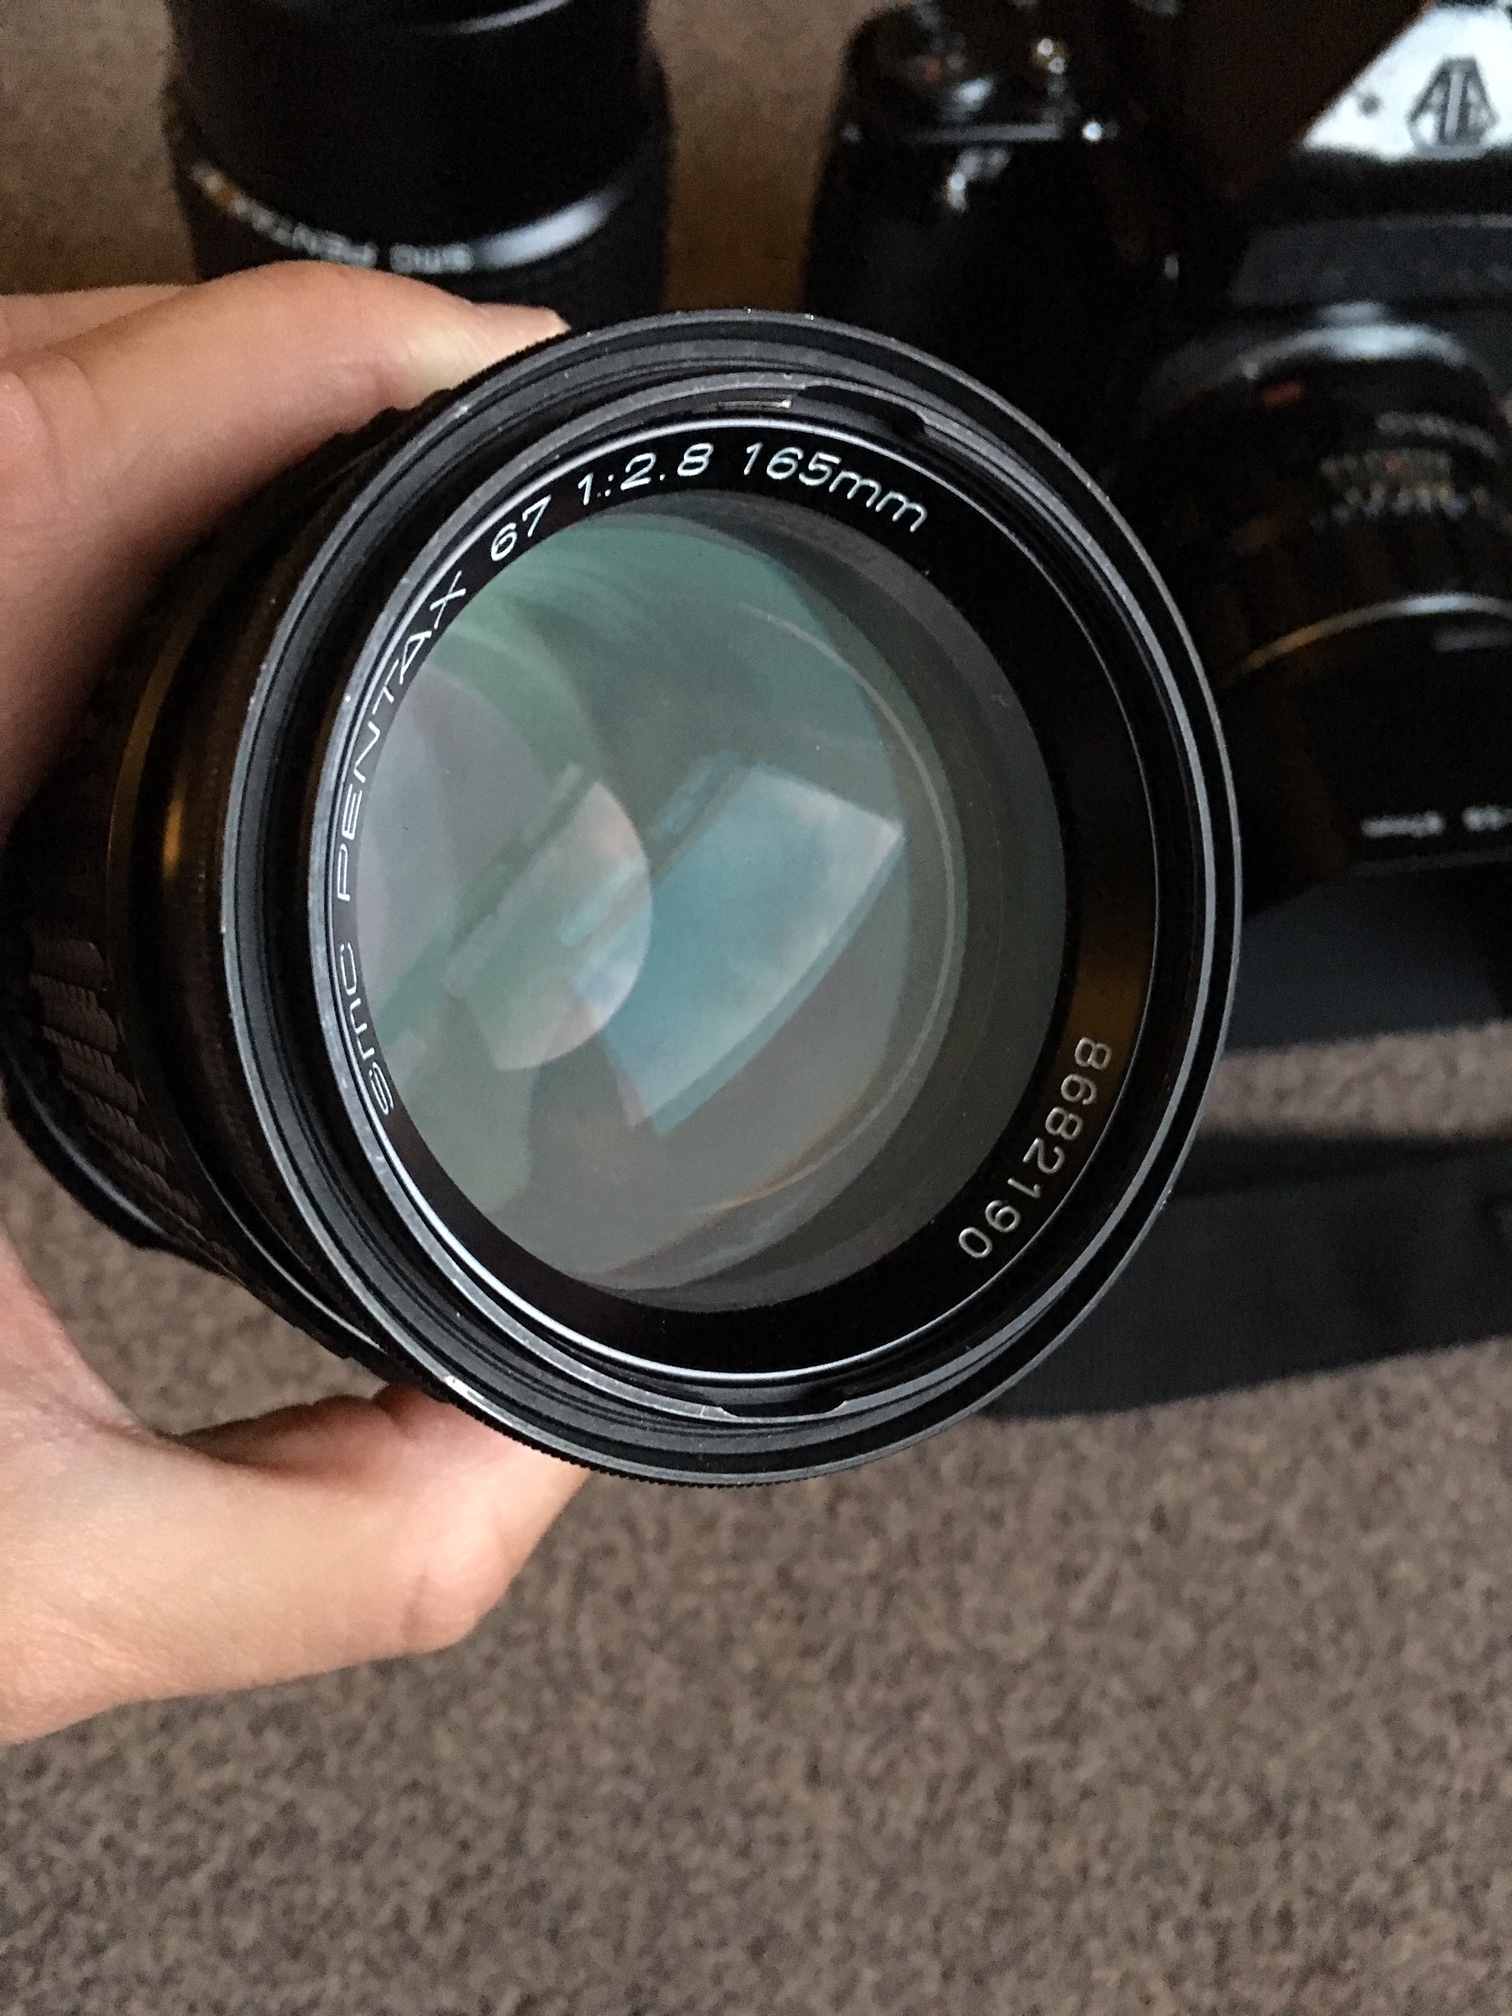
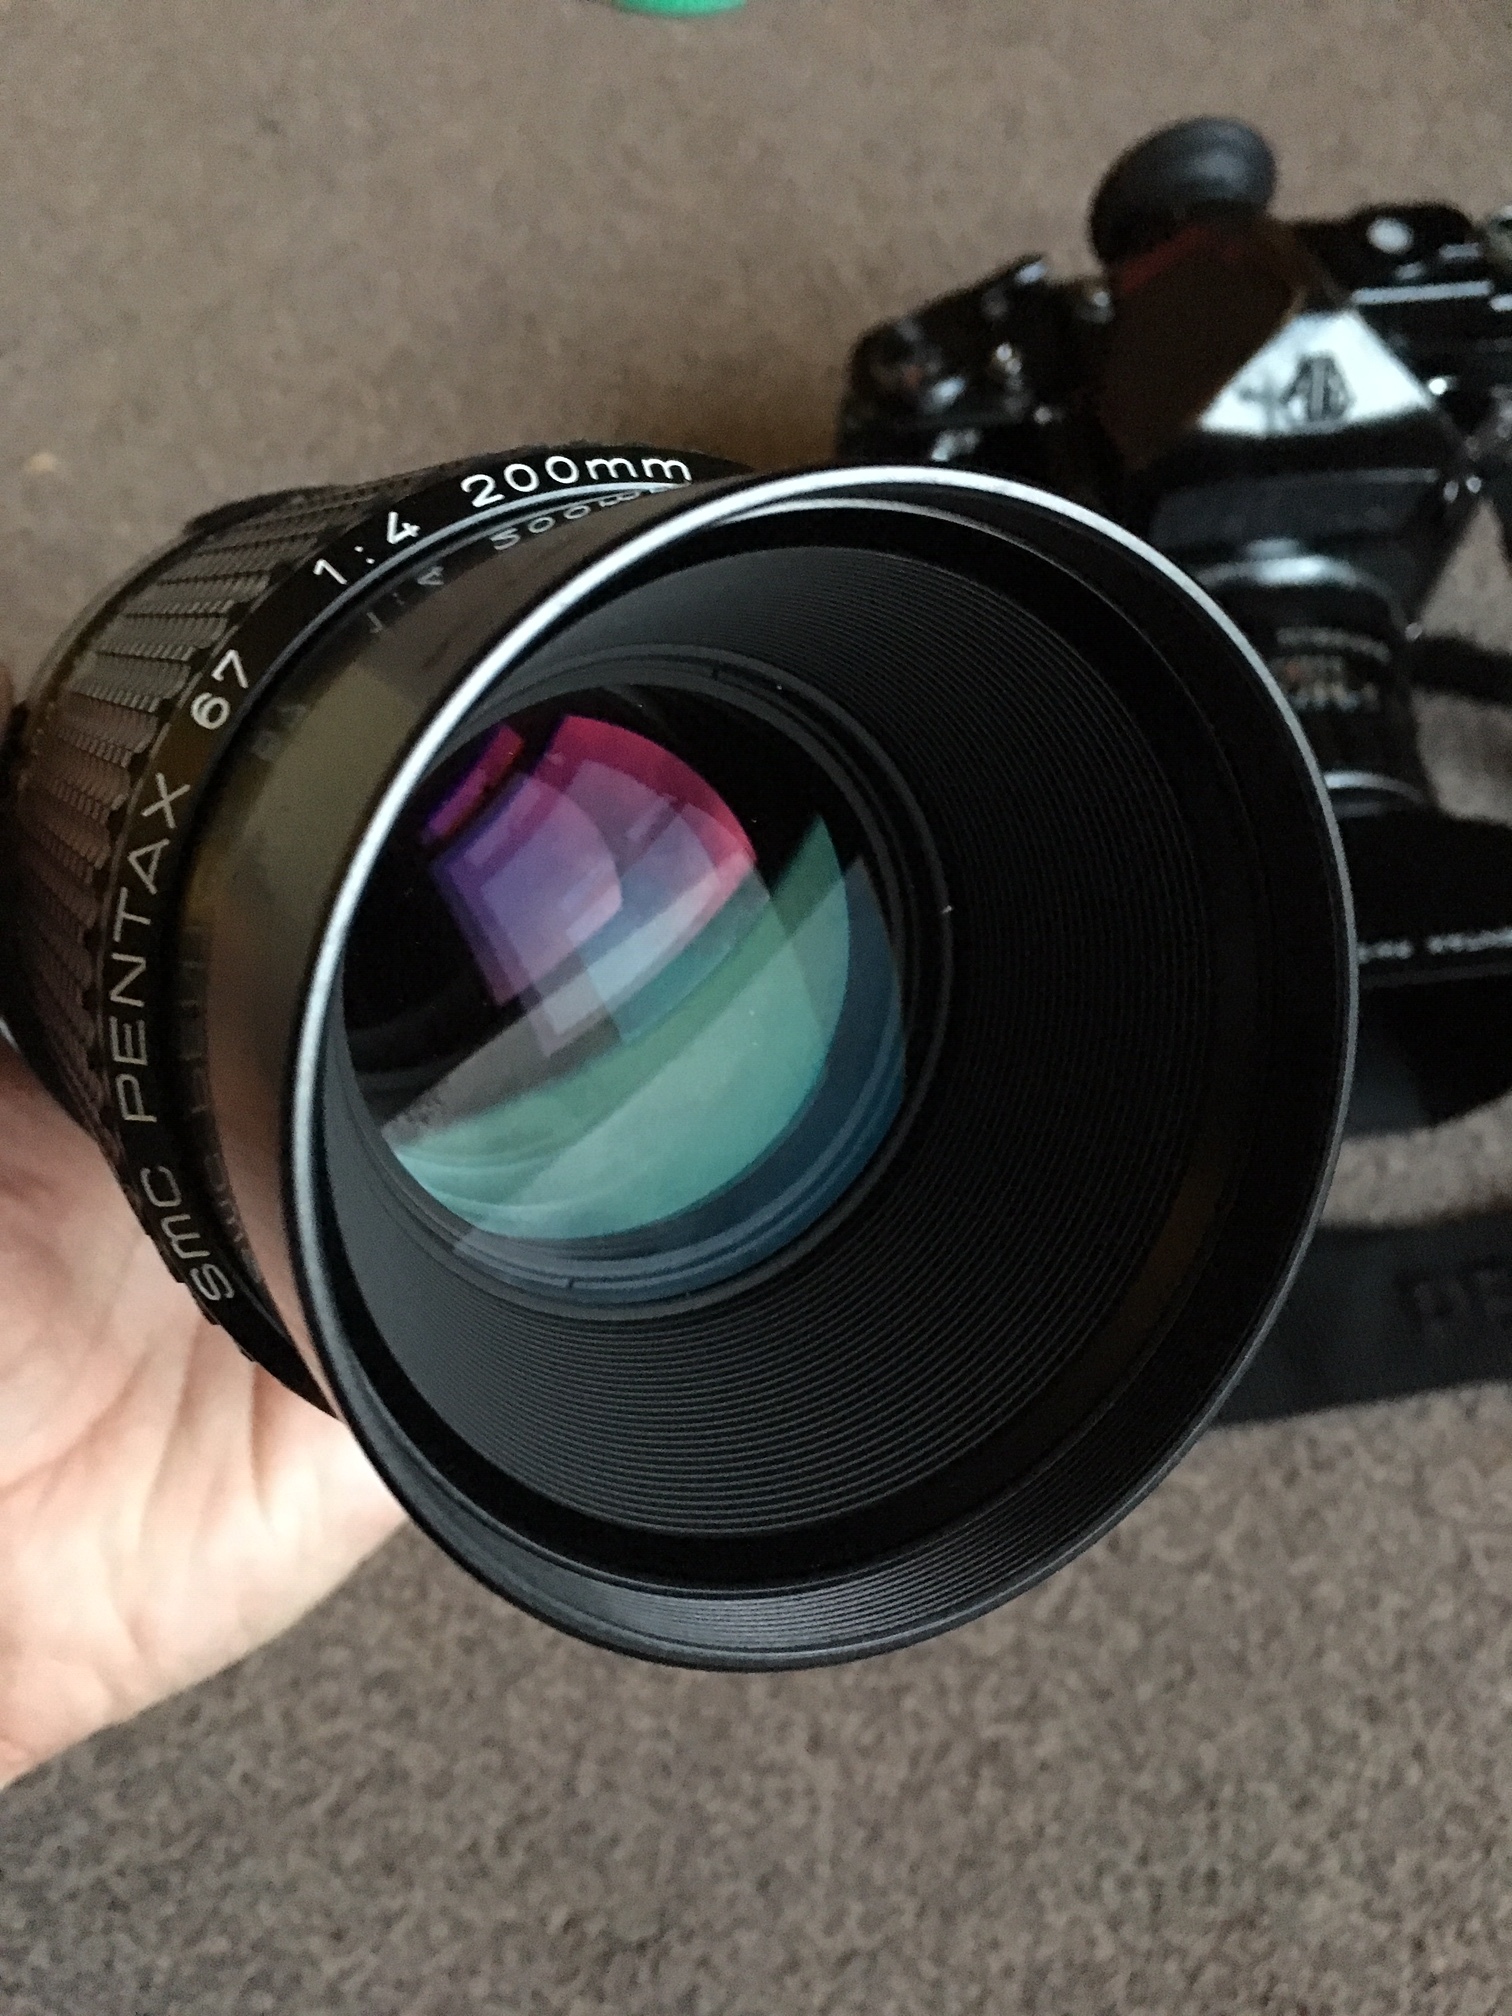
My camera came with the wonderful 105mm 2.4 lens already- i swiftly added the very cool looking lens hood to this and then started casting about for more lenses to try out, the great thing about this system is that these lenses are generally very large and so aren’t really coveted by the mirrorless digital camera crowd, this means they are pretty cheap! By shopping around (in the case of the 200mm that meant importing from Japan and in the case of the 55mm it meant not being too picky about cosmetic condition of the lens body) I was able to put together a selection of three amazing additional lenses for my 67 for less than £250 in total! here they are:

From left to right:

55mm f4 - a wide angle lens equivalent to about 28mm on 35mm format

165m f2.8 - a short tele lens equivalent to about 85mm on 35mm format

200mm f4 - a medium tele equivalent to about 100mm on 35mm format

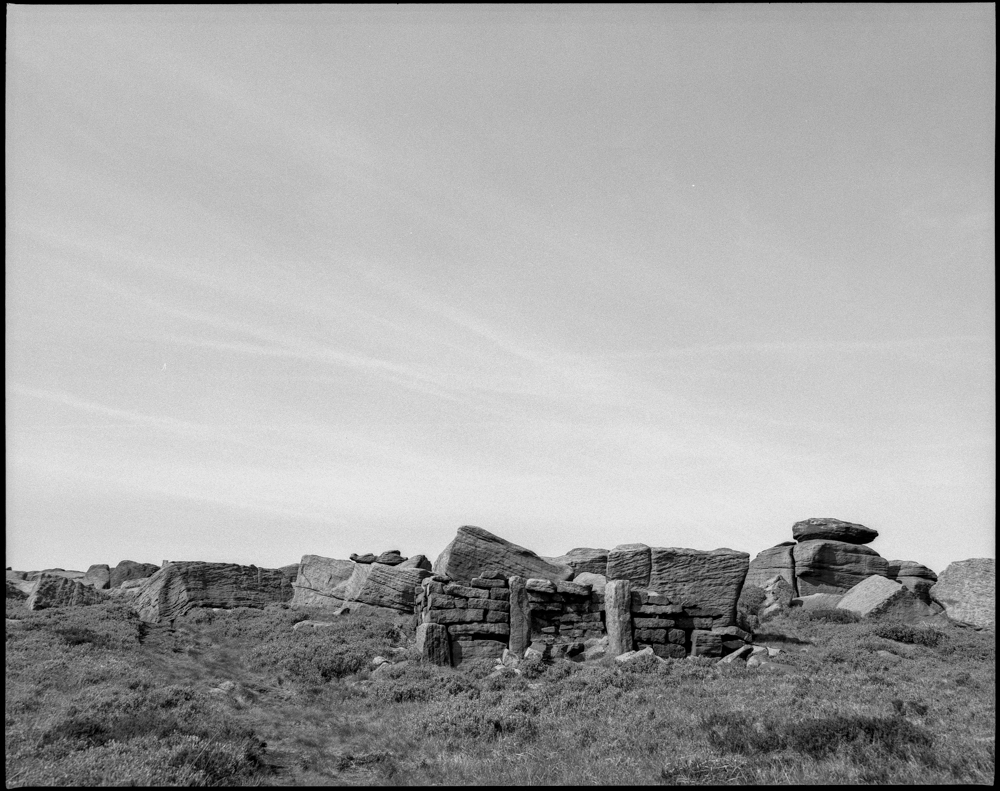
I’m still testing these lenses out and deciding which to keep in my line up, since I love the 105mm 2.4 so much the two portrait lenses don’t get much of a look in at the moment, despite being fine lenses in their own rightonly time will tell if they will remain in my collection; the 55mm on the other hand is a keeper! Just to prove that the P67 is a flexible camera and suitable for landscape as well as portraiture here are a few shots I got on a short hike in the wonderful West Yorkshire Moors near my home and all shot on the 55mm f4.

It’s a bloody brilliant landscape shooter - I don’t know why this surprised me since it is basically an oversized 35mm SLR, but i was pleasantly surprised at how enjoyable it was to shoot on this walk, it’s weight is a bit of a limiting factor for longer walks and as someone who enjoys the great outdoors I’m not sure I would i regularly take the P67 on a long hike as it is a heavy beast to lug up hill and down dale but I’d definitely take it on shorter walks or to shoot specific scenes with the intention of darkroom printing the results, the 6X7 negatives are wonderful, lots and lots of lovely detail and the 45mm lens is amazing, I’m looking forward to getting into the darkroom soon and printing some of these!

So there we have it, my dream camera is living up to expectations (if not exceeding them) the P67 has helped me to transform my portfolio in a way that no other camera has, it’s flexible enough to shoot on location for portraits and is a very capable landscape shooter too - as with any camera nothing is perfect, but the Pentax 67 is the next best thing!

Pentax 645 medium format camera review: My new favourite portrait camera

Some cameras attract your attention because of their sleek industrial design others with their classic style and charm - the Pentax 645 is not one of those cameras!

Seen here lurking in it's natural environment -the pentax 645 sneaks up on an unsuspecting roll of Fuji pro 400H.....

Seen here lurking in it's natural environment -the pentax 645 sneaks up on an unsuspecting roll of Fuji pro 400H.....

At first glance the Pentax 645 looks like a big plastic box with a lens sticking out of the front and at second glance it also looks like a big plastic box with a lens sticking out the front, but hey this ain't a beauty contest! it's a camera and a bloody awesome one too! in fact (and yes I know that I say this a lot) it's my new fave camera and i really, really,really-really-really mean it this time, honest.... no, really....

IMG_5398.JPG

I think I've reached that point in my film camera tomfoolery where I'm looking for my cameras to do different things or have specific purposes - I've shot loads of different cameras so I can speak with some experience that most 35mm film SLR cameras are a variation on a theme - they have various control layouts/feature sets etc but ultimately they are much of a muchness so whilst I am thinning out my collection of 35mm film cameras which all do pretty much the same thing I am also expanding the collection to include cameras which do things a little bit differently - and therefore in my warped Gear Acquisition Syndrome afflicted brain I can be justified in purchasing...the Pentax 645 which is a medium format film camera and it's amazing, let me introduce you..

The first thing that is obvious is what era this camera hails from - this thing is so 80's it hurts!! the buttons and the chunky design are total give aways and i love it!! despite it's brick like subtlety the 645 is actually very ergonomic and I love the button placement, there are loads of hokey reviews out there on the net talking about all sorts of nonsense about this camera like the viewfinder being dim (it's not - it's VERY bright and HUGE) and there is an even larger amount of claptrap out there about the shutter being VERY LOUD (it's not.... yeah you can hear it but it's not THAT bad) what else... oh yeah people complain about the button placement, for me this is just not an issue at all....this thing is so easy to shoot with!! it has a full range of shutter priority, aperture priority and full manual modes (there are also people out there claiming that the 645 doesn't have a full manual mode, erm yes it does)..... the great thing about all these crap reviews and internet forums recylcing this duff info about the camera is that nobody wants to buy it - so it's CHEAP!!! like REALLY cheap!! hurray!

IMG_5399.JPG

These cameras are not particularly common in the UK these days so I imported mine from Japan and even with shipping and Her Majesty's rip off merchants at UK customs it was still a good deal! If you think you want a Pentax 645 then buy one - you will not be dissapointed! Mine came with the standard 75mm 2.8 lens attached already and I very quickly added a 150mm 3.5 lens too - the pentax 645 glass is AMAZING! it's a totally manual focus system and that's the way (a ha a ha) I like it! very smooth focussing action and a lovely bright viewfinder to nail focus - Love it!!

IMG_5430.JPG

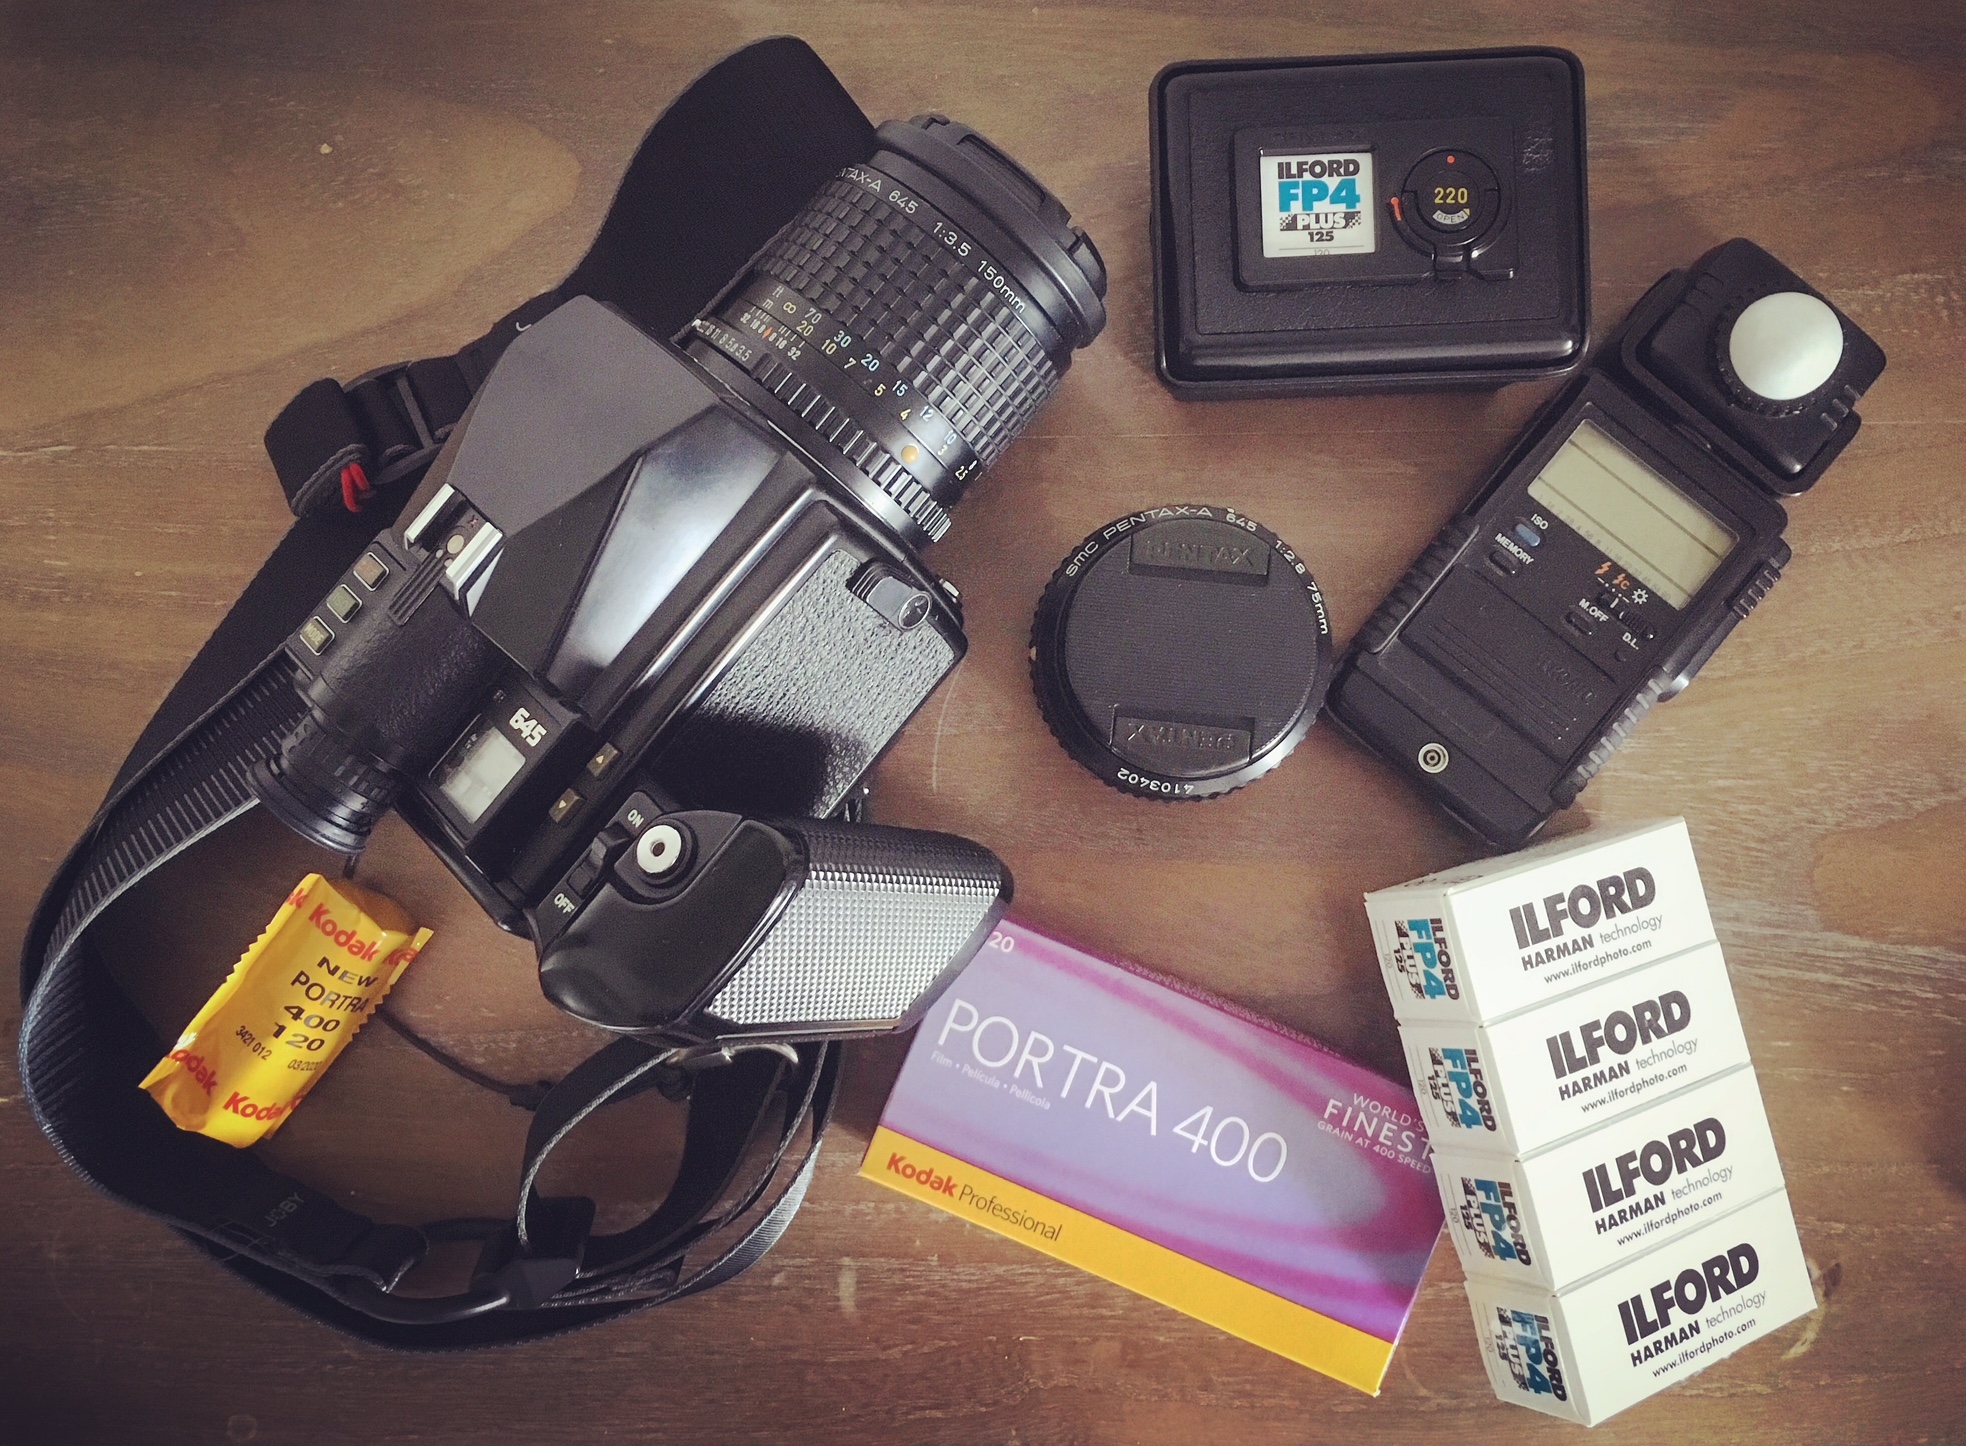
Above you can see my set up - the Pentax 645 itself sporting the 150mm lens, a spare film back which can be preloaded with film making it much easier in the field to load a new film, a light meter which I've just started using to help nail exposure and of course a few rolls of film - the 645 is a bulky beast, but it's not mega heavy, I use my Joby slingstrap with it and I've carried around for a few hours at a time during a shoot with no bothers.

Anyway enough with the camera review stuff - I don't shoot film just so I can review cameras, in fact the real reason I shoot film is in no small part becuase as a photographer what I like to do is take photographs!! yes i know! crazy! what I mean is I'd like to spend a little more time on the photograph taking side and a little less on the sitting in front of the computer editing side of the euqation - I fully believe that editing and processing is an important part of the photographic process but with film it's a much more hands on process, film also gives you some constraints to work within and I like that too, oh and it looks flipping awesome too - did i mention that already?

0-13.jpg

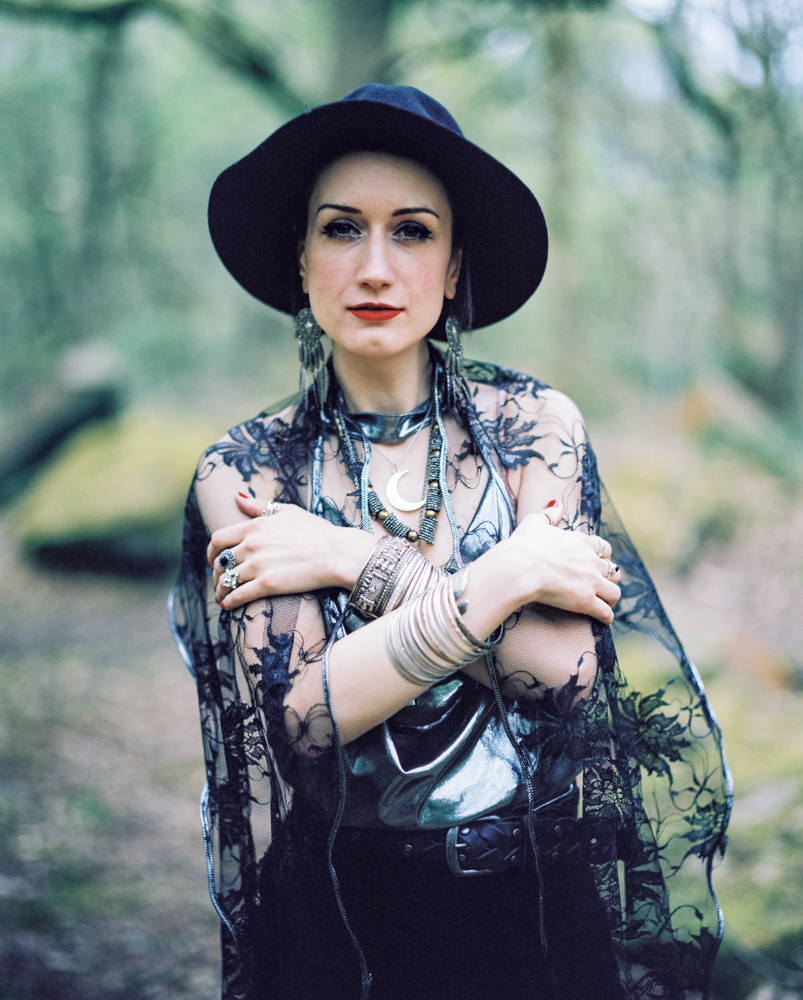
Anyway for someone who is trying to reduce the amount of camera review waffling I don't half bang on about cameras - let's call it a work in progress, now let's talk about the photos instead though shall we? These images were created on a modelshoot with the amazingly talented Pandora Belle - for the shoot we took a walk in the woods on a bright sunny day just outside Bradford in a place called Judy Woods, a beautiful setting with soft light filtered through the trees, the bluebells were in full swing and Pandora suggested a goth look which I think works great in this setting. Over the moon with how these turned out - this is how I want to work from now on, spend more time being much more intentional about visualising the shot and getting the compostion and exposure right during the shoot so that the images look how I imagined right off the bat - beautiful!

0-15.jpg

I've been wanting to incorporate film into my professional work for some time now - in particular for portraits, but to do that i first needed to build some experience of shooting portraits on film and at the same time build my portfolio in that direction so i have something to show people, this is where working with models on a TF (Time For) basis is a great option as it helps us both build our portfolios so it's mutually beneficial - it's also a good creative outlet and you can test out new ideas (like shooting with film) without the pressure of a paying client.

0-2.jpg
0-3.jpg

These images were shot on Fuji pro 400H film and wow!! I love how they look - i intentionally overexposed the film which is a way of creating a more light and airy feel to the images and I think it's worked great, what this means is I rate the film as 200 speed so in effect treating it as though it requires twice the amount of light and voila! amazing tones and lovely feel to the photos - I did next to nothing with the scans I got back from Exposure Film Lab because to my eye they look exactly how I'd envisioned things, fantastic stuff :)

0-1.jpg
0-3.jpg
0-3.jpg
0-10.jpg
0-14.jpg

Exposure Film Lab did such a great job of developing and scanning the film - it was my first time using these guys but I have to say they did a wonderful job and I cannot recommend them highly enough, and also a huge thank you to Pandora Belle for working with me on this shoot - she's a very creative and talented model and I'm sure we'll work together again soon!


Learning how to make Darkroom Prints

IMG_4954.JPG

As I've become more involved with film photography over recent years I've come to appreciate and value working with a tengible substance - a film negative. I find the challenge of working with a physical substance requires a different thought process and approach than working on digital there's the lack of an immediate opportunity to see if you got 'it' so you need to be more careful about your lighting and compostion but also I can't just hit delete and start again like I can with digital not only does this slow my creative process down it makes me much more intentional when I do (eventually) press the shutter button.

IMG_4975.jpg

So if you're such a big fan of actual factual 'things' then why the flipping heck don't you print more of your work I hear you cry! great question!! I am the first to admit that I don't print enough of my photographic work - film or digital! In fact I hardly print any of it! In this digital age the vast majority of photographs I've shot in either format are just floating around on the web somewhere or hidden away on hard drives or filed away in actual files in the case of negatives - probably never to see the light of day! Worse than that, in the case of my digital files - if I wait too long they might NEVER see the light of day.
Have you tried extracting files off a zip drive lately? what about a floppy disk?remember them? Where is technology going to be in 5 or 10 years time? Who knows what kind of electronic storage devices we'll all be using in the future and even if I can access them, data routinely gets corrupted and is lost for all time. But a 35mm negative is here with us in the real world! A different proposition entirely! My interest in film photography as tangible 'thing' is a combination of the challenge of working with a finitie, physical substance and there are literally physical limits to how far I can push this physical 'thing' to achieve my creative intentions (this is a good erm 'thing' - note to self, stop saying thing now)
OK so we get it, negatives are physical things (aaargh) and this is interesting to you, but then you just scan them into the computer so....what's that all about? Exactly my point!! A film negative is a finished article in waiting - it's a halfway point a pre-photograph, these days most people digitise their negatives to complete them but then we're back in the realm of electronic ephemera again, originally the negative was a halfway point on it's journey to becoming a photographic print and I want some of my film negatives to finally reach that destination!

IMG_4956.JPG

I've been wanting to learn how to make proper darkroom prints of my work for aaaages and a recent BIG birthday presented the perfect opportunity to do so (thanks mom)! I found a course being run by Dave Butcher a master printer who worked for Ilford and was trained by them in darkroom printing techniques, Dave is also a professional photographer too and his work is A-mazing! You can check out Dave's work here http://www.davebutcher.co.uk and also the oodles of resources and guides on darkroom printing he has created too by visiting http://www.darkroomdave.com if you are so inclined then I can heartily recommend Dave's Darkroom workshop, it was an awesome experience! I would like to say a huge thank you to Dave and his wife Jan for making feel so welcome during the course, it was fantastic and I cannot recommend it enough! :)

IMG_4955.JPG

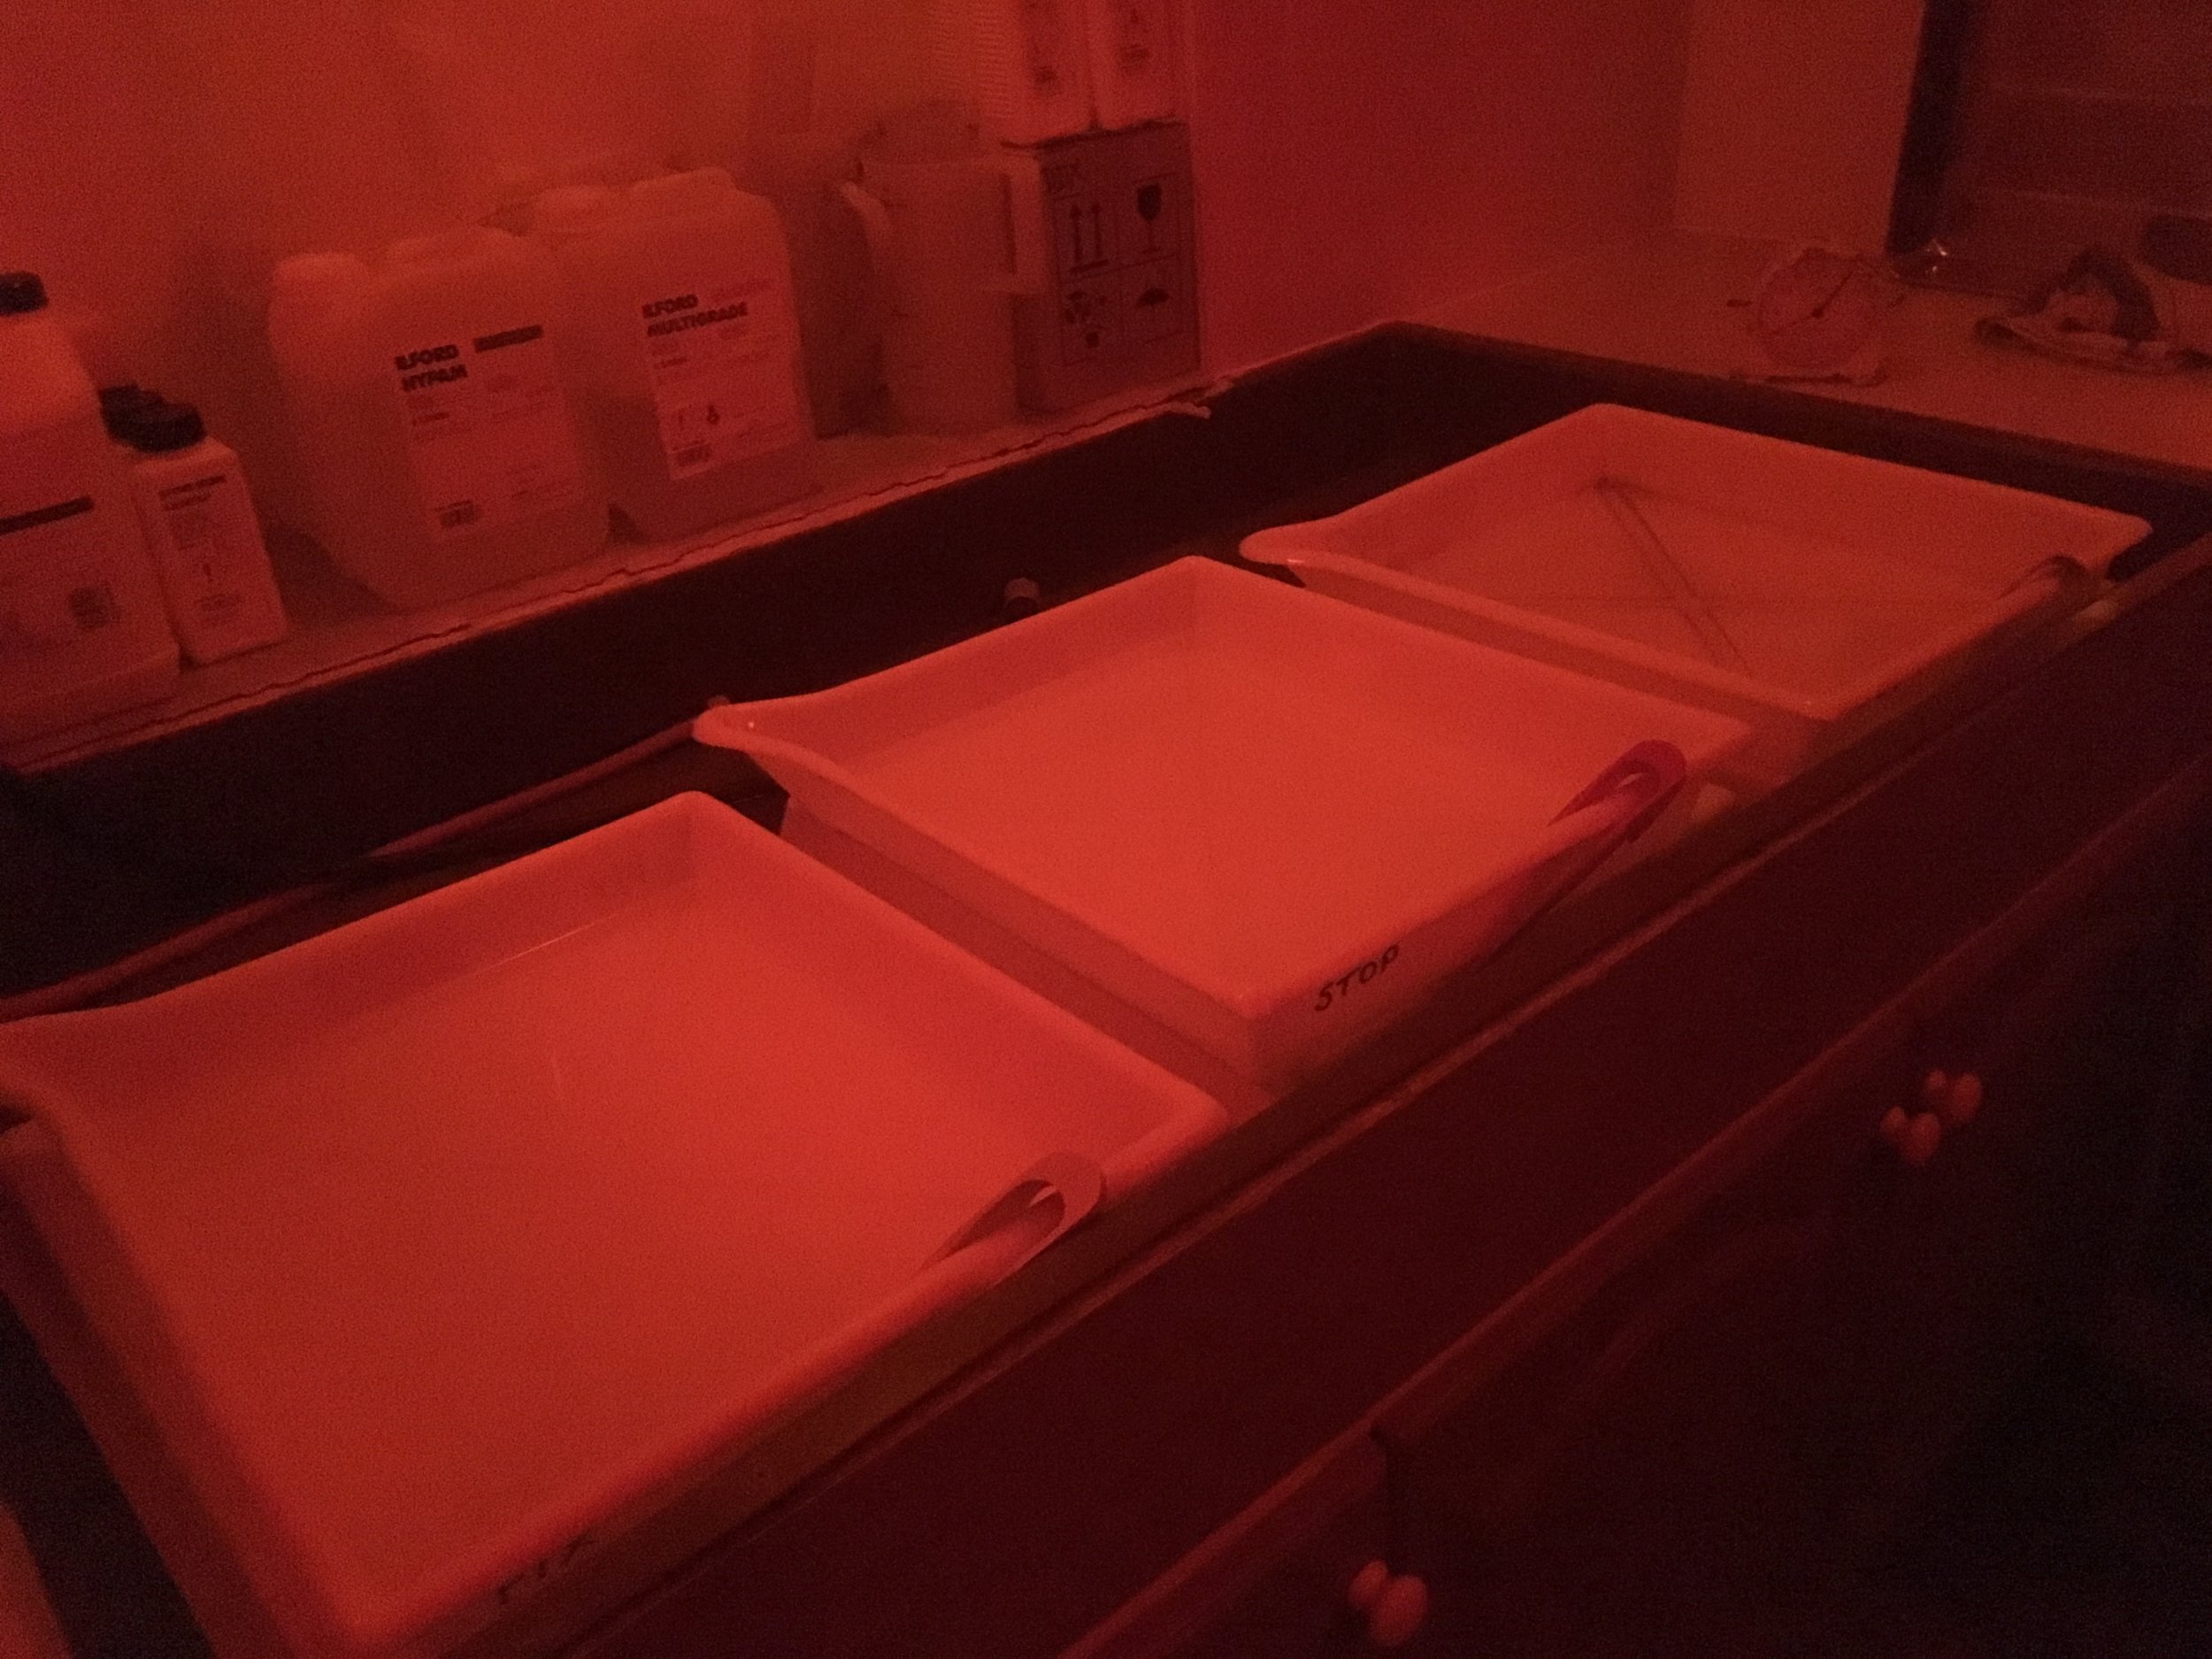
I won't try to explain the finder details of how to use a darkroom becasue a: there are a few steps involved and b: there are load of resources out there that explain the basic steps including Dave's websites linked above - suffice it to say that I spent the day at Dave's house being shown how to use all of the darkroom kit and process invovled to create black and white prints of my negatives - I took a selection of some of my fav images and I was away!! The process itself is remarkably straight forward although there is a significant amount of kit and caboodle required to enable all this - Dave is a fantastic teacher and it was great to be able to learn from someone with such a depth of knowledge on the subject, of course I am only scratching the surface and just at the beginning of this journey, what I discovered is that with the right kit, some knowledge and a bit of practice you can make decent prints and be happy - but then spend an entire lifetime learning how to make GREAT prints!!

IMG_E4960.JPG

I was over the moon to leave my first day in the darkroom with these prints to show for it! the detail, sharpness and tone of images that until now I had only viewed on a screen blew me away - I chose a selection of travel, street and architectural images along with a couple of shots of my little boy (had to be done) it was difficult to choose a small selection! but what now? surely you need a load of kit and space to set this kind of thing up right? well - yes, but not as much as you'd think and fortunately I was very lucky to have been given a complete set of darkroom equipment a few years ago which has been patiently waiting in the loft for just this very occasion!!

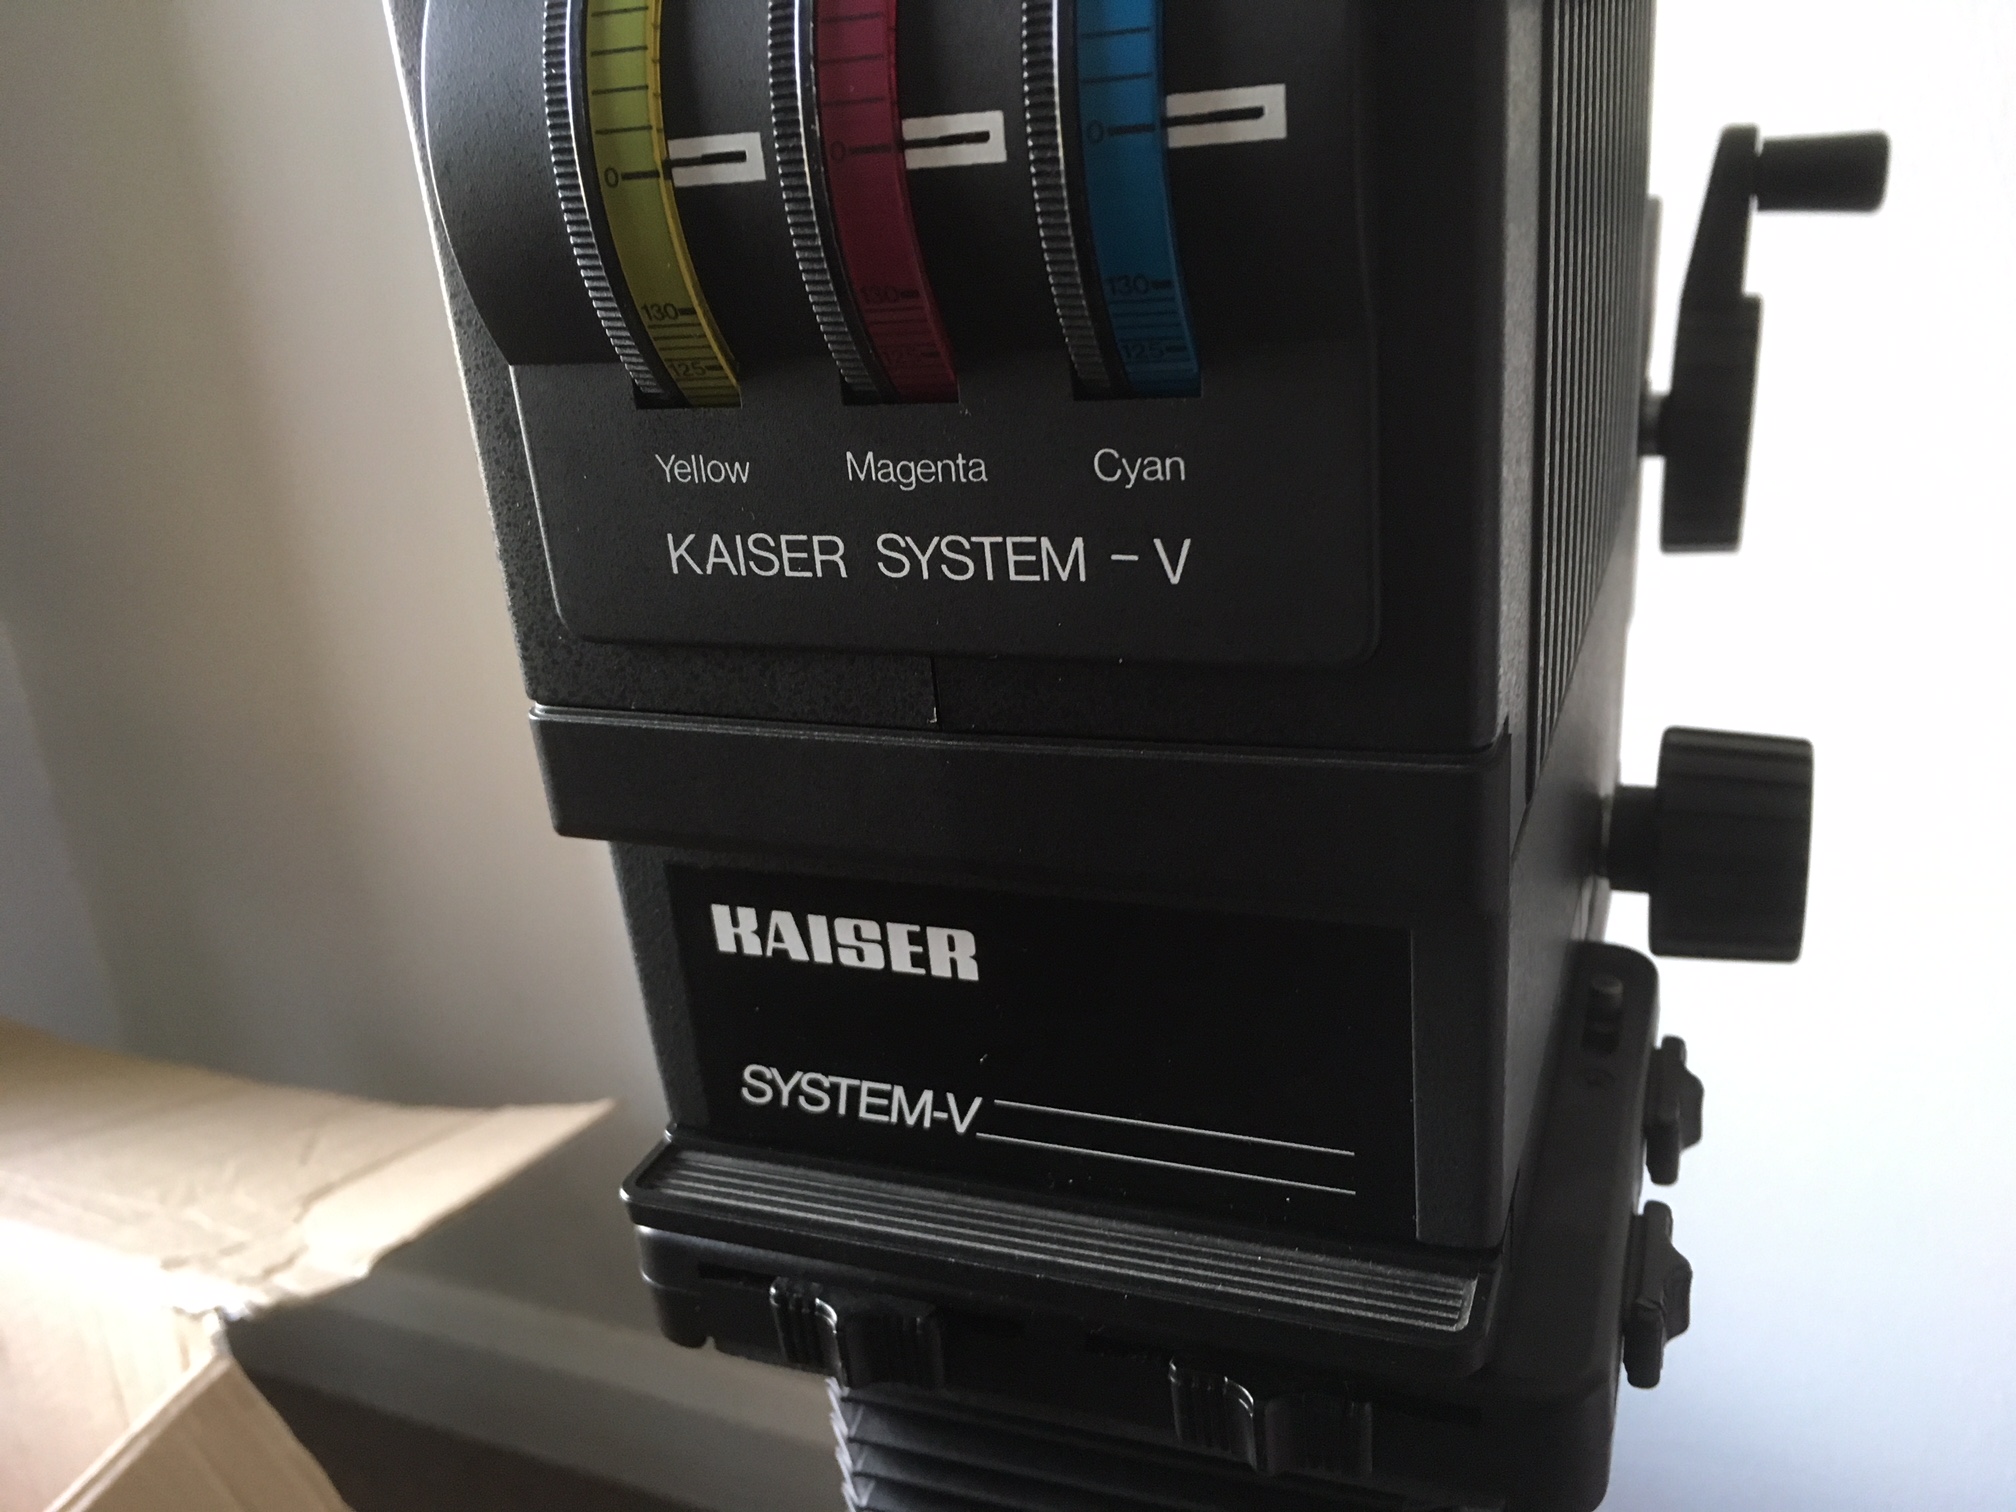
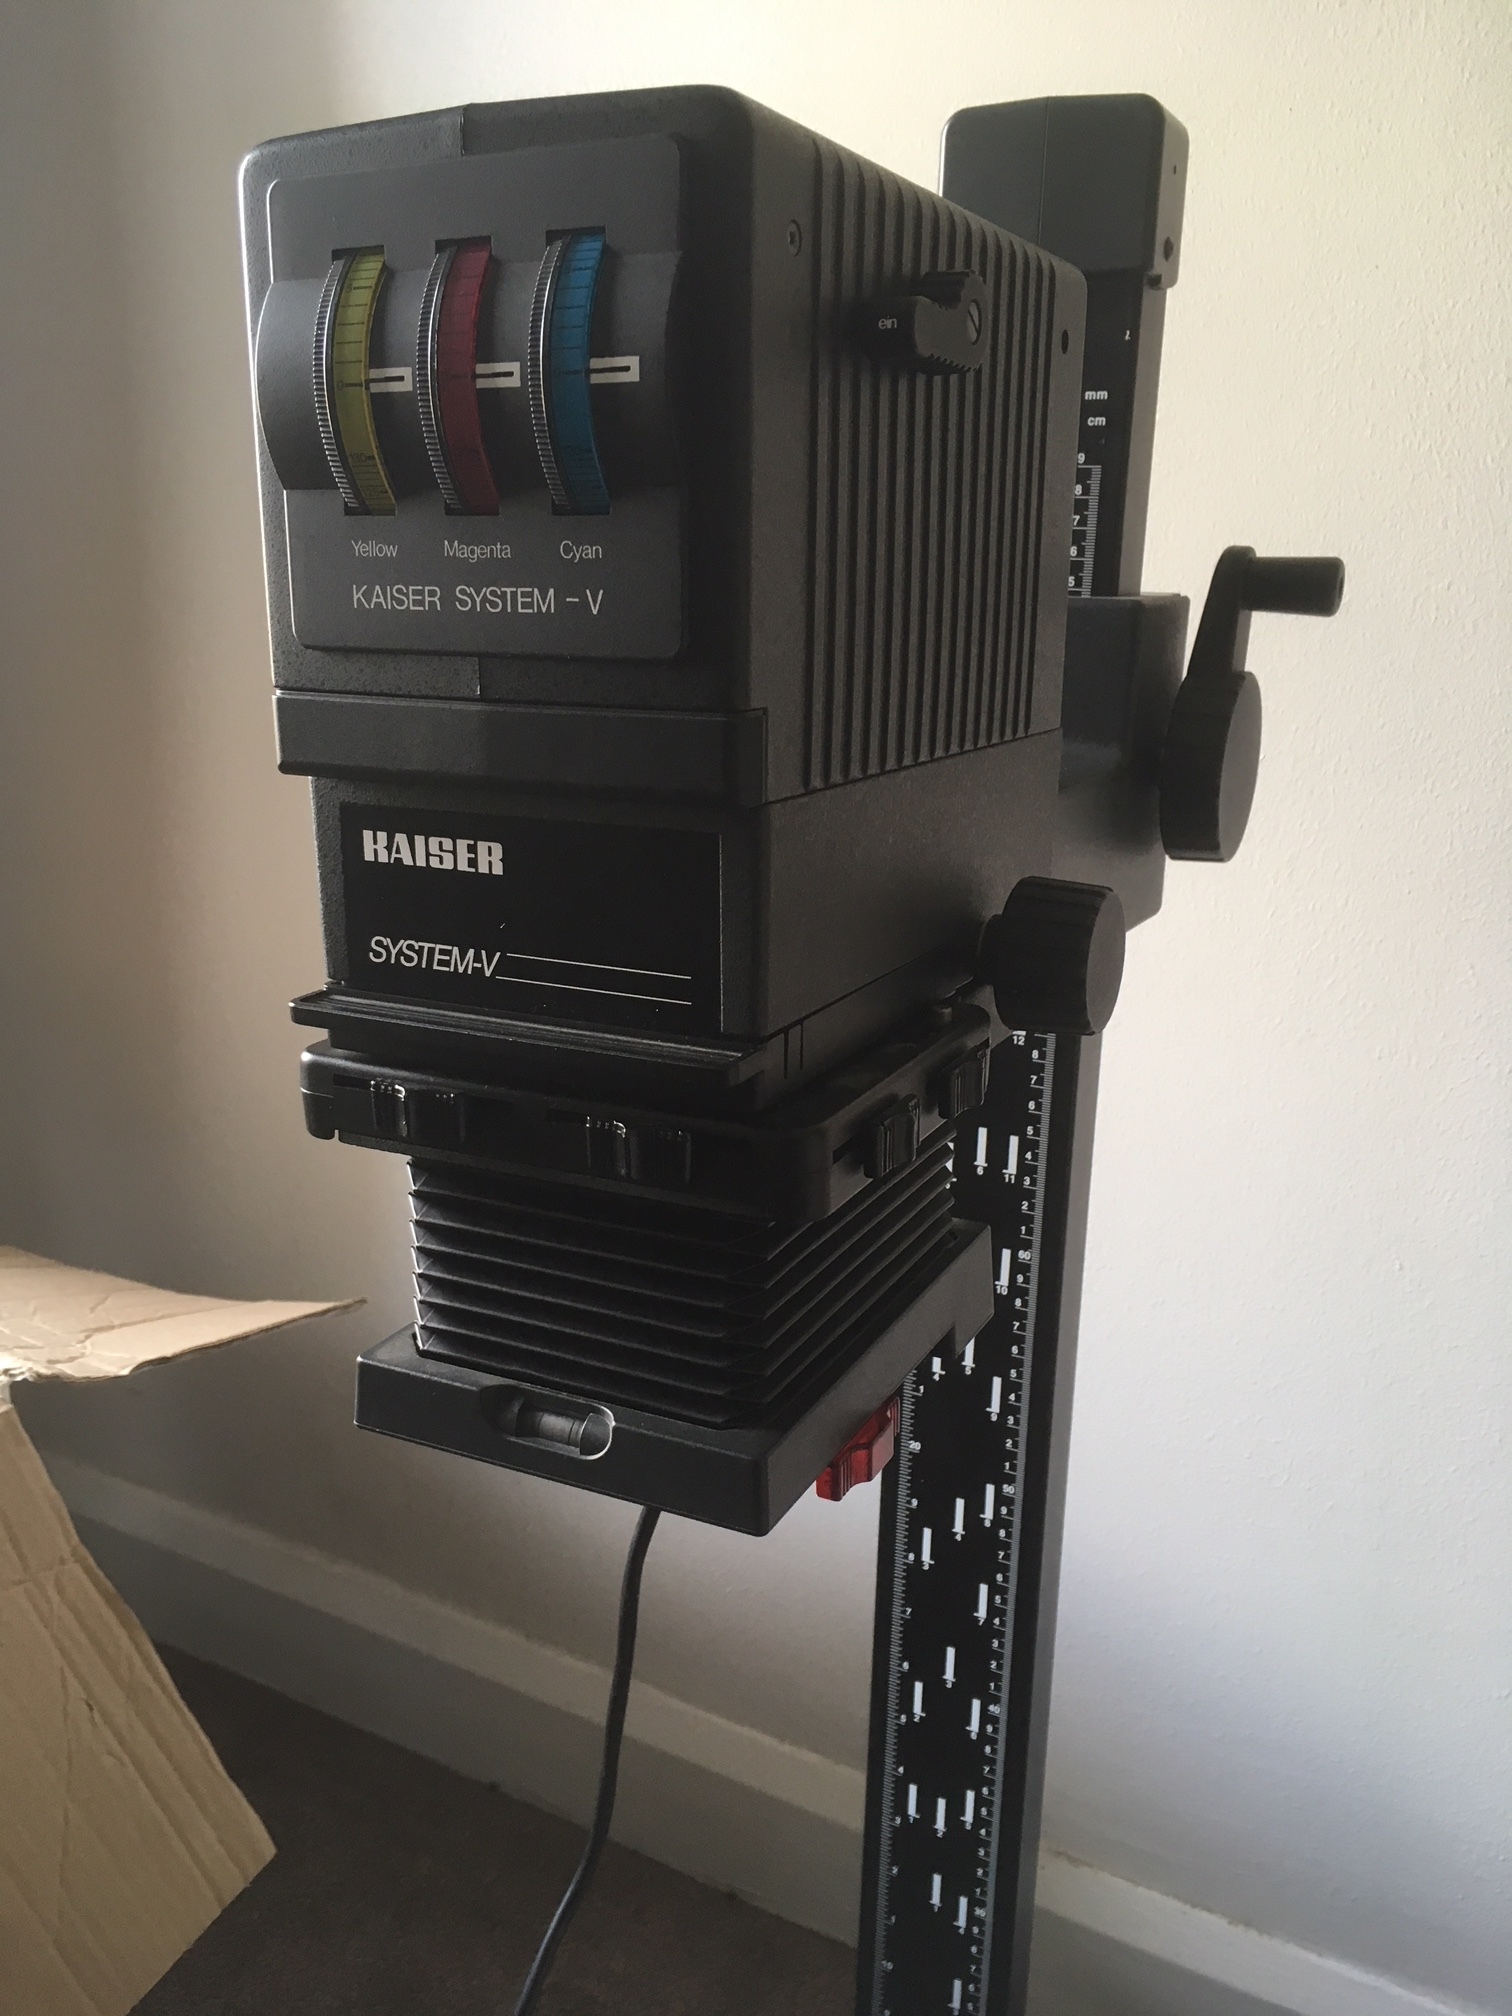
So here it is! my very own darkroom enlarger which i got along with a box full of bits and bobs that actually make sense to me now I've been on the course - before which I was really not sure what I was looking at TBH!

IMG_4964.JPG
IMG_4966.JPG

So there we have it - a thouroughly enjoyable experience! I am intrigued at how different our experience of photographic prints is to viewing images digitally on a screen - ever been round to someones house and they get the family photo album out? how does that compare to viewing some images on a screen? no value judgements here (ok well maybe some) but it's just different isn't it? our emotional response is different it's a tactile, tangible physical experience - we respond, relate and react differently to it as a medium - and this is fascinating to me, why haven't I been printing my photos more you ask, well that's about to change - big time!

Semi stand developing black and white 35mm film at home

A how to develop 35mm film at home blog has been at the back of my mind for flipping ages so here it is at last! I wanted to share the process invovled for developing your own black and white negatives at home using basic equipment and to show the steps involved.

IMG_2364.JPG

A few years ago I was very fortunate to have been able to purchase a job lot of home developing equipment for the absolute bargain price of £25 which had belonged to a local photographer who had very sadly passed away - in fact when I went to collect the film developing kit I was also given enough equipment to set up my own darkroom (which i fully intend to do when i have the space)! I am very grateful to have been given this kit and will treasure it always by continuing to put it to the use it was originally intended. :)

IMG_2365.JPG

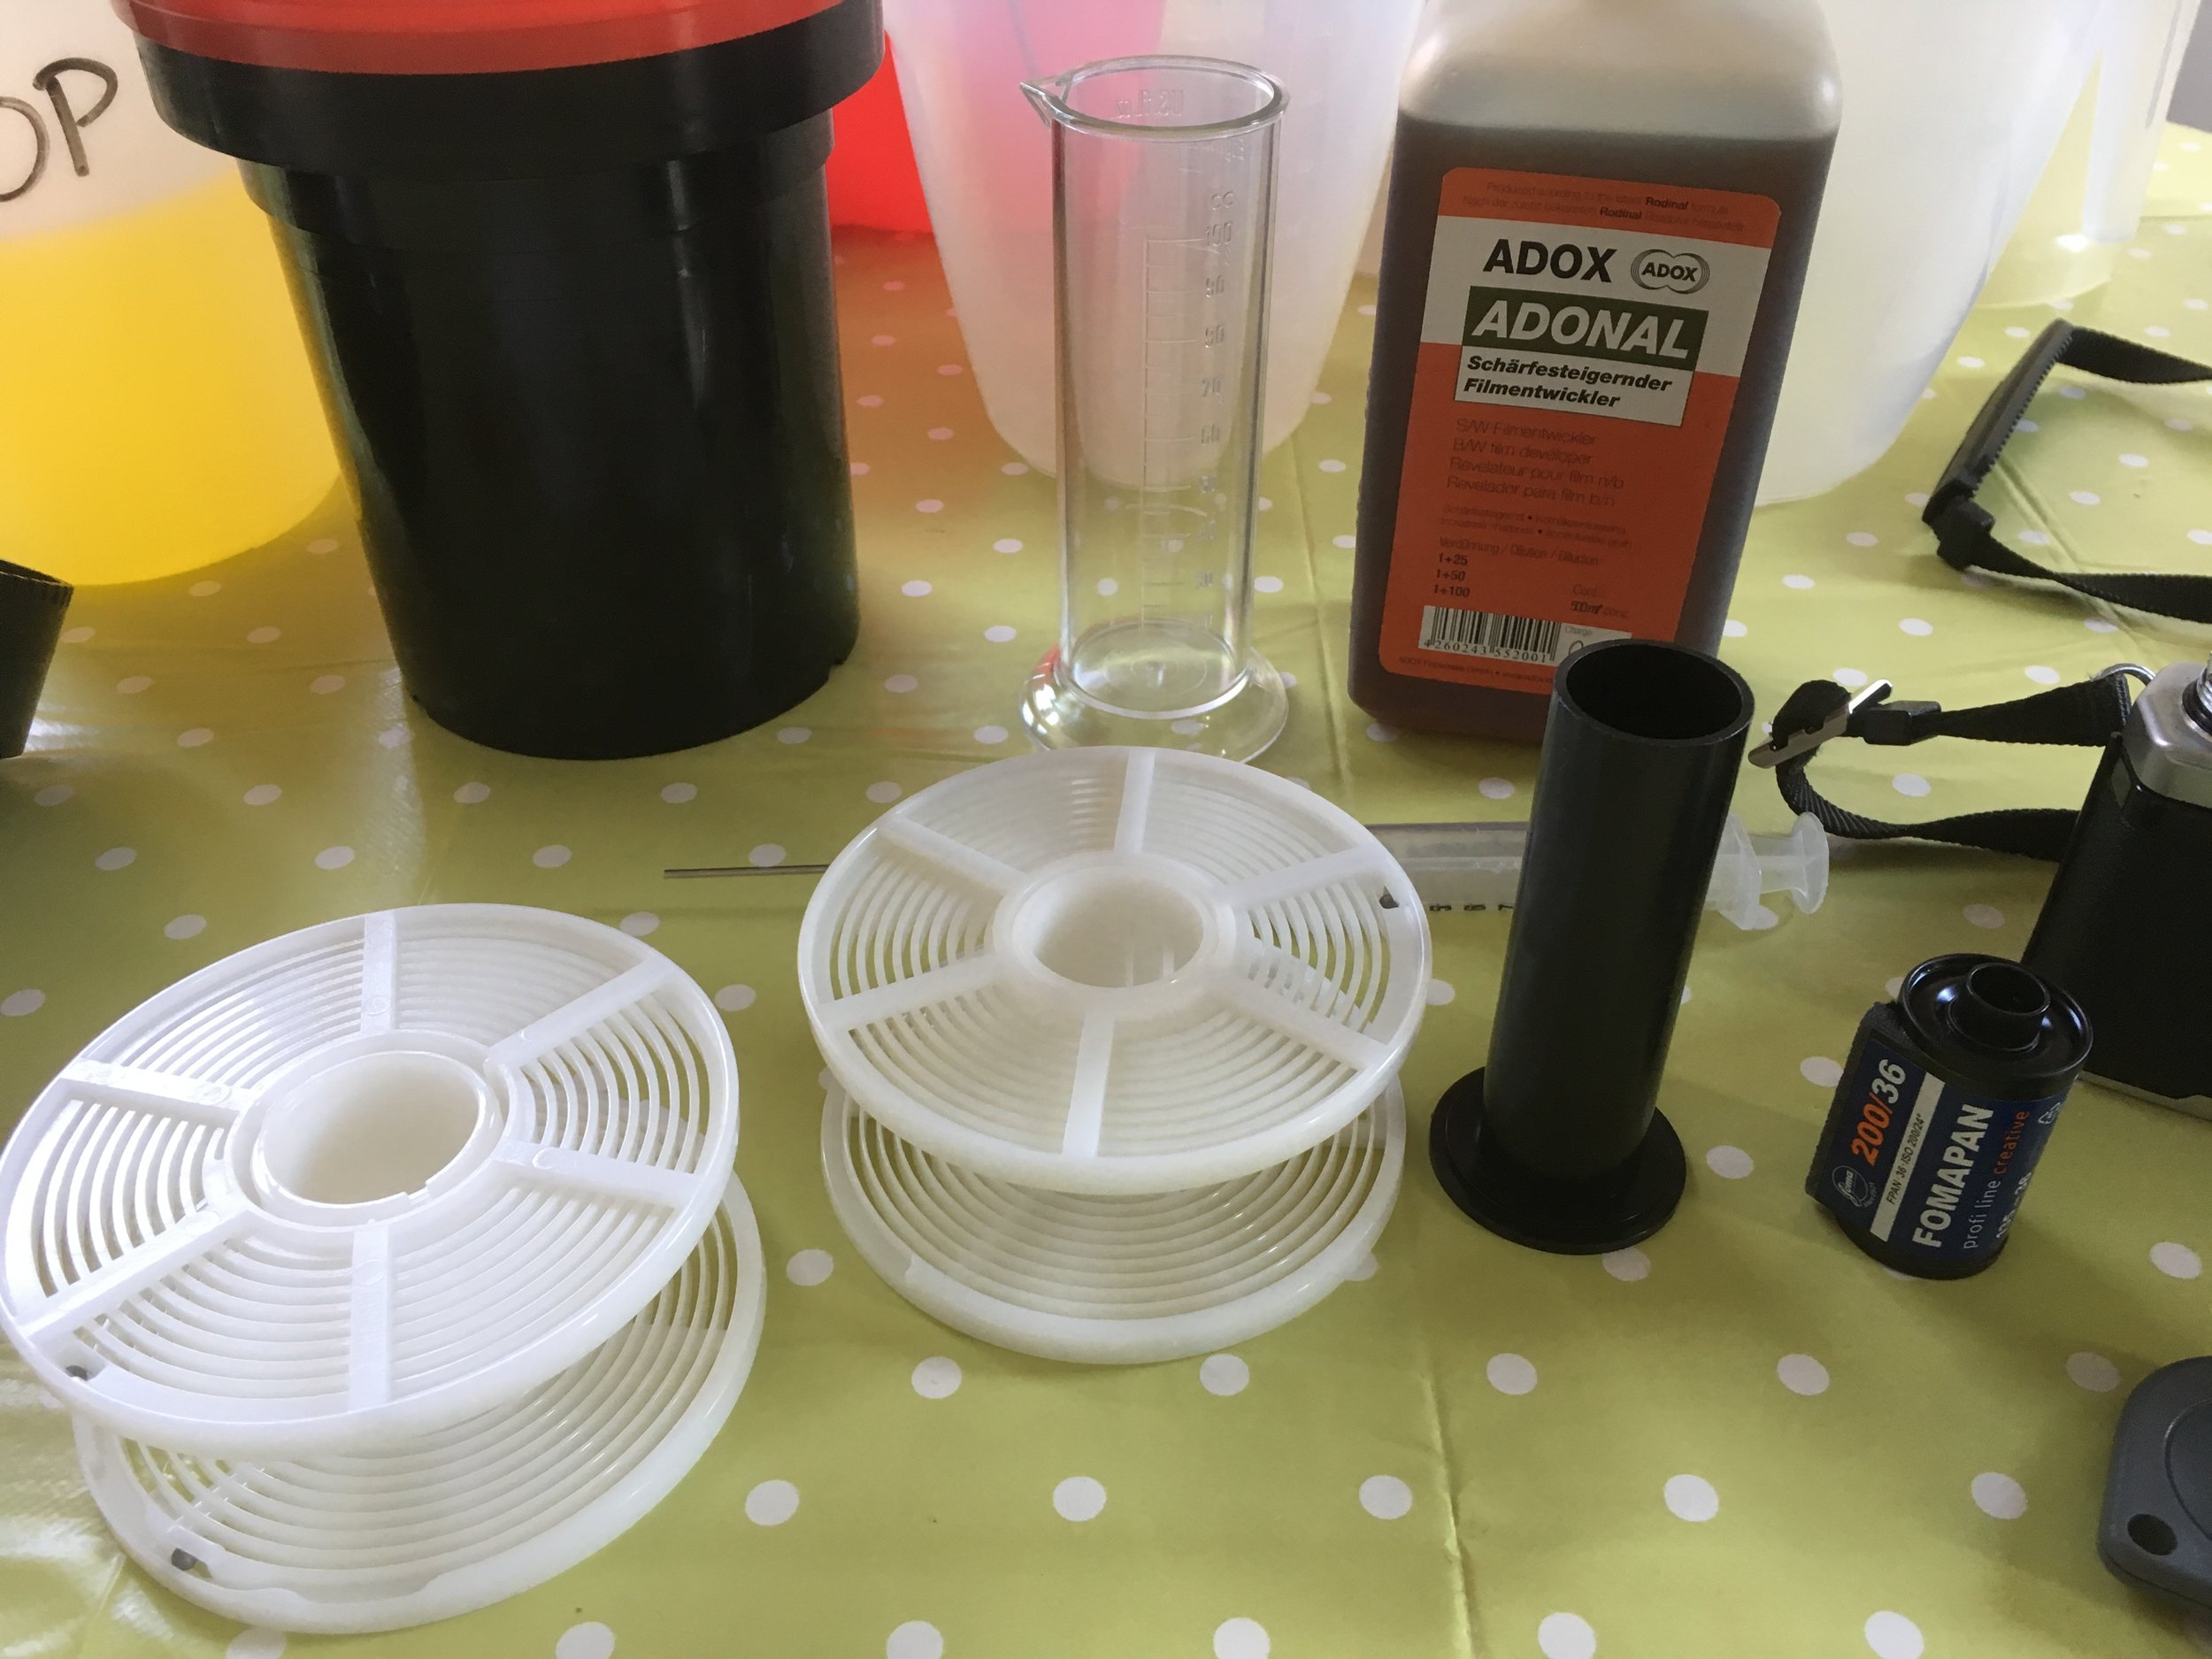
The kit to develop your own film at home is as follows:

1: Developing Tank - with reels to load the film on

2: Change Bag

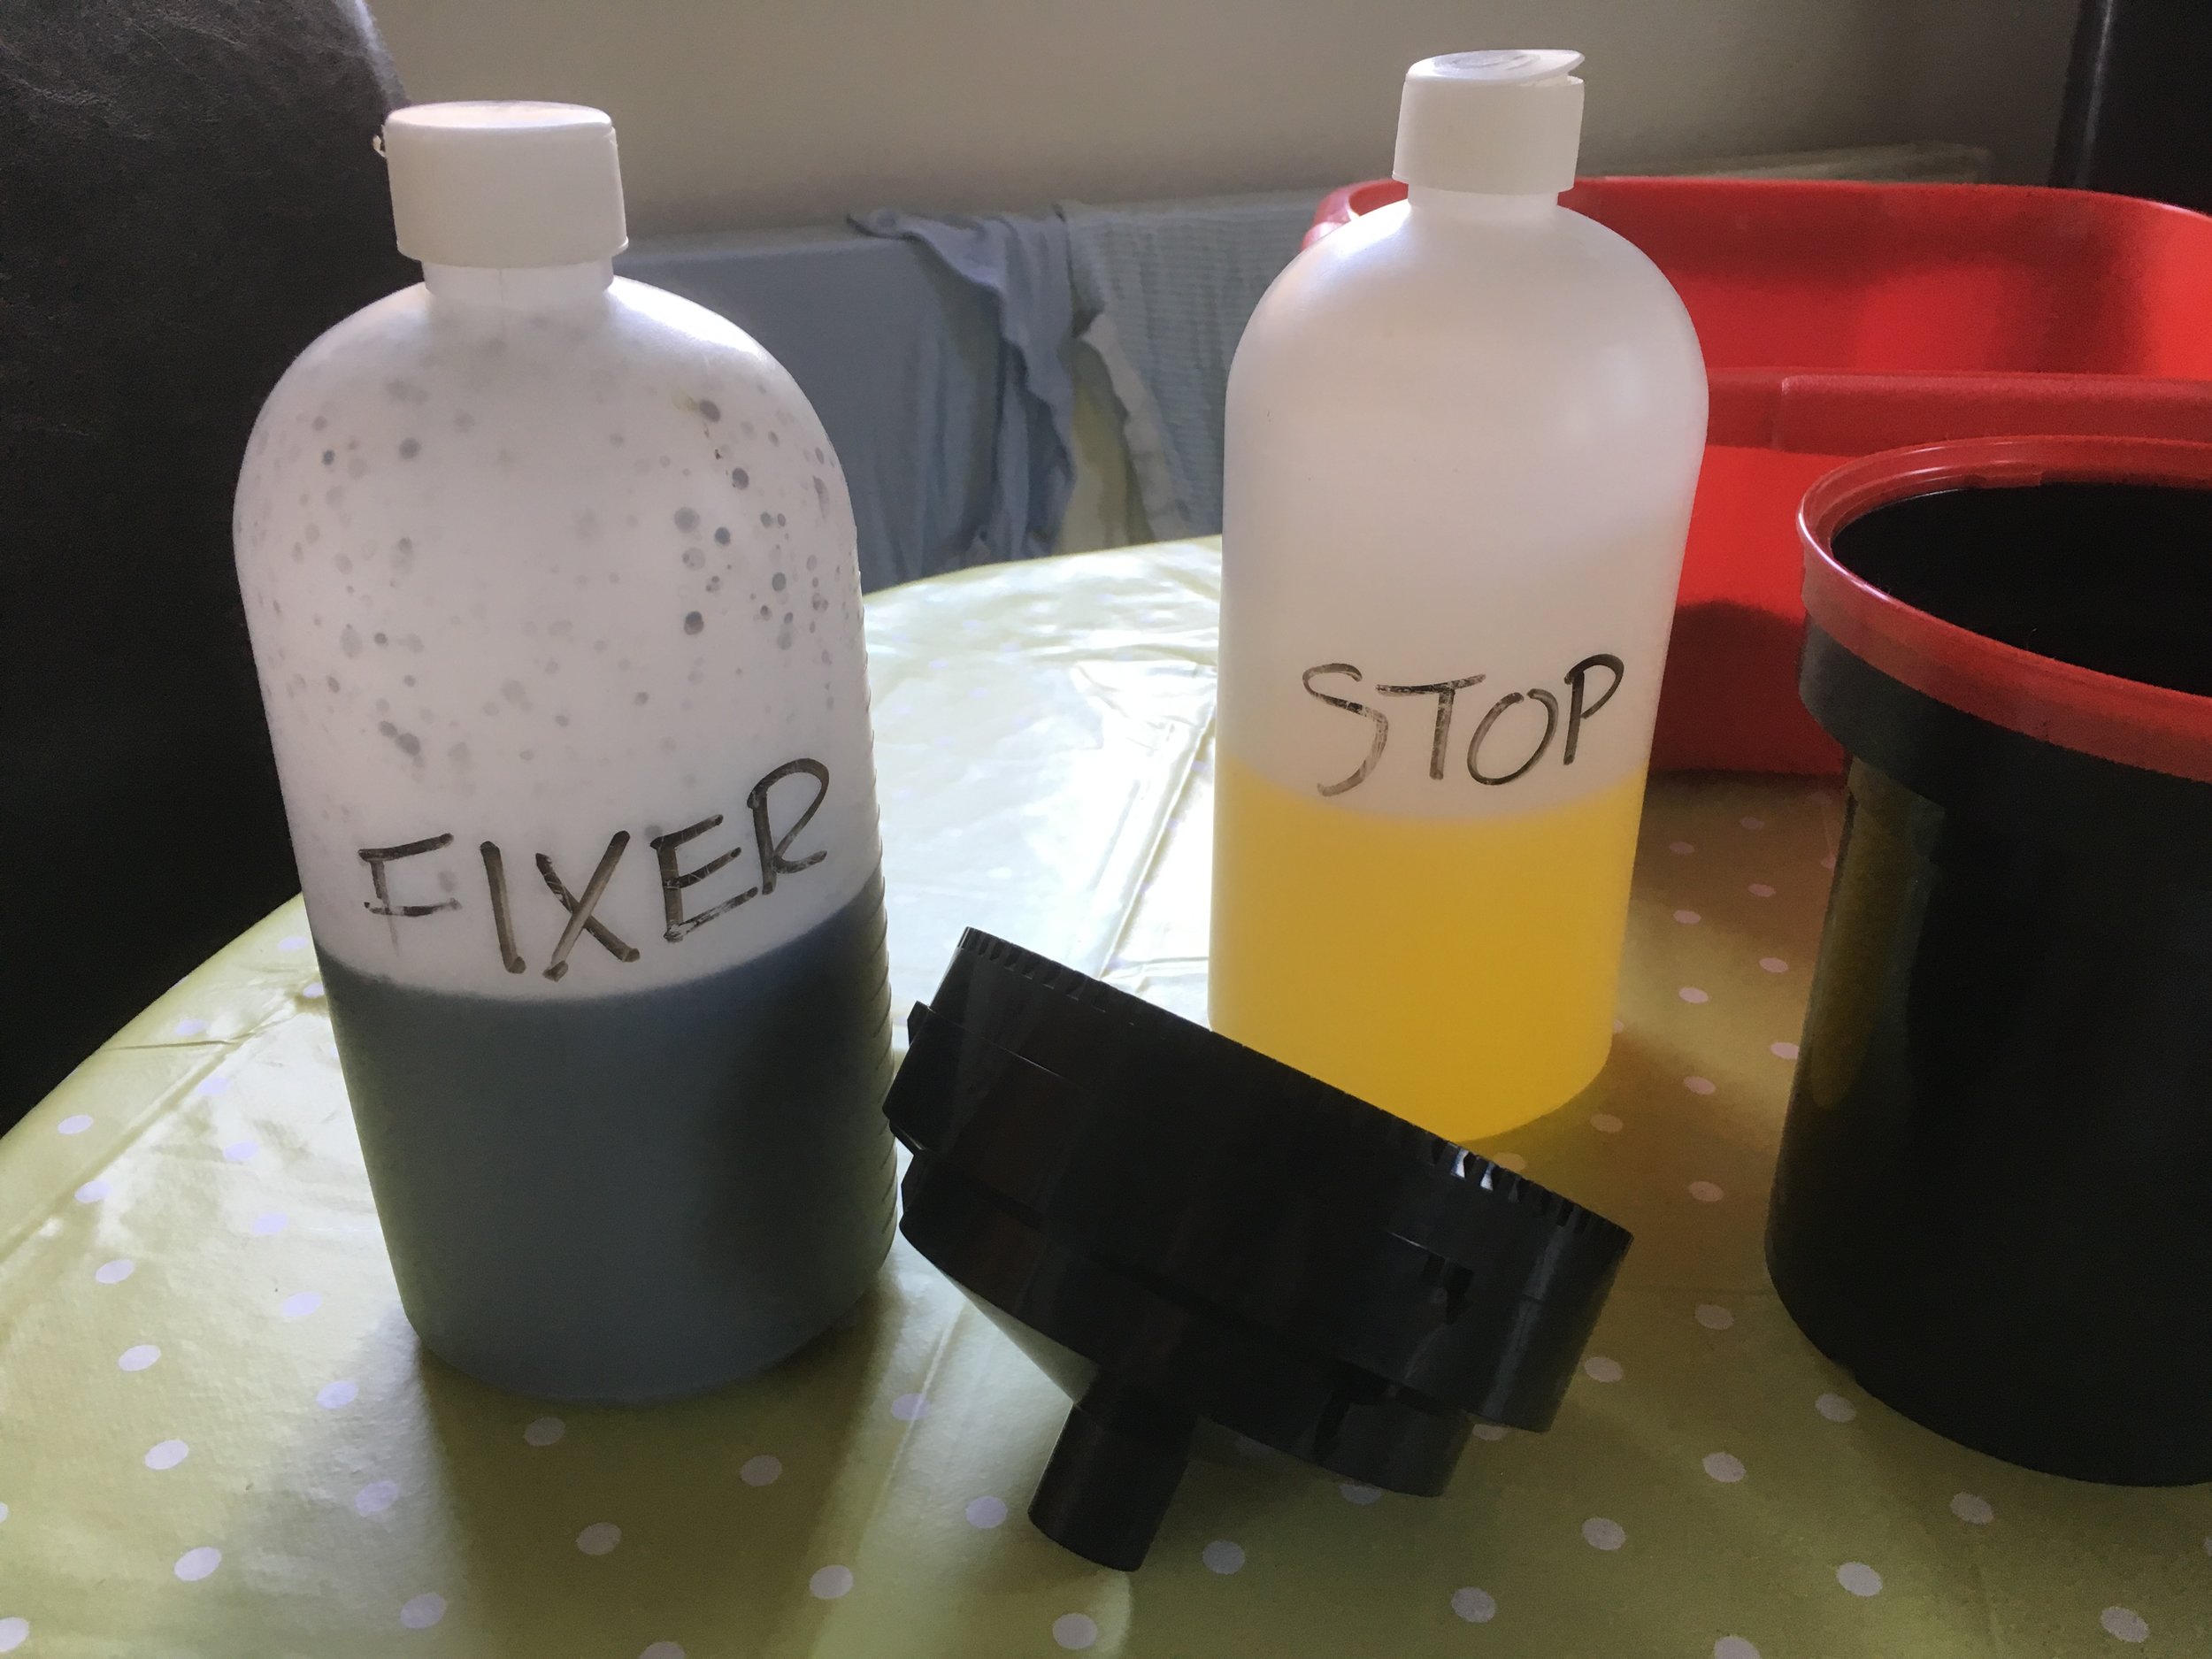
3: Chemicals - Film Developer, Stop bath and Fixer (I'll explain more about these in a minute)

4: Measuring Jugs to pour out and mix the chemicals

5: Thermometers to control temperature of your chemicals

IMG_2366.JPG

And basically that's it! Oh and somewhere preferably with running water in which to conduct this alchemy - for me the bathroom is best.

So we've got our kit together, the process involved is as follows:

1: Load film onto the reel and seal up the developing tank (this bit has to take place in the dark, I use the changing bag which I'll explain later - it takes some getting used to but if I can do it then anyone can)!

2: pour in the developer and leave for a specified amount of time - sometimes giving it a spin every couple of minutes and other times leaving it alone altogther depending on the particular developing technique you want to use

3: pour out the developer and pour in the stop bath - this stops the developer from doing anything else then pour out the stop bath (you can re-use this)

4: pour in the fixing solution

So in effect what you are doing is mixing all of the chemicals up, soaking the film in the developing tank in the developing solution for an alloted amount of time, then washing it in a 'stop bath' to stop the development and finally a fixing solution to 'fix' the image onto the negative - it's a very hands on tactile process and I'll try to explain it without making it sound complicated!

IMG_2367.JPG

This being the 21st century as per usual there is an app which comes in very handy when considering all of this - for reasons best known to themselves it's called the 'Digital Truth' Massive Film Developing Chart the digital truth part sounds a bit odd when we're dealing with an analogue film but hey who am I to question these things?! whatever, it's a resource of 1000's of film types and developer combinations and it can work out the correct developing time for the outcome that you want - you see that's an element of the creative control you have, want more contrast? OK well we're going to have to agitate the developing tank in a particular way to achieve that you can see more about the Massive Development Chart HERE

IMG_3635.PNG

The app works great on my iphone and as you can see here it gives me the times for each element of the process - simples! You can also create your own timings and this is one that i did for this particular process which is a 1 hour semi stand development in Rodinal film developer.

Now there are loads of different techniques for developing films so there's loads to go at, one technique which I think I've mentioned before in a previous blog HERE is called Semi Stand Development and it's a beautifully simple way of developing - basically you pour your developer into the tank, give it one or two turns to mix things up and then leave it for 30 mins, give it another spin and leave for another 30 mins and you're done.... there's an even more simple method called Stand Development in which you don't even bother with the spin at the 30 minutes mark! but I prefer to give it that one or two spins just to make sure that the chemicals aren't getting spent and we get a nice even finish.... anyway it works really well with slower speed films of around 100 ISO and below and as with all things in life there are compromises to the simple developing process that it tends to average out shadow and highlight areas and it does bring out the film grain although personally I love film grain so that doesnt bother me!

IMG_2368.JPG

Developing your own film might sound a bit complicated but actually it's fairly straight forward - albeit a bit technical process - there's a ton of information out there on the internet to help guide you, I'll put some links in a little later for good places to get you started.

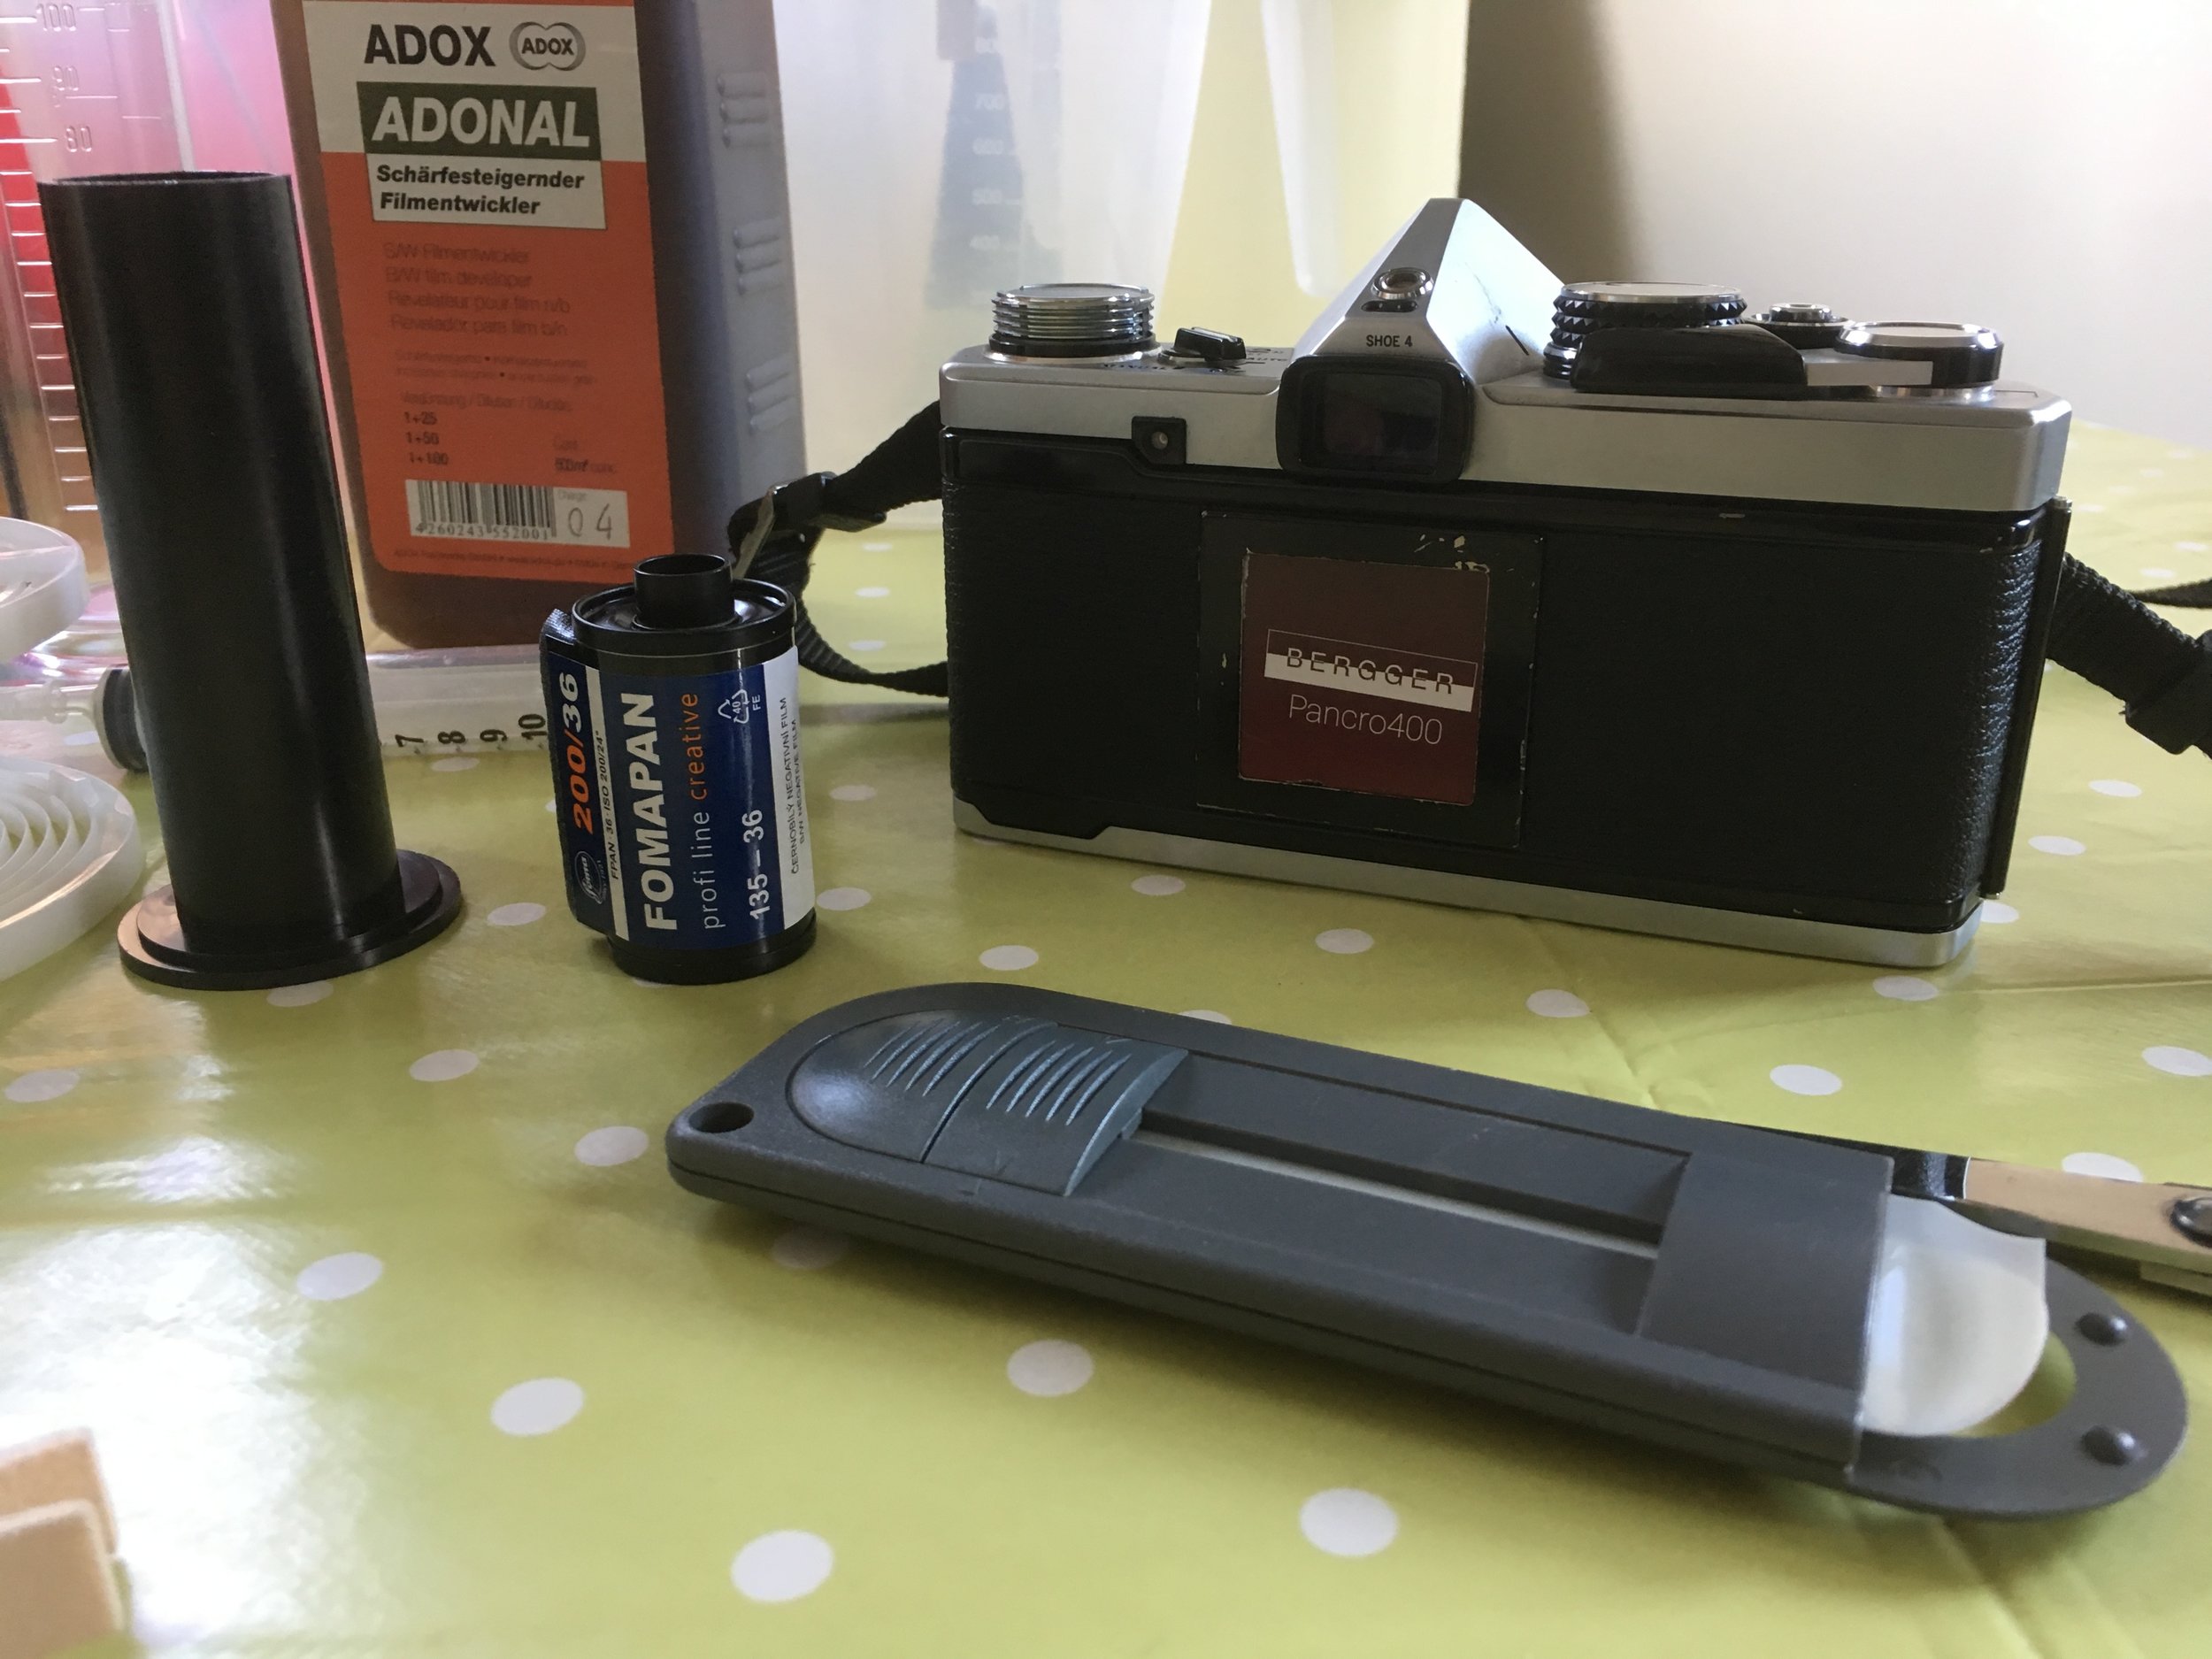
Developing my own film is a whole other aspect of film photography and the creative process that I really enjoy and one which gives you another layer of control over the final outcome of the image. The films in question are Fomapan 200 and Berger Pancro 400  - Foma is a relatively cheap film but I really like it, it's got a classic black and white film 'look' to it which appeals to my eye, the Berger film is brand new on to the market so I was very excited to shoot this - I'll let you into a secret now, I messed up this roll of film and got no images from it :( it's sod's law that the one time I decide to document the development process is the only time in the 3 or 4 years I've been shooting film that this happens but hey ho! that's film photography for ya I guess! I'll go into how I managed to cock it up so spectacularly later (completely operater error i might add, I am sure Beger Pancro 400 is a lovely film, we'll just have to wait for another day to see it)!

IMG_2369.JPG

The snazzy device on the left of the pic above is a film extractor - it pulls the film back out of the canister so i can load it on to the reel. In the image below you can see the changing bag which is a light tight erm... bag... you place the developing tank, the reel, the film and a pair of scissors in the bag and zip it closed, then stick your arms in the two arm holes at the top and you then have to load your film on to the reel, wind it on, cut it free from the canister and then load it into the developing tank and seal it shut... all without being able to see what your hands are doing as it's inside the bag! it's a bit of a head twister at first but you soon get the hang of it!!

IMG_1757.JPG

The sharp eyed amongst you will notice that that's a roll of medium format film not 35mm in the bag - these pics were taken seperately to the films I'm talking about today but it was only when putting this blog together that i realised i didn't take any pics of me loading the foma or berger film in the changing bag...anyway you get the idea, film in bag, load it in the dark, bobs yer uncle!

IMG_1755.JPG

So we've got our film loaded in to the developing tank - i usually pour in some water at 20 degrees C so that the film is at the same temp as the chemicals (temperature control is important - especially with a stand development process) - above I've got my developer, stop and fixer ready - handily labelled so I don't confuse myself! ADOX Adonal is a lovely developer - i bought mine from my favourite film supplies shop NT Photo Services check them out HERE

IMG_1759.JPG

I also use a washing up bowl which i fill up with water of the requisite temperate and stand my developing tank in that whilst it's developing as another means of controling the temperature (it's important)!

IMG_1760.JPG
IMG_1761.JPG
IMG_2371.JPG

After I've followed all the steps outlined above it's time to wash the film and look at the results.....

IMG_2372.JPG

... And there you can see on the left I have a lovely set of negatives developed and on the right.... nothing... nada... bollox! the one time i decide to document my film developing process is the one (and only time) i have a problem :( turns out that i messed up loading the film into the camera - it didn't catch on the take up spool so when I was taking photos the film wasn't being exposed... hence blank roll of film! IDIOT!

So after hanging up the film to dry, i scan the negatives into the computer and here are the results! I'm pleased with how the Foma turned out - some examples below

img073.jpg
img089.jpg
img092.jpg
img080.jpg

A key thing with Semi Stand Development is that you can develop different speed films at the same time! 100 speed, 50 speed 400 speed?? stick them all in the same tank if you have the room - your timings, dilution and process will remain the same, sure the final effect varis depending on different factors but you'll get a solid image

A final note to say that all of these photos were taken with my much loved Olympus OM2n camera with a 28mm f2.8 Zuiko lens - a winning combo for travel/being out and about!


Nikon FE Review

img442.jpg

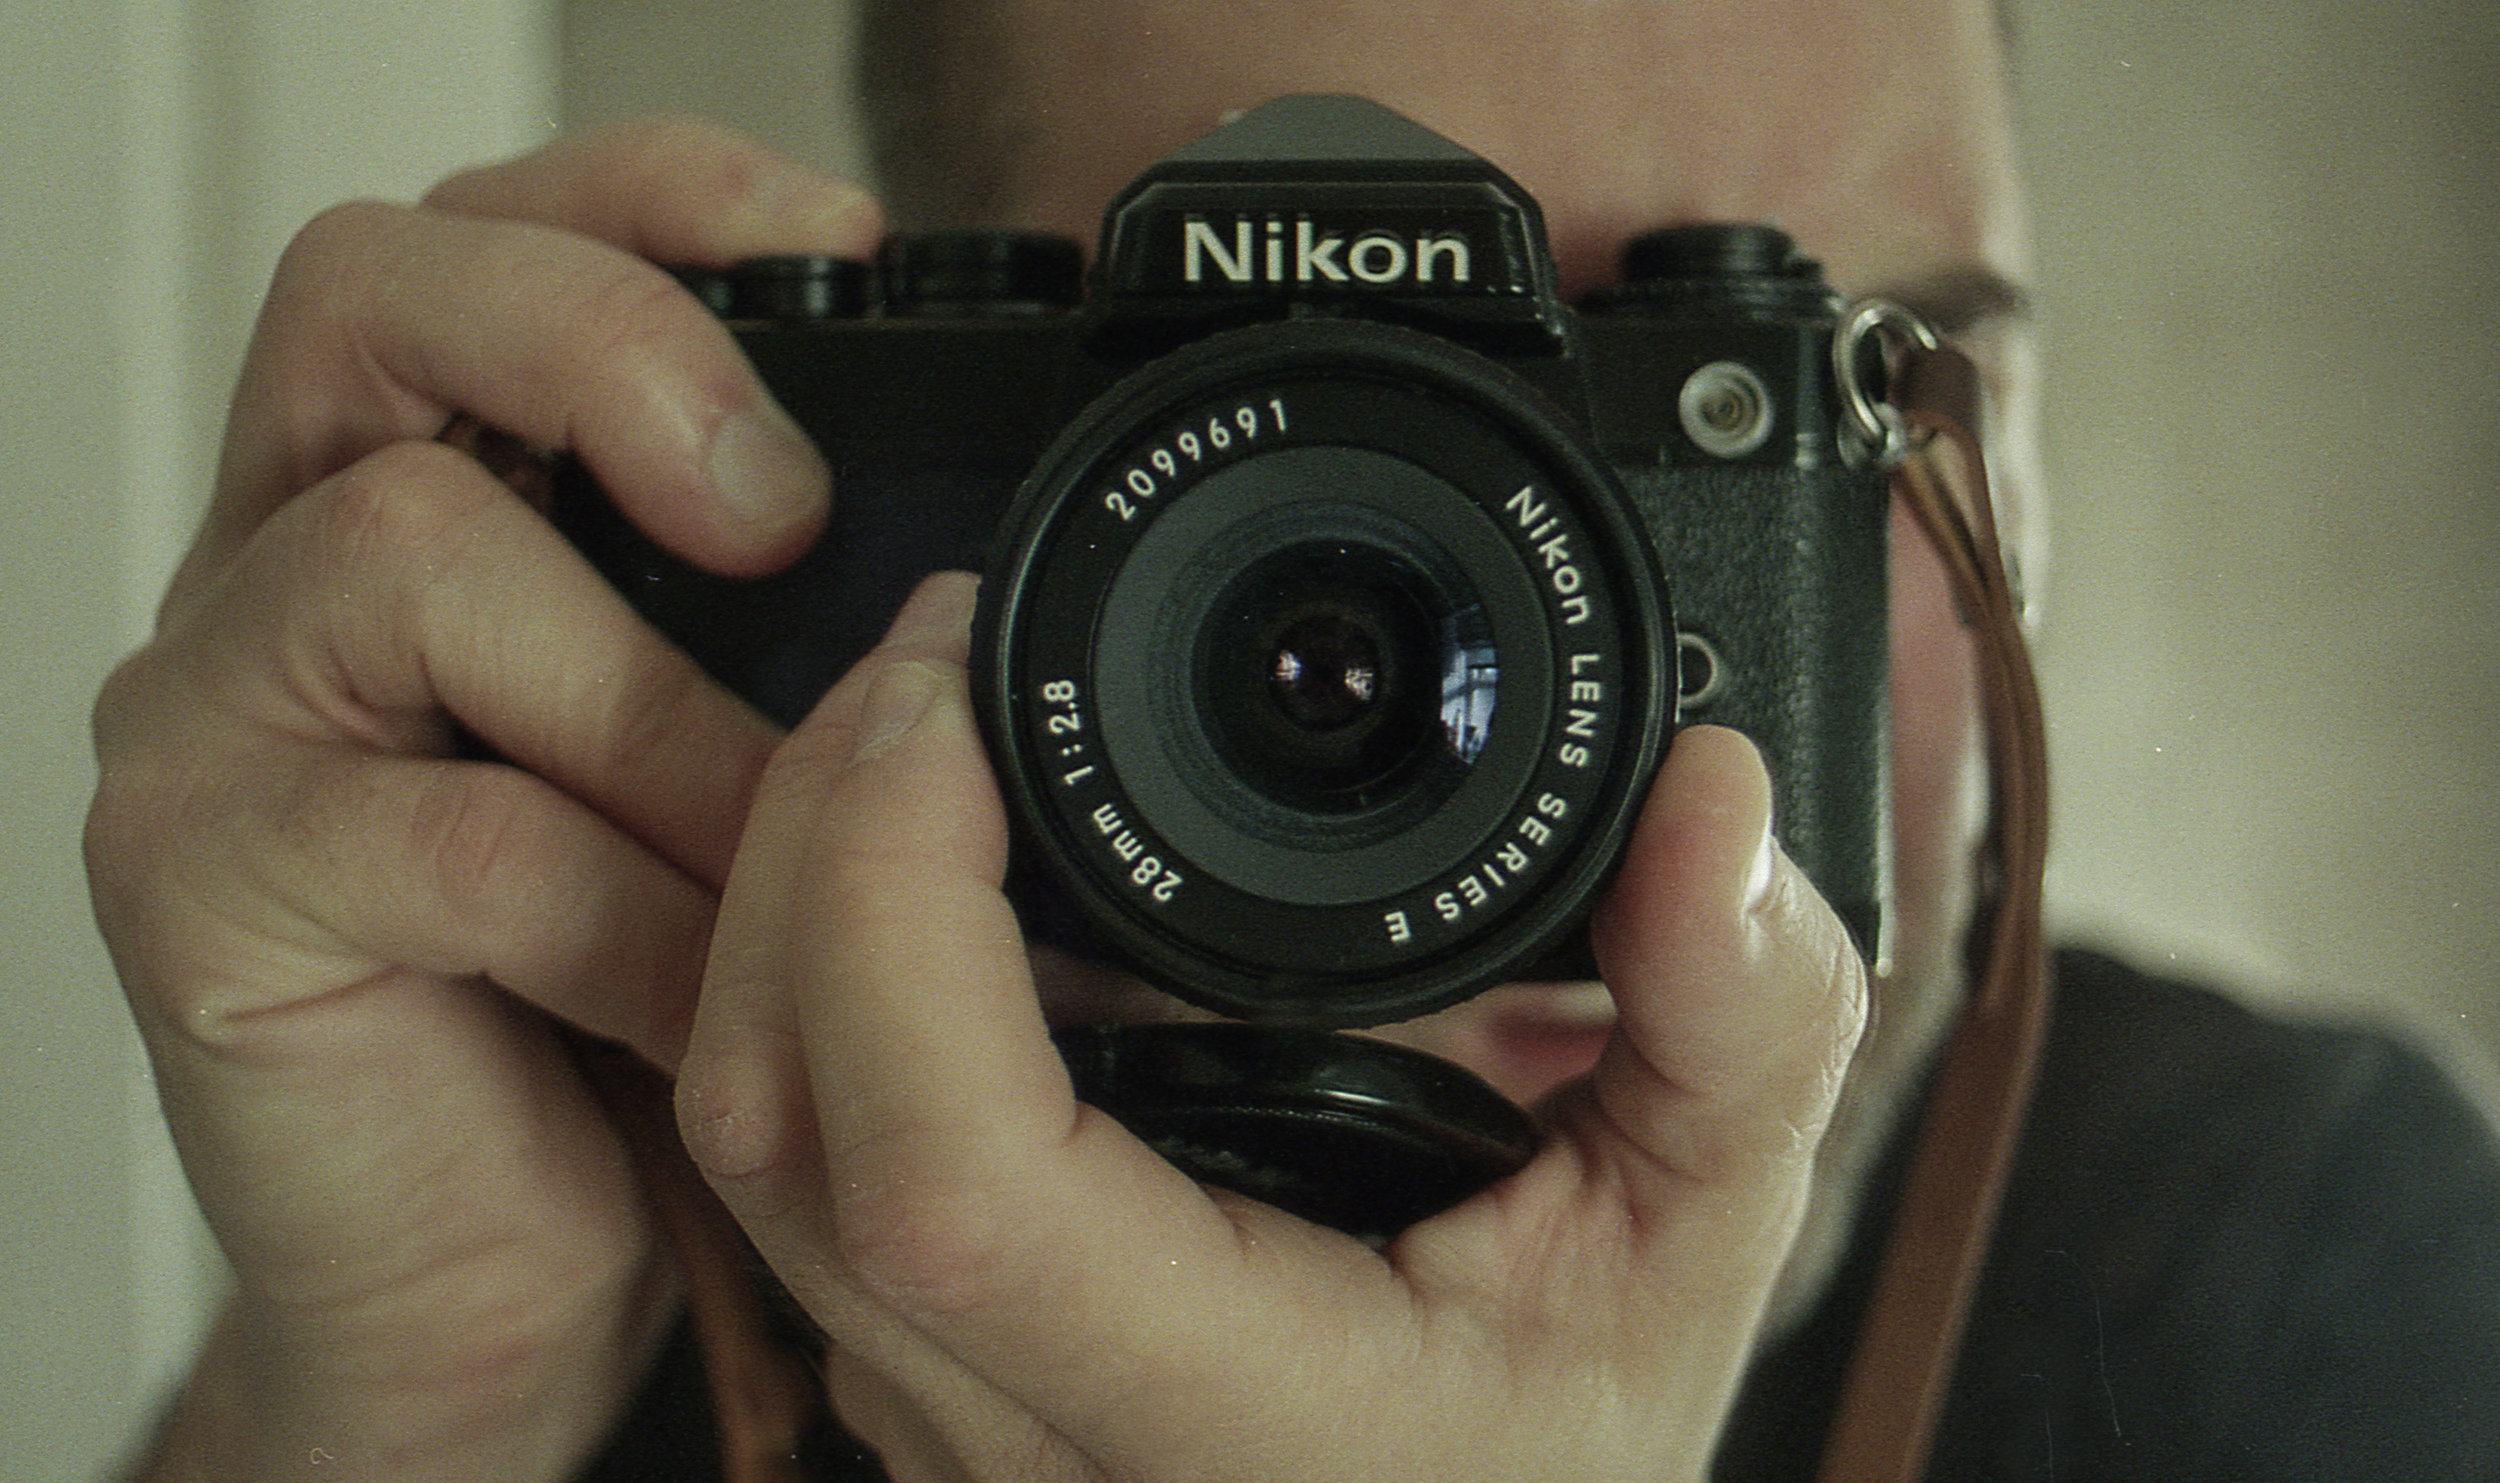
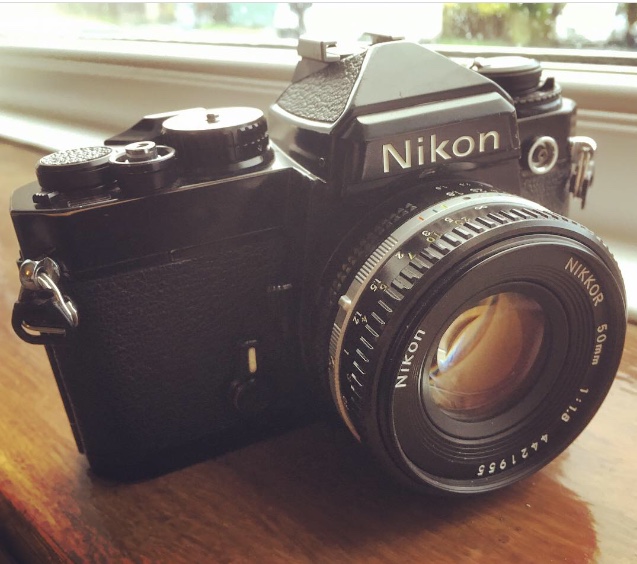
I have been on the look out to join the Nikon film camera gang for ages - it's a proper gang with hats and handshakes and everything - and now I have! Welcome the Nikon FE!! Is this another case of Gear Acquistion Syndrome you ask? yes, probably! Does this camera do anything special that my other 35mm SLR's don't? no. not really? do I love it anyway? Damn straight I do!! here's why!

img432-3.jpg
IMG_4043.jpg

So upon handling the camera the first thing you notice is the build quality it's really well put together, feels solid and the mechanical components feel smooth and sounds great (the all important shutter 'schtick' noise is present and correct) but obviously you'd expect that since back in the day Nikon were undisputed purveyors of quality cameras.

In fact (at least initially anyway) the only fly in the ointment is the lens - or should i say the action of the lens, coming from a line up of OM and Pentax cameras I have to say that at first glance the basic Nikkor 50mm 1.8 lens didn't pass muster with me in terms of the focus ring which manages to feel loose and notchy all at the same time and makes fine focussing a bit of a faff to be honest.... I've gotten more used to it having shot a few rolls of film with it now so perhaps it just takes a bit of getting used to, the flip side of this is that now all my OM and Pentax lenses feel a bit stiff! (will the madness never end)?!!! :P

I'll have to see how I go with this lens though it is more likley is that my copy has seen one too many turns and is literally a bit worse for wear - it's ok to use but it doesn't exactly scream 'quality' when you're using it, and achieving fine focus is a bit of a chore twisting the focus ring back and forth so I'm now actively on the look out for it's posher older brother the 50mm 1.4

A juicy red apple is nice, but not every apple is red..... super sharp shooter Nikkor 50mm 1.8

A juicy red apple is nice, but not every apple is red..... super sharp shooter Nikkor 50mm 1.8

You cannot argue with the quality of the optics on the 50mm 1.8 thought - seriously very good! The next couple of images were taken on a short walk around my village - the people's republic of Slawit, shot on Lomography 400 Colour film, unfortunately some of the frames have what appears to be a light leak across one side with a band of blue ish light affecting the image, bit of a pain really, or maybe that'sa special 'Lomo' feature for the film!! I'll change the light seals and see if there's an improvement - otherwise I like the Lomo 400 film it's a cheap alternative colour film, in fact I'm going to be shooting a LOT more colour film as I've been totally focussing on Black and White for ages and feel like a change. The weird thing is that I don't think it's the camera as the roll of HP5 i shot doesn't have any of these issues - ah the joys of shooting 40 year old cameras I guess, comes with the territory!

img430.jpg

Focus ring faffing aside shooting with the FE is otherwise great, the controls are well placed (although at the risk of offending my new Nikon gang mates) I still prefer the OM2n layout - being able to control aperture and shutter with one hand whilst not taking your eye away from the viewfinder is a dream! again - it's probably just my technique having grown accustomed to the Olympus 'way'

These next three images were shot on Kodak Portra 400 with my recently added Series E 100mm 2,8 lens and I have to say that I love this combination! the lens was very cheap for how well it performs and of course Portra 400 is a fantastic film to play with, I took it for a spin around Huddersfield town centre and also grabbed a portrait of my friend Marco too.

img428.jpg
img424.jpg
img429.jpg

My Nikon FE is in great condition - it's clearly been used over the years with a bit of brassing and the odd dent/scrape here and there but in my experience that's a good sign! Mechanically the FE is smooth as silk and runs really well, whenever I've bought cosmetically 'mint' cameras they can often have internal issues as the reason they are 'mint' is they've sat in uncle nobheads cupboard since 1972 and never had a roll of film put through them, it's usually much better to have a camera that has been used as intended although it may have picked up a bit of battle damage along the way.

I bought mine from West Yorkshire Cameras - a big thank you to Howard and Hattie for being super helpful and for running such an awesome shop, if you're ever in Leeds I highly recommend a visit!

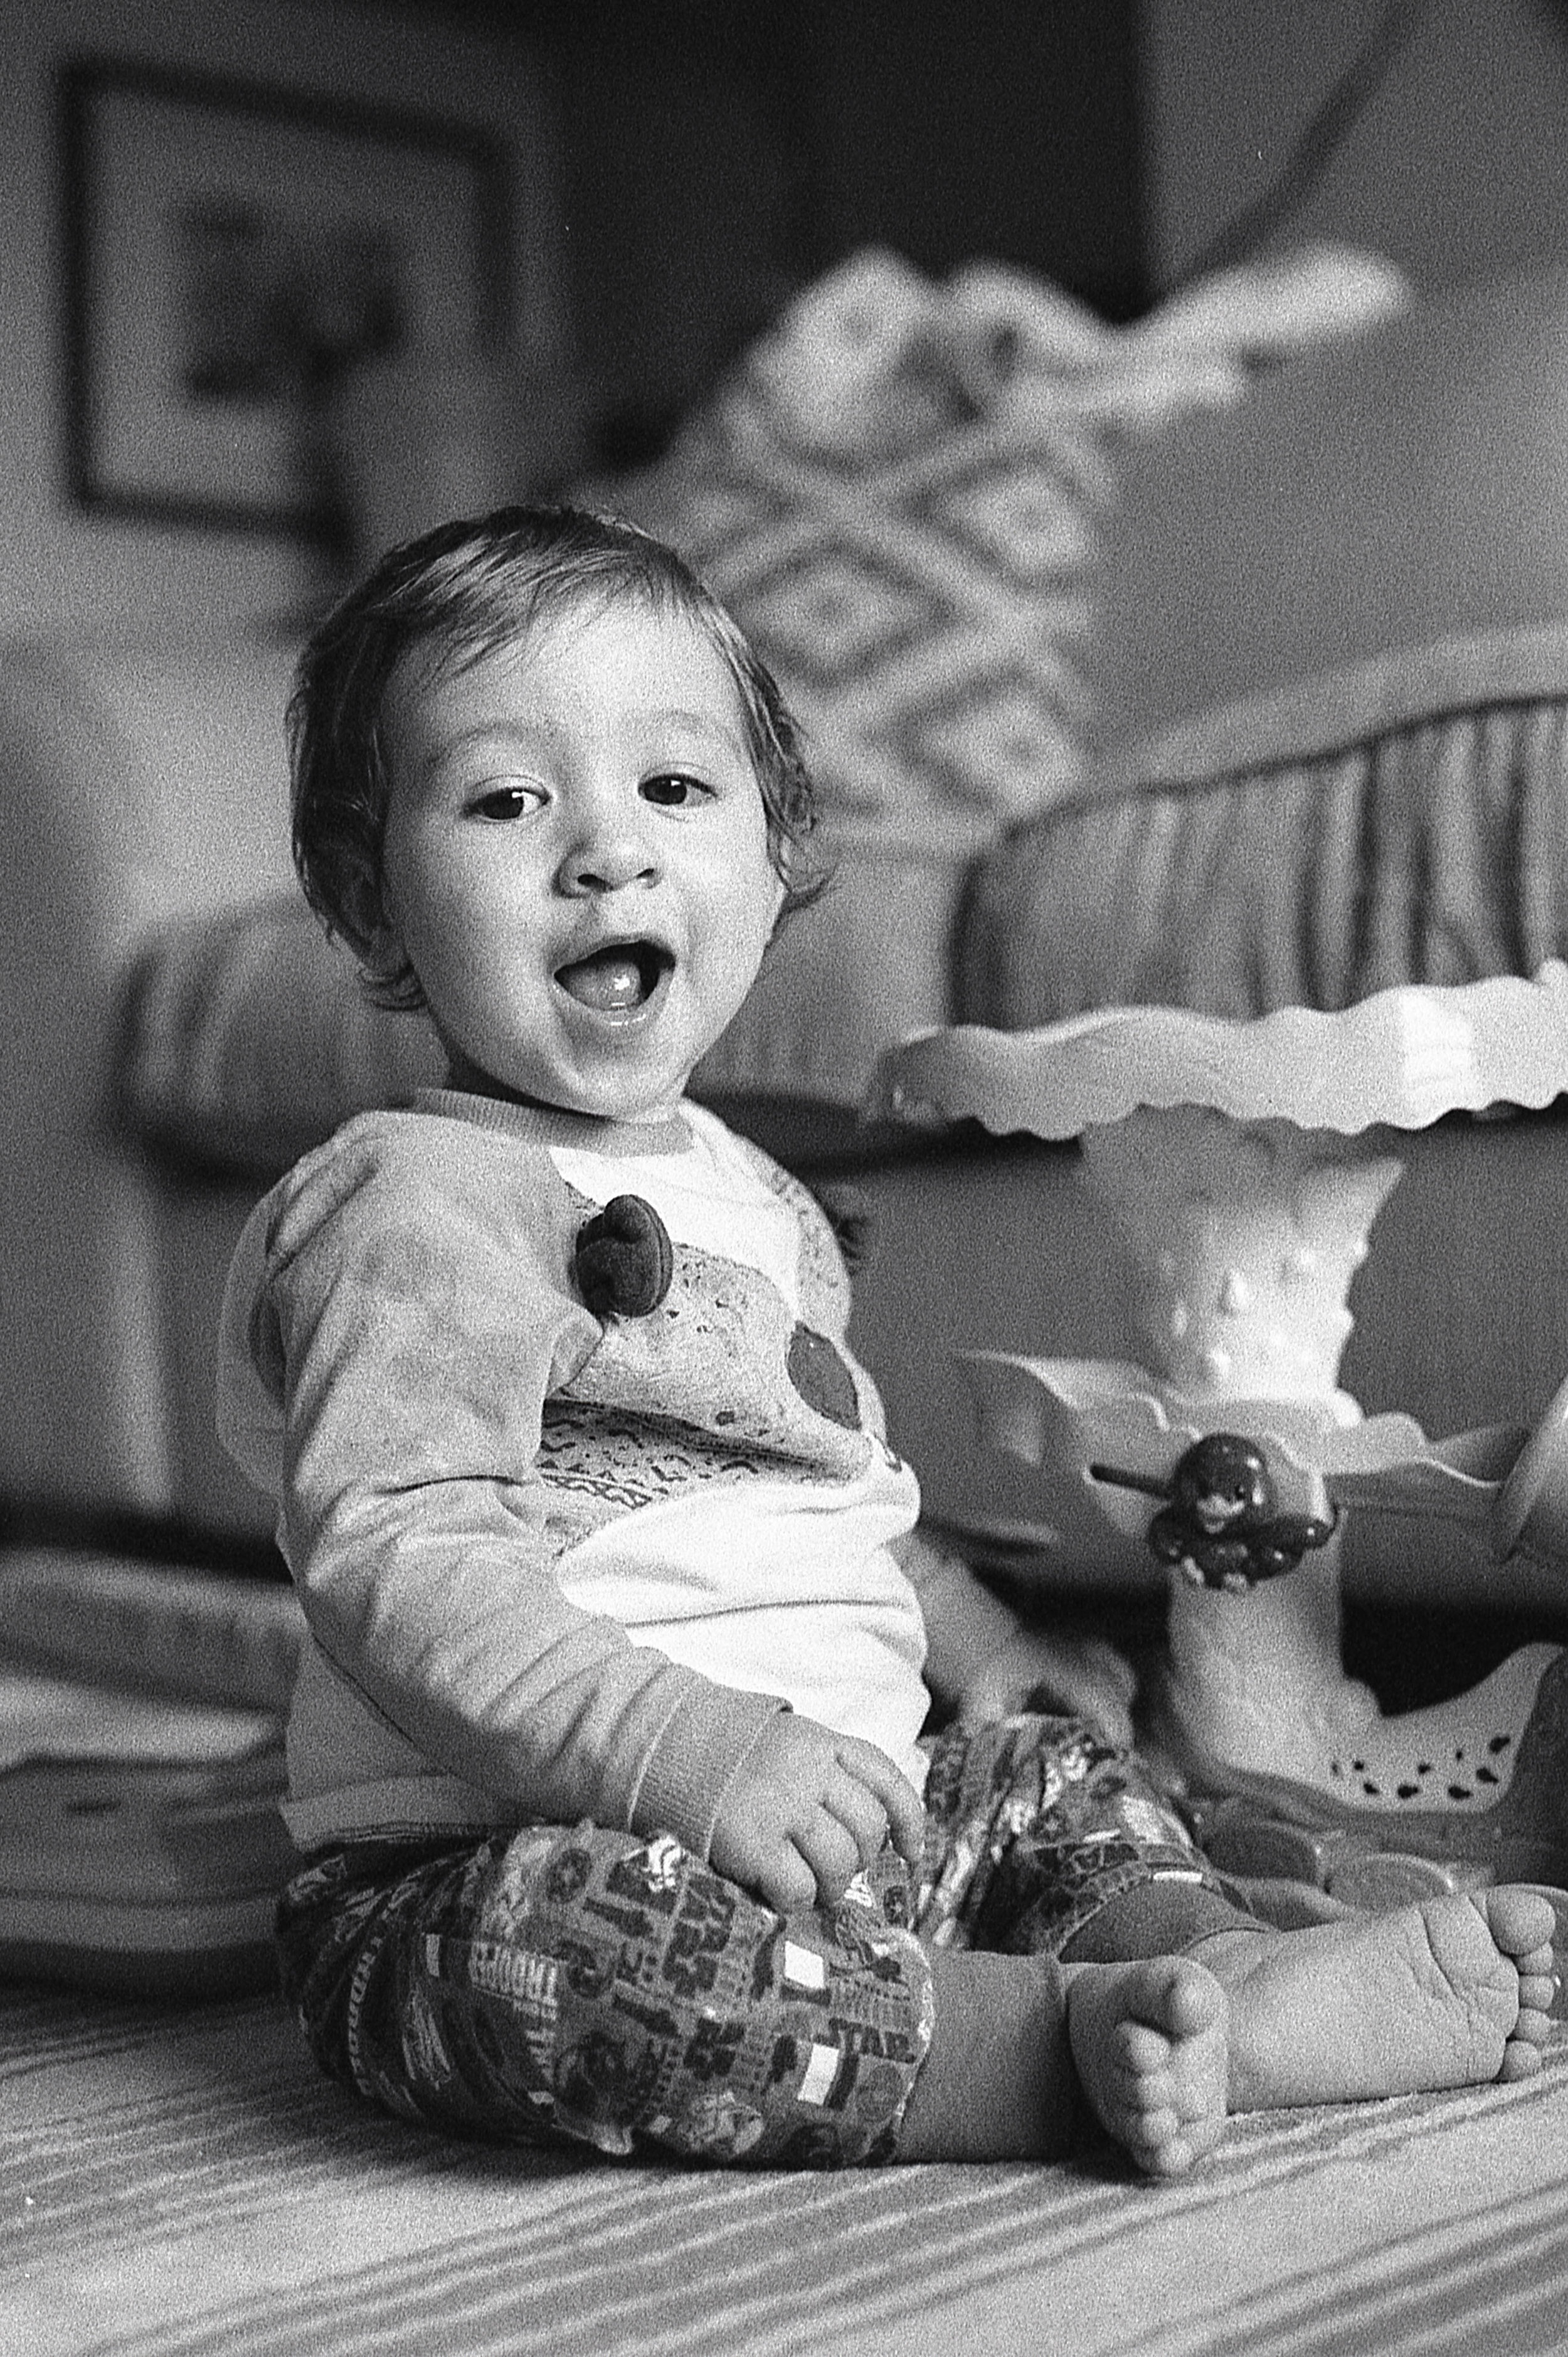
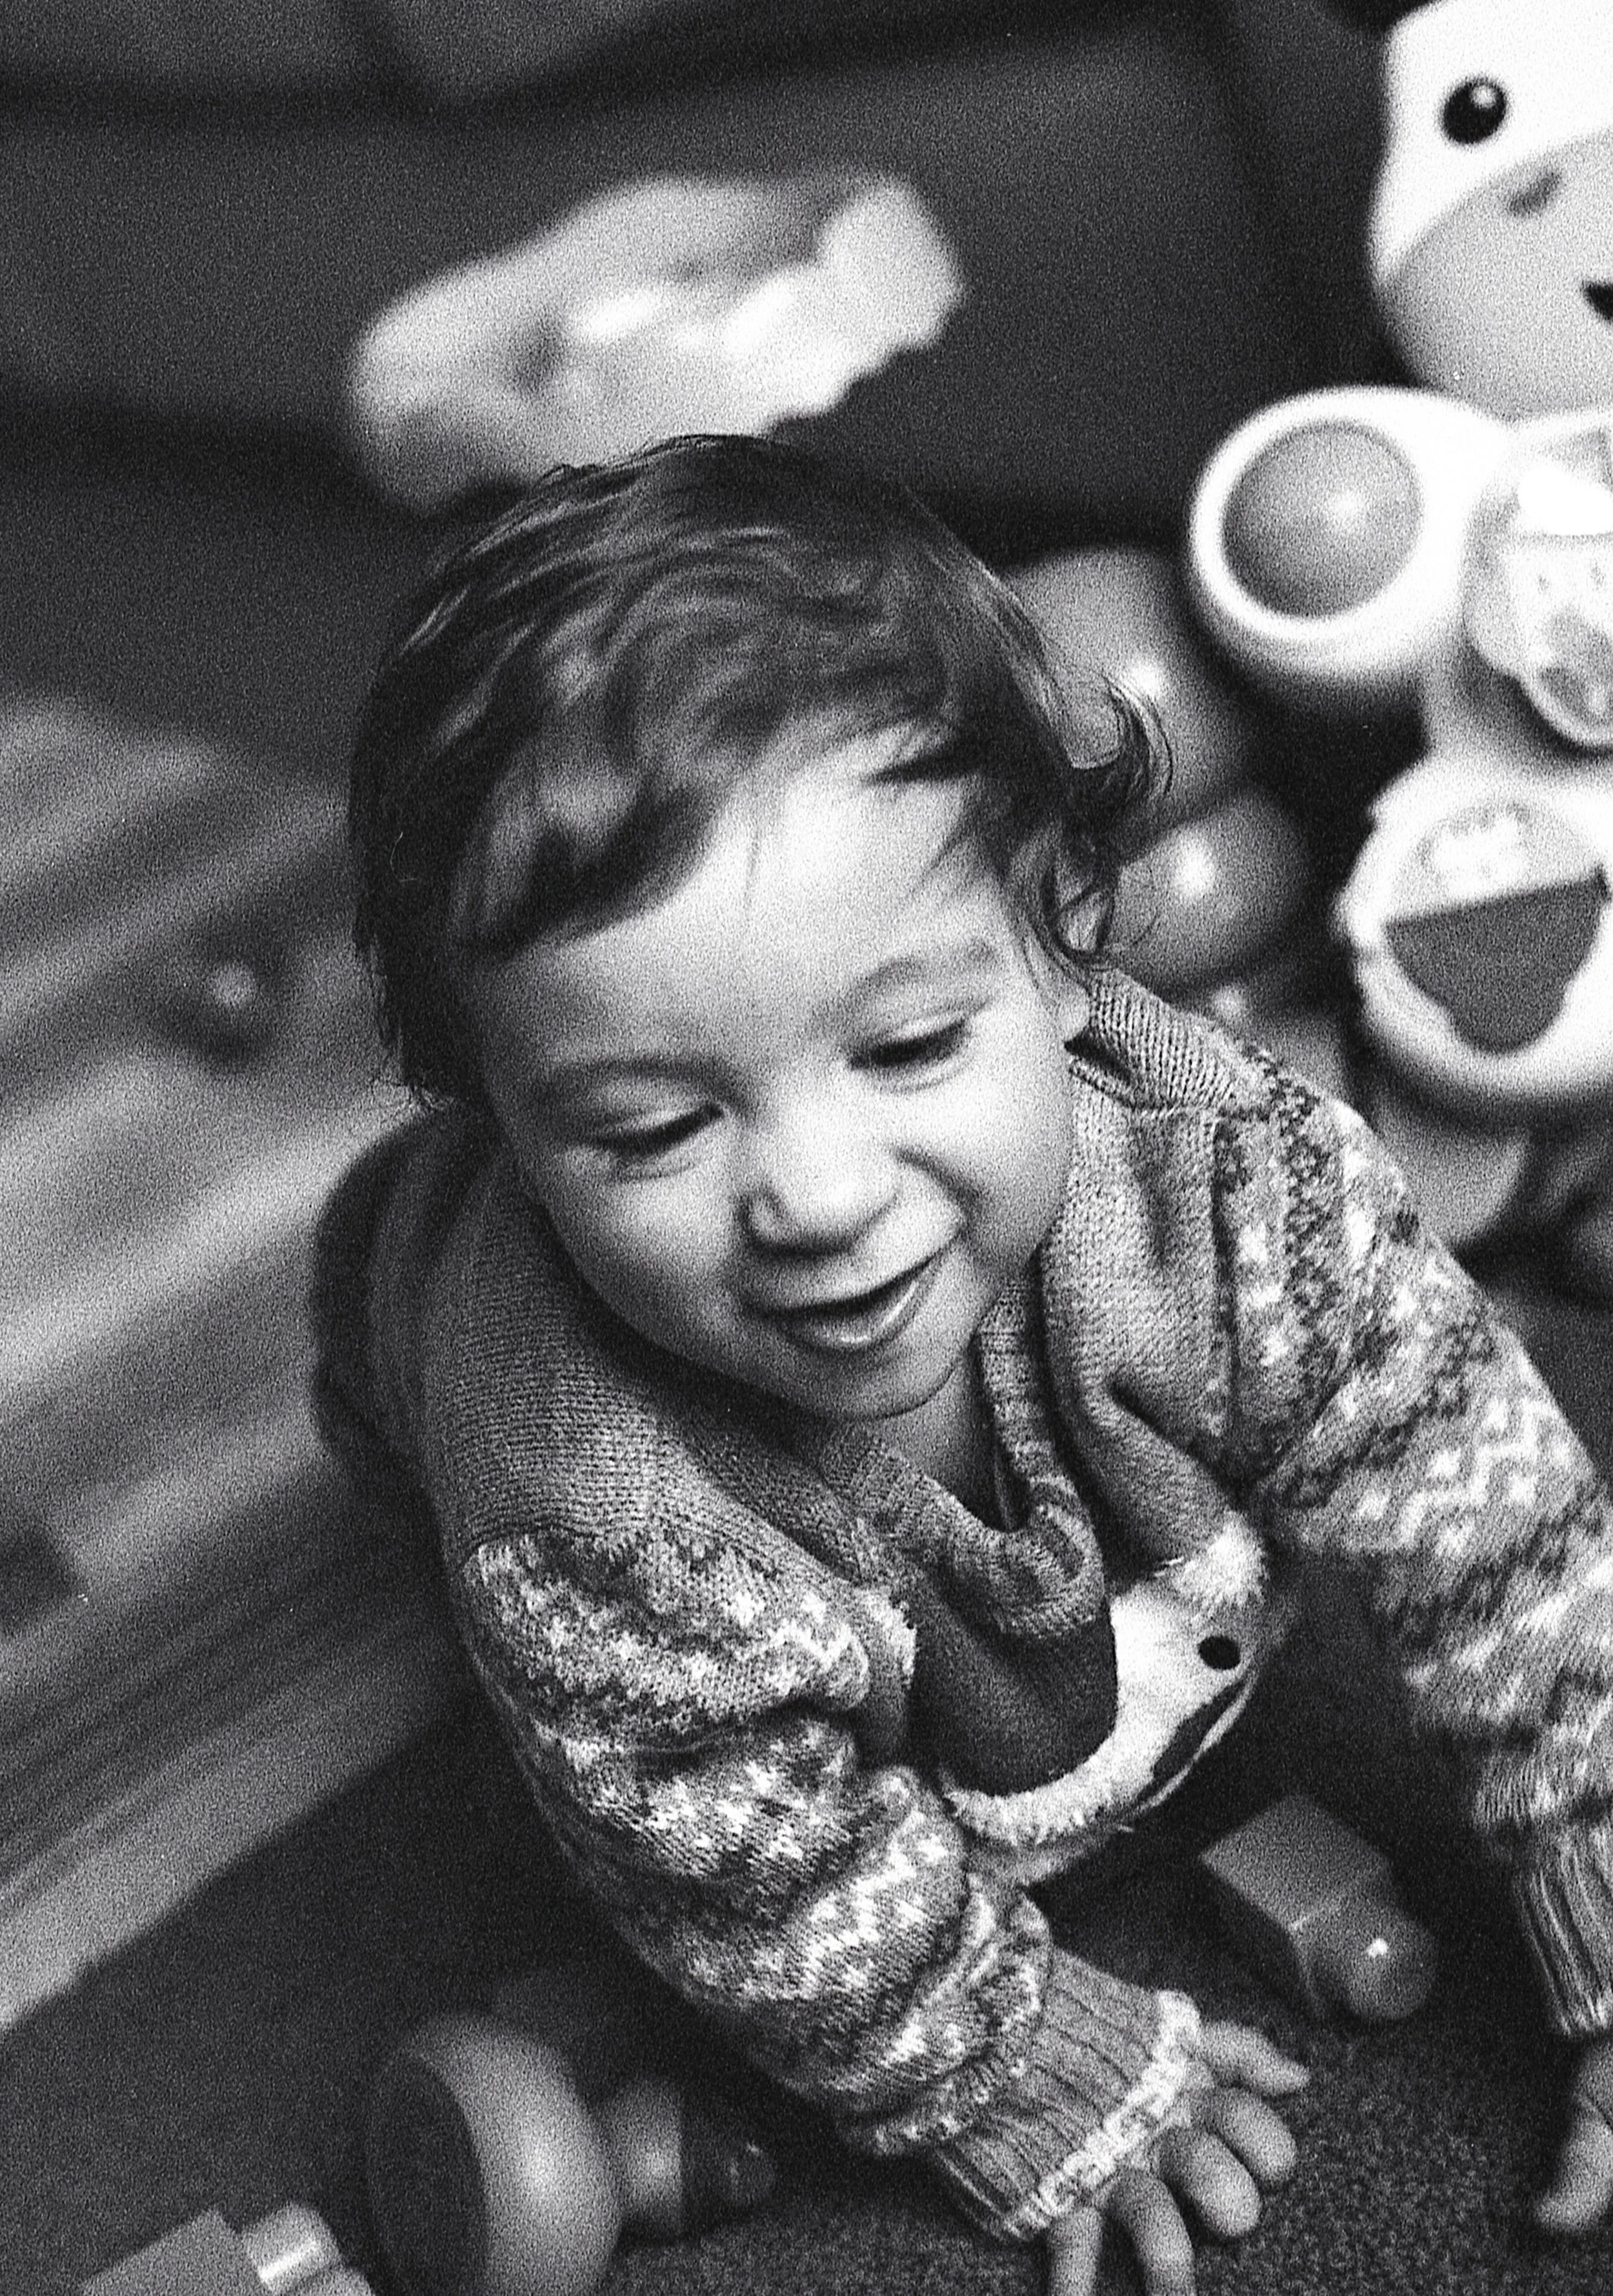
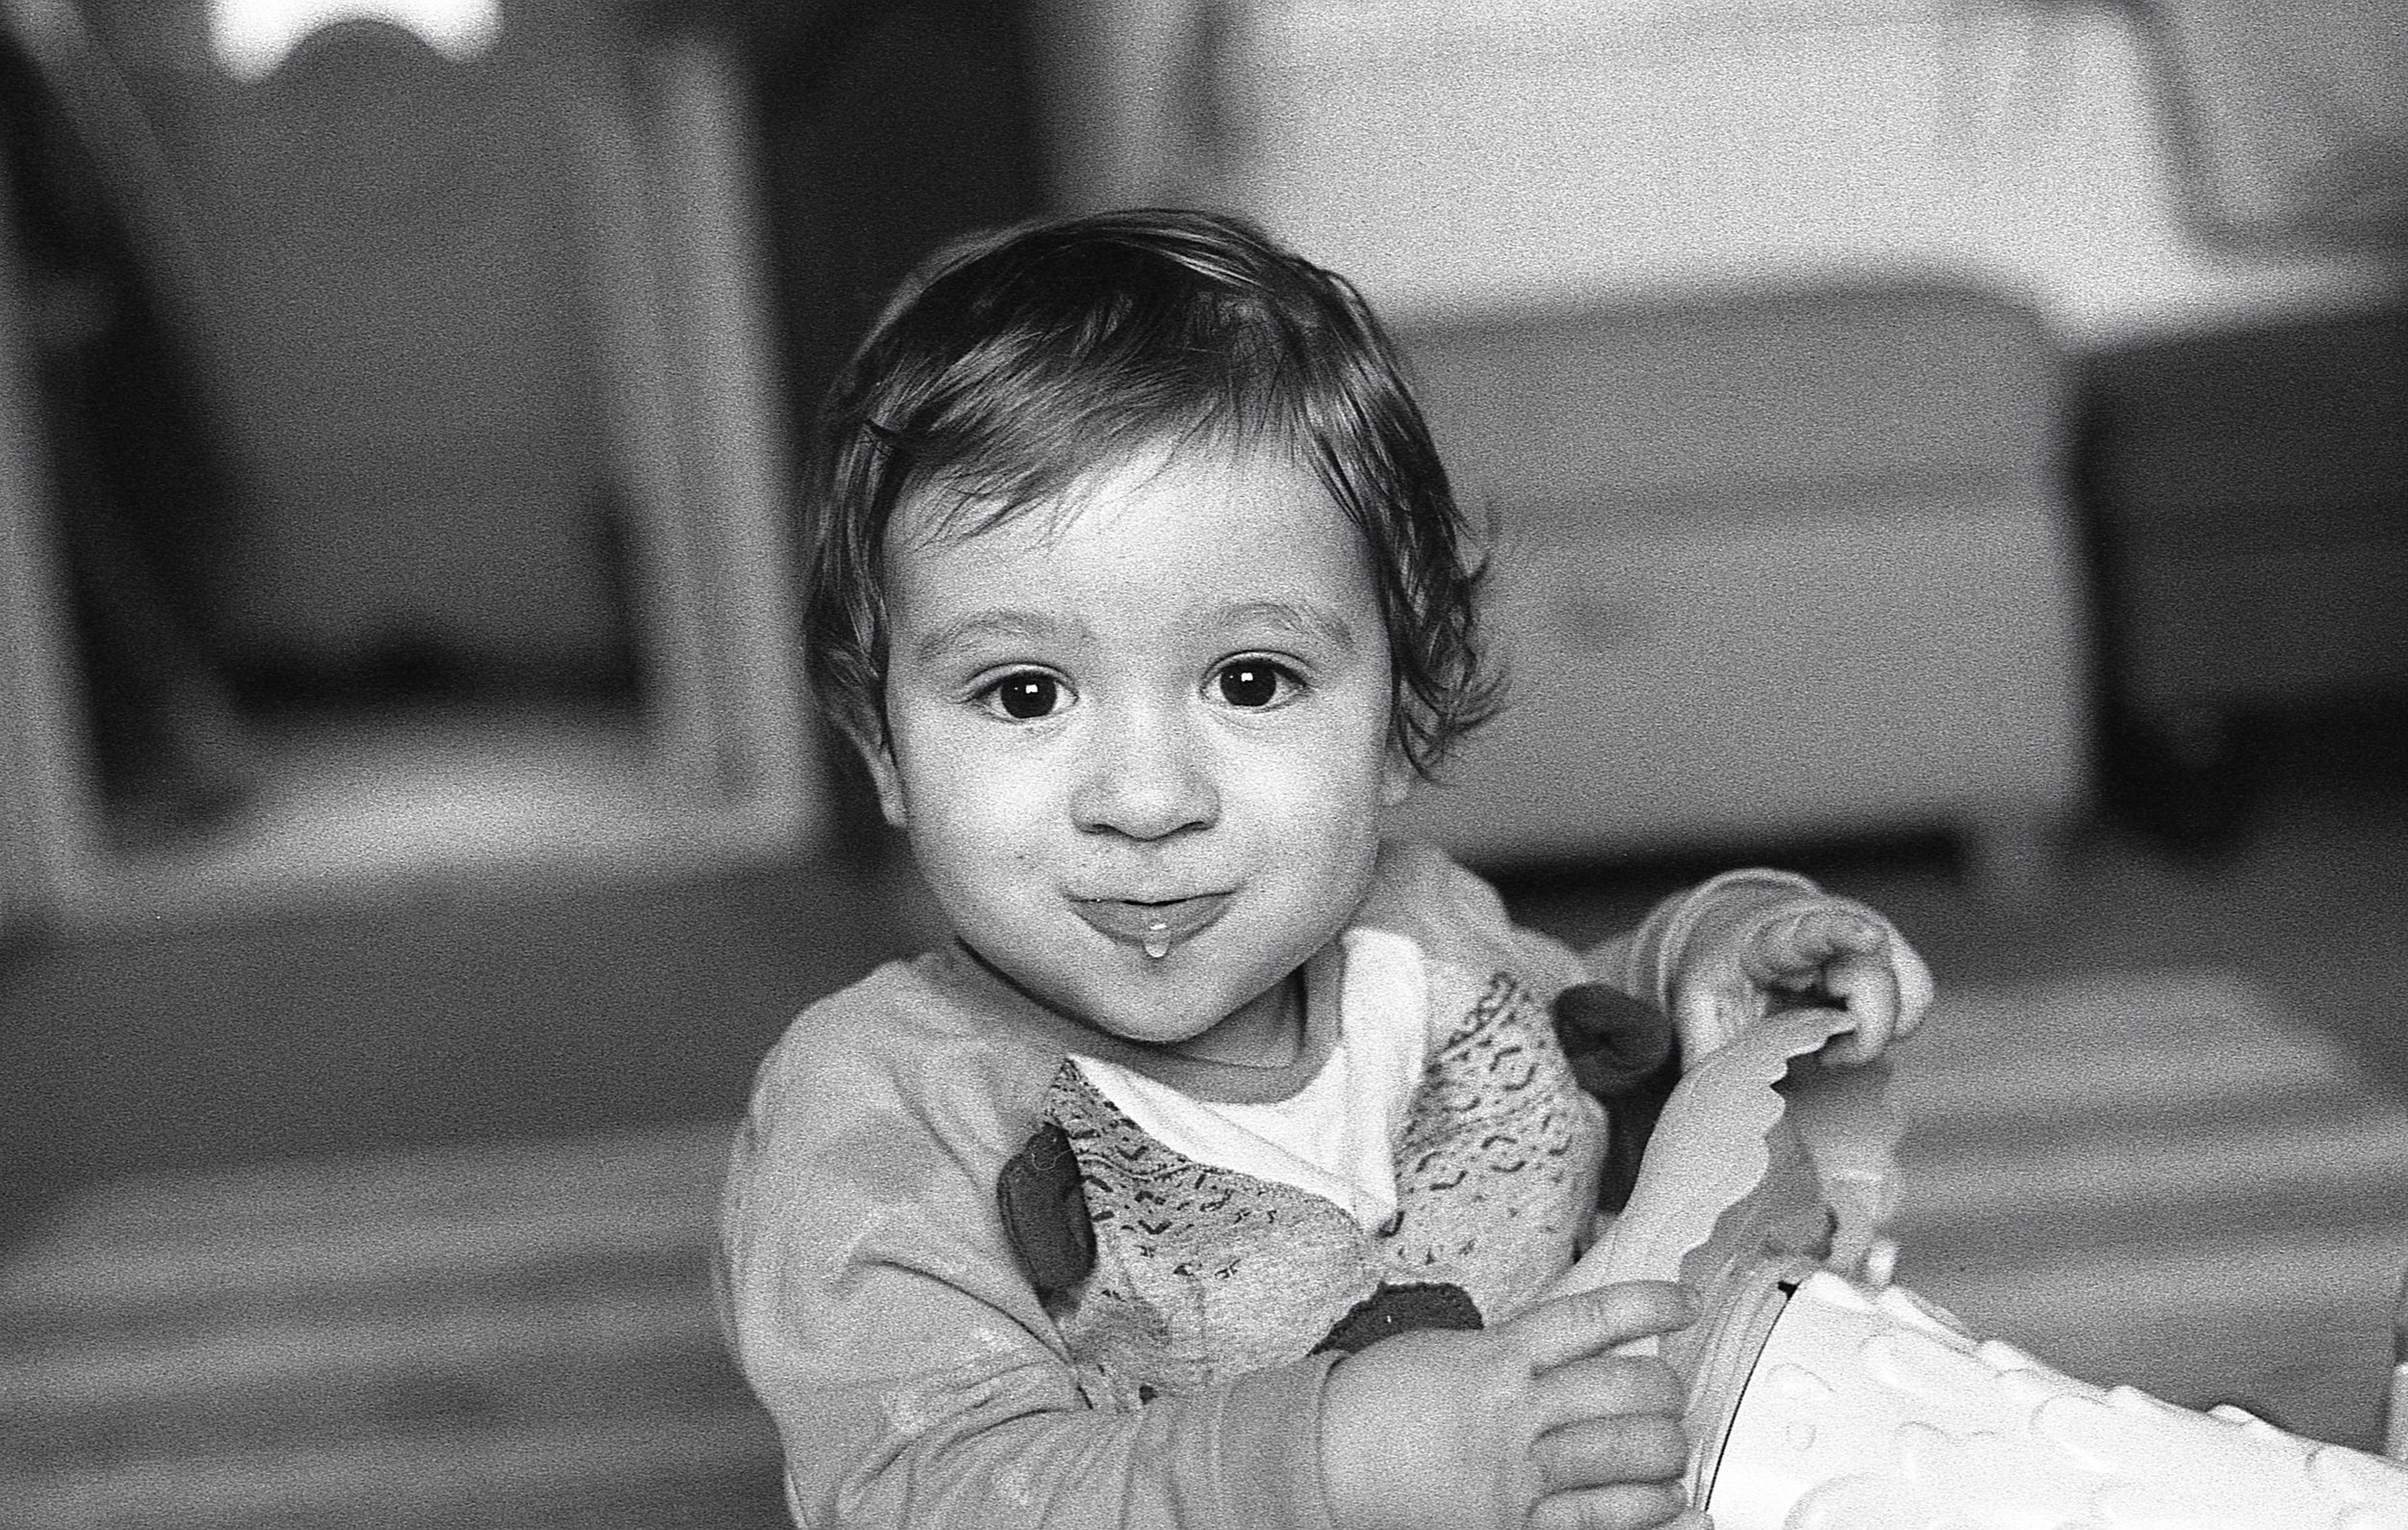
The following black and white images were a good test of the Nikkor 50mm 1.8 focussing whilst trying to get my little boy to sit still for half a second (an impossible task)! I shot HP5 rated at 800 and developed semi stand in Rodinal and I'm really happy with how they came out, the 50mm 1.8 lens really is very sharp and contrasty so I can forgive it's wobbly focussing!

img386.jpg
img367.jpg

So in short I flippin love this camera, it's very well put together, the lenses are sharp and contrasty just the way I like! I'm now on the look out for some more of the legendary Nikon glass to put in front of the FE so watch this space as the next few blogs are likley to be all about those!

In the meantime if you've enjoyed today's blog post why not subscribe to the blog and get updates on new posts - see you next time! :)

life through a lens....

It's no secret that I'm a fan of vintage film cameras (in fact some might say i never shut up about it....) so imagine my delight upon discovering that some boffin in a shed somewhere has invented an ingenius device that allows me to use some of these ancient lenses on my Canon 6D DSLR!

(just in case you are struggling to imagine the extent of my delight, let me tell you that i was pretty blooming delighted)!

Carl Zeiss Tessar 50mm 2.8 on the 6D

Carl Zeiss Tessar 50mm 2.8 on the 6D

the ultra high tec device that makes all of this tomfoolery possible....

the ultra high tec device that makes all of this tomfoolery possible....

The adapter itself is basically a metal ring which attaches to the lens on one side and then has a Canon EOS mount on the other to attach to your camera - there are some ridiculously cheap ones (£2) and some ridiculously expensive ones (£30) - i opted for somewhere in the middle - the 'X C Source' branded version which was £8. I'd recommend getting one with the focus confirm chip attached as pictured, as it allows you to programe in the focal length and max. aperture of your lens so that not only can your camera record EXIF data (aperture, ISO, shutter speed) but most importantly it allows you to program inthe correct focal length and max aperture of the lens which helps the Camera to ensure you get accurate focussing - it's a bit of a faff to be honest but once it's done you're good to go.

another with the Auto reflex on the Canon 6D

another with the Auto reflex on the Canon 6D

As for the lenses the ones featured here are M42 mount lenses - M42 being a very popular mount used by loads of different manufacturers back in the 60's and 70's - which means that there are hundreds of different options to try out (and they're relatively cheap too) here's my small collection:

Helios 44M/4 - a Soviet classic with legendary swirly Bokeh abilities! although this one only works on my Canon 5D

Carl Zeiss Jena Tessar 50mm 2.8 - another Soviet classic, this East German lens was nicknamed the 'eagle eye' becuase of it's sharpness!

Zebra stylee!

Zebra stylee!

Auto Reflex 55mm 1.8 - an 'unbranded' lens that cost next to nothing with a Chinon Camera, the image at the top of this blog was taken with this - not bad eh?!

oi! gimme my lens back!!!

oi! gimme my lens back!!!

Auto Chinon 35mm 2.8 - my obsession with 70's era mid range Camera manufacturer 'Chinon' continues!

There is something to be said for the additional challenge that shooting with old lenses brings above and beyond the physical and visual characteristics of the vintage glass itself (which can render some lovely dream like images) and of course most of them are dirt cheap! the most expensive M42 lens in my small collection was £20!

Carl Zeiss Tessar on the 6D

Carl Zeiss Tessar on the 6D

In time I'll do a bit of a review of each lens using both Digital and film (as nature intended) but for now I'll finish with a few general pointers on what you can expect when shooting with classic lenses on modern cameras:

Aperture Priority shooting -  you'll have to manually adjust aperture and then set the aperture on the camera to corresponding number as it won't always do this automatically, no biggy!

Viewfinder - because of the way the lens adapter works the narrower you make your aperture the darker your viewfinder will get as it lets less lightthrough - not much of an issue in daylight but in low light situations, focussing and composing can be tricky (which is why focus confirmation is a good thing)

Focussing - you may find it hard to find focus as modern DSLR's do not have focusing screens so the confirmation chip really helps

Manual means Manual.....I realise this is obvious but just in case you hadn't figured it out that these are of course all manual focus lenses - you're fancy auto focus system won't work here!

Helios 44m4 taken with a Chinon CM3 camera.. i think this is on Rollei Retro 80S film...

Helios 44m4 taken with a Chinon CM3 camera.. i think this is on Rollei Retro 80S film...

Helios 44M/4 on a Chinon CM3 body using Rollei Retro 80S film - developed at home in Rodinal

Helios 44M/4 on a Chinon CM3 body using Rollei Retro 80S film - developed at home in Rodinal