A how to develop 35mm film at home blog has been at the back of my mind for flipping ages so here it is at last! I wanted to share the process invovled for developing your own black and white negatives at home using basic equipment and to show the steps involved.
A few years ago I was very fortunate to have been able to purchase a job lot of home developing equipment for the absolute bargain price of £25 which had belonged to a local photographer who had very sadly passed away - in fact when I went to collect the film developing kit I was also given enough equipment to set up my own darkroom (which i fully intend to do when i have the space)! I am very grateful to have been given this kit and will treasure it always by continuing to put it to the use it was originally intended. :)
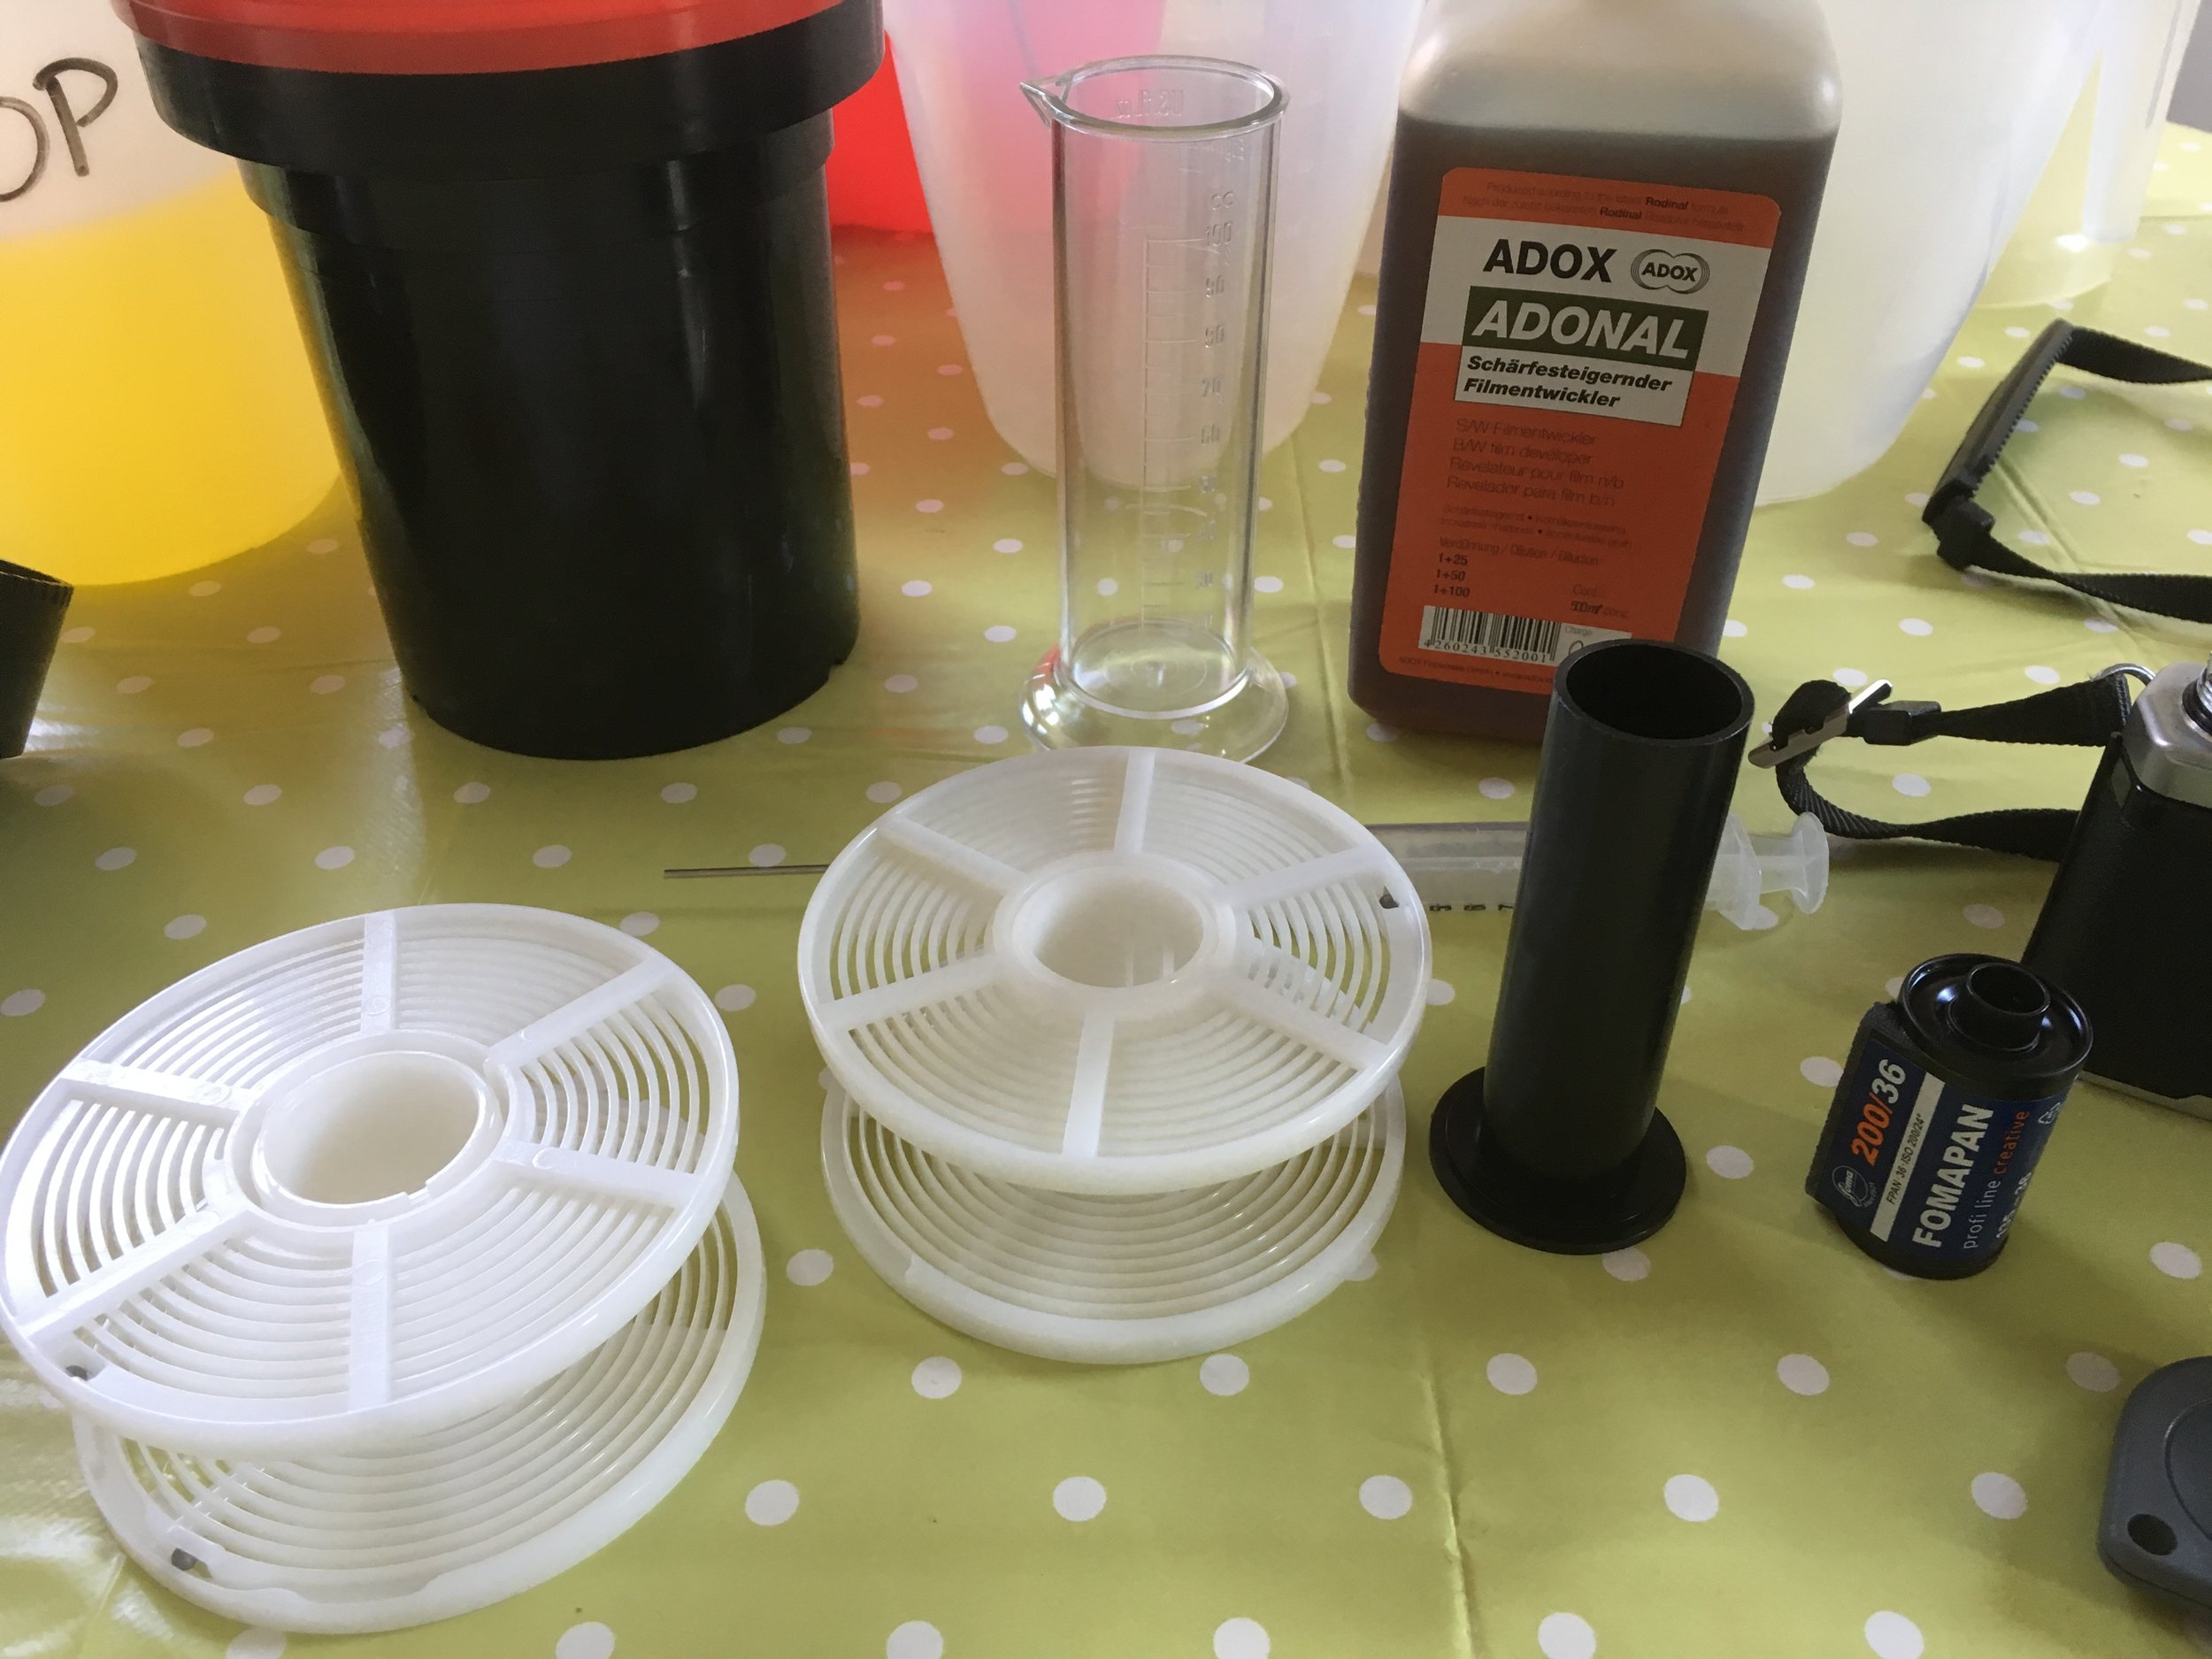
The kit to develop your own film at home is as follows:
1: Developing Tank - with reels to load the film on
2: Change Bag
3: Chemicals - Film Developer, Stop bath and Fixer (I'll explain more about these in a minute)
4: Measuring Jugs to pour out and mix the chemicals
5: Thermometers to control temperature of your chemicals
And basically that's it! Oh and somewhere preferably with running water in which to conduct this alchemy - for me the bathroom is best.
So we've got our kit together, the process involved is as follows:
1: Load film onto the reel and seal up the developing tank (this bit has to take place in the dark, I use the changing bag which I'll explain later - it takes some getting used to but if I can do it then anyone can)!
2: pour in the developer and leave for a specified amount of time - sometimes giving it a spin every couple of minutes and other times leaving it alone altogther depending on the particular developing technique you want to use
3: pour out the developer and pour in the stop bath - this stops the developer from doing anything else then pour out the stop bath (you can re-use this)
4: pour in the fixing solution
So in effect what you are doing is mixing all of the chemicals up, soaking the film in the developing tank in the developing solution for an alloted amount of time, then washing it in a 'stop bath' to stop the development and finally a fixing solution to 'fix' the image onto the negative - it's a very hands on tactile process and I'll try to explain it without making it sound complicated!
This being the 21st century as per usual there is an app which comes in very handy when considering all of this - for reasons best known to themselves it's called the 'Digital Truth' Massive Film Developing Chart the digital truth part sounds a bit odd when we're dealing with an analogue film but hey who am I to question these things?! whatever, it's a resource of 1000's of film types and developer combinations and it can work out the correct developing time for the outcome that you want - you see that's an element of the creative control you have, want more contrast? OK well we're going to have to agitate the developing tank in a particular way to achieve that you can see more about the Massive Development Chart HERE
The app works great on my iphone and as you can see here it gives me the times for each element of the process - simples! You can also create your own timings and this is one that i did for this particular process which is a 1 hour semi stand development in Rodinal film developer.
Now there are loads of different techniques for developing films so there's loads to go at, one technique which I think I've mentioned before in a previous blog HERE is called Semi Stand Development and it's a beautifully simple way of developing - basically you pour your developer into the tank, give it one or two turns to mix things up and then leave it for 30 mins, give it another spin and leave for another 30 mins and you're done.... there's an even more simple method called Stand Development in which you don't even bother with the spin at the 30 minutes mark! but I prefer to give it that one or two spins just to make sure that the chemicals aren't getting spent and we get a nice even finish.... anyway it works really well with slower speed films of around 100 ISO and below and as with all things in life there are compromises to the simple developing process that it tends to average out shadow and highlight areas and it does bring out the film grain although personally I love film grain so that doesnt bother me!
Developing your own film might sound a bit complicated but actually it's fairly straight forward - albeit a bit technical process - there's a ton of information out there on the internet to help guide you, I'll put some links in a little later for good places to get you started.
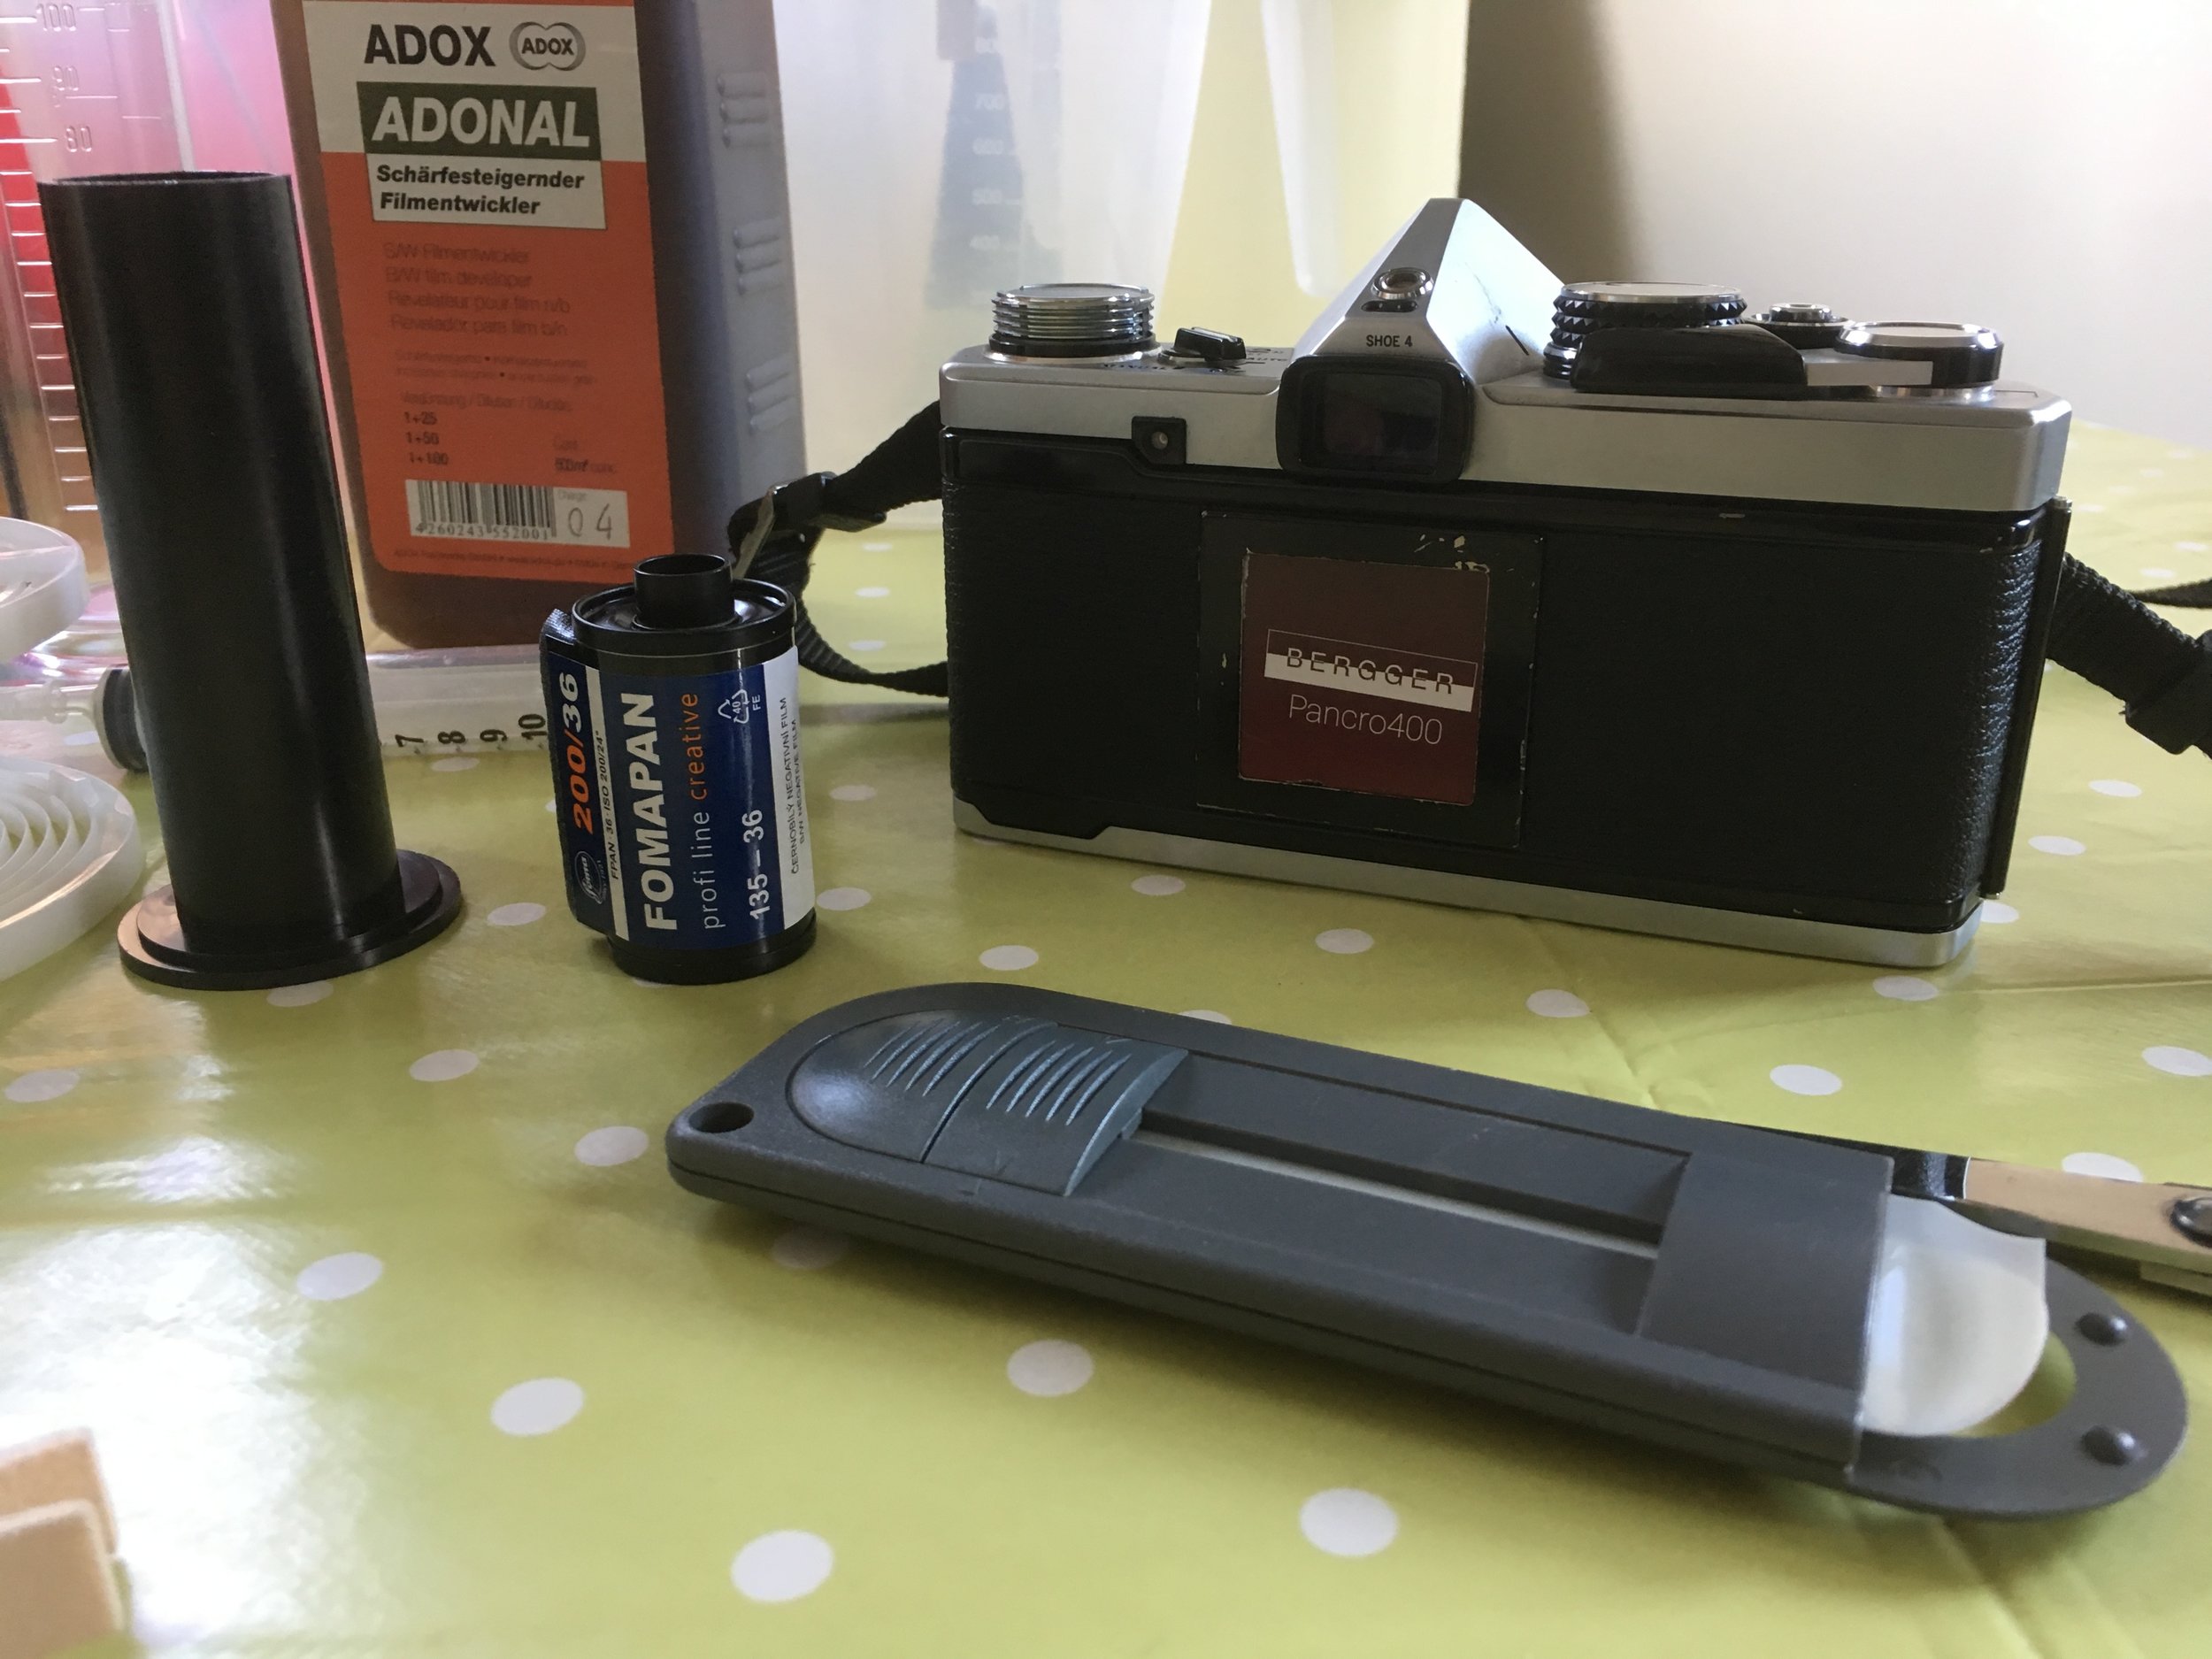
Developing my own film is a whole other aspect of film photography and the creative process that I really enjoy and one which gives you another layer of control over the final outcome of the image. The films in question are Fomapan 200 and Berger Pancro 400 - Foma is a relatively cheap film but I really like it, it's got a classic black and white film 'look' to it which appeals to my eye, the Berger film is brand new on to the market so I was very excited to shoot this - I'll let you into a secret now, I messed up this roll of film and got no images from it :( it's sod's law that the one time I decide to document the development process is the only time in the 3 or 4 years I've been shooting film that this happens but hey ho! that's film photography for ya I guess! I'll go into how I managed to cock it up so spectacularly later (completely operater error i might add, I am sure Beger Pancro 400 is a lovely film, we'll just have to wait for another day to see it)!
The snazzy device on the left of the pic above is a film extractor - it pulls the film back out of the canister so i can load it on to the reel. In the image below you can see the changing bag which is a light tight erm... bag... you place the developing tank, the reel, the film and a pair of scissors in the bag and zip it closed, then stick your arms in the two arm holes at the top and you then have to load your film on to the reel, wind it on, cut it free from the canister and then load it into the developing tank and seal it shut... all without being able to see what your hands are doing as it's inside the bag! it's a bit of a head twister at first but you soon get the hang of it!!
The sharp eyed amongst you will notice that that's a roll of medium format film not 35mm in the bag - these pics were taken seperately to the films I'm talking about today but it was only when putting this blog together that i realised i didn't take any pics of me loading the foma or berger film in the changing bag...anyway you get the idea, film in bag, load it in the dark, bobs yer uncle!
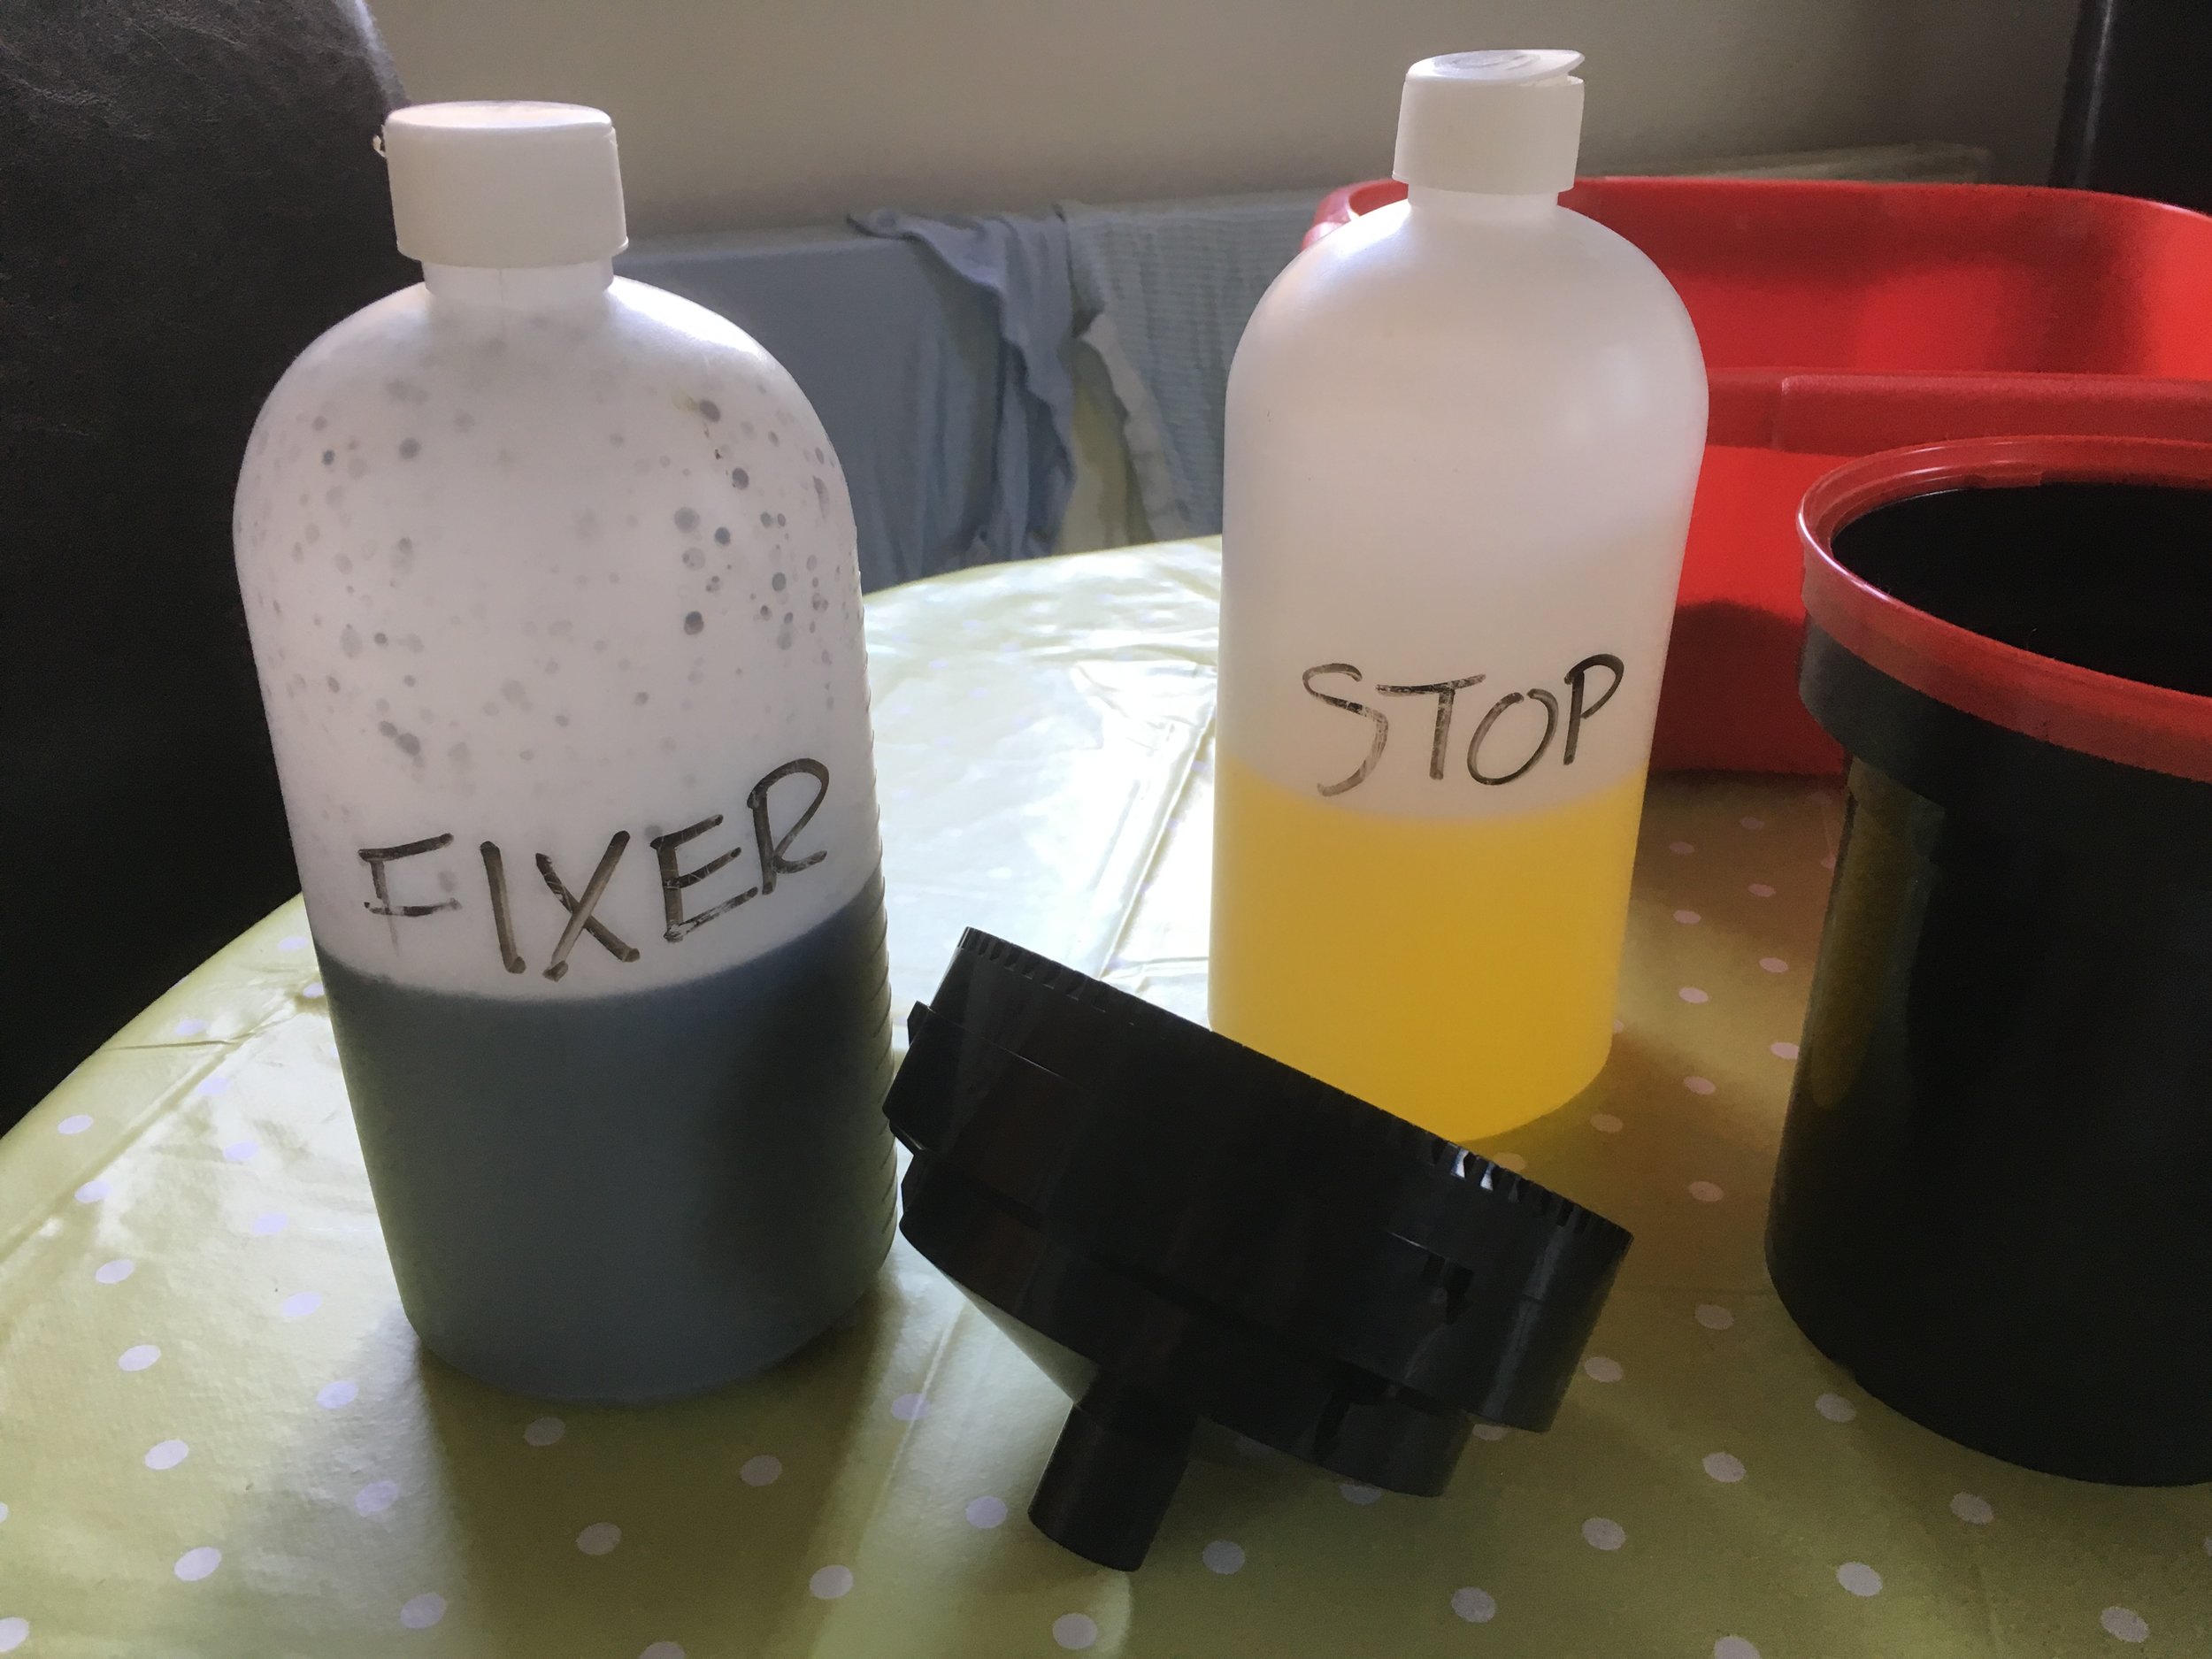
So we've got our film loaded in to the developing tank - i usually pour in some water at 20 degrees C so that the film is at the same temp as the chemicals (temperature control is important - especially with a stand development process) - above I've got my developer, stop and fixer ready - handily labelled so I don't confuse myself! ADOX Adonal is a lovely developer - i bought mine from my favourite film supplies shop NT Photo Services check them out HERE
I also use a washing up bowl which i fill up with water of the requisite temperate and stand my developing tank in that whilst it's developing as another means of controling the temperature (it's important)!
After I've followed all the steps outlined above it's time to wash the film and look at the results.....
... And there you can see on the left I have a lovely set of negatives developed and on the right.... nothing... nada... bollox! the one time i decide to document my film developing process is the one (and only time) i have a problem :( turns out that i messed up loading the film into the camera - it didn't catch on the take up spool so when I was taking photos the film wasn't being exposed... hence blank roll of film! IDIOT!
So after hanging up the film to dry, i scan the negatives into the computer and here are the results! I'm pleased with how the Foma turned out - some examples below
A key thing with Semi Stand Development is that you can develop different speed films at the same time! 100 speed, 50 speed 400 speed?? stick them all in the same tank if you have the room - your timings, dilution and process will remain the same, sure the final effect varis depending on different factors but you'll get a solid image
A final note to say that all of these photos were taken with my much loved Olympus OM2n camera with a 28mm f2.8 Zuiko lens - a winning combo for travel/being out and about!


