review

Lomography Lomochrome Purple Review

 
0-9.jpg

Hello friends!! It’s been a little while since I did an out and out film review but fear not!! Today I shall make amends for this by giving the first of THREE (that’s right THREE) film reviews - gosh aren’t you lucky (don’t answer that)! These were all brand new films to me that I hadn’t used before each with their own unique look, so while they may have been shot on the same shoot they definitely have their own story to tell. First up we’ll begin with some purple otherwordly strangeness in the form of Lomography Lomochrome Purple XR 100-400 (my goodness what a mouthful)!!

IMG_1197(1).JPG

I’ve had a couple of rolls on ice for some time and so with Lockdown restrictions easing here in the UK making photoshoots ‘a thing’ again I defrosted one roll and loaded it up into my Nikon L35AF point and shoot which accompanied me on a shoot with the very talented Monika - check her out on IG for more evidence of her awesomeness!!

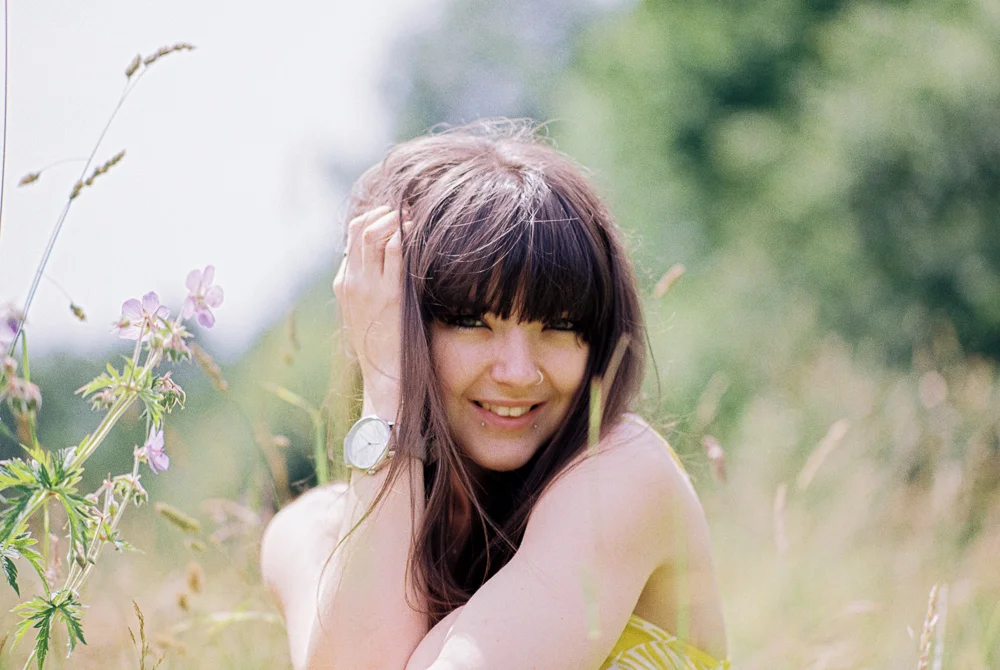
As you can see Lomochrome Purple does exactly what it says on the tin - Blue becomes green, green becomes purple, yellow becomes pink! It’s an effect that is possibly as near to shooting old school aerochrome colour infrared that us mere mortals will get these days (proper colour IR film is STUPID expensive) what I love about the film is it can introduce an entirely new angle on a shoot - alongside the Lomochrome I shot some ‘normal colour’ film stocks but it was great to have this additional creative film along for the ride.

0-5.jpg

According to the box this film can be shot anywhere between 100 and 400, but looking around online I think it’s best to stick to the 100 side of things as this will give you the most pronounced purple colour shifts, of course your mileage may vary but this film isn’t cheap and I very definitely erred on the side of caution with my metering!

0-11.jpg

These were taken on a very bright sunlit day - in fact I had a reflector with me that I didn’t use and I wish that I had for one or two of these a: to balance the hard shadows and b: to give the film some extra light to work with - as you can see this film does not record shadow detail very well and the drop off is quite pronounced, that being said but I do kind of like the effect in the background elements as it gives you quite a punchy, contrasty look but I thinkI’d have liked to have kept some more detail around Monika as my subject!

0-13.jpg

The grain structure is visible and I quite like it. The film resolves quite a lot of detail especially in the highlights and where it does fall off the grain has a gritty feel - this is most definitely not a smooth film so be prepared to embrace the grain! What I did notice in the film scans and I confirmed this with Exposure Film Lab who developed the film for me was quite a few thin lines across the image possibly from dye running off through the development, it was easy to remove in lightroom but certainly expect to do a bit of post processing removing weird artefacts in Photoshop or Lightroom (I felt like a digital shooter for a minute)! UURGH!

0-35.jpg

I picked the above image out as it shows a few things worth taking note of:

1: This was probably the most extreme example of the lines that were apparent on more than a few frames

2: My sadness at the big bloody STUPID line spoiling the shot was lessened because clearly the little Nikon L35AF wasn’t feeling the strong backlighting here (even though it has a little lever to compensate for back lighting) clearly there are limits to what you can expect - and in this situation you can expect to see a big increase in grain and lack of contrast

3: Which moves onto point number three - The lomo purple clearly didn’t enjoy this lighting either - you can see the purple shifting to a more muddy, muted, brownish colour, and the grain structure kind of falls apart a bit too and loses contrast - meh!

0-8.jpg

I tried my best to make the most of the greenery around, at the time of the shoot most of the trees were still bare but there was enough evergreen ivy around for us to work with and Monika did a great job of diving into the spiky Ivy branches! Skin tones were very much on the pinky/red side of things despite Lomographys assertions that this film keeps skin tones looking natural but to be honest my advice is to just embrace the colour shifts and go with it, I really love how these shots came out - Lomochrom Purple is a great way to add an instant creative edge to a shoot and works well when shot alongside some more traditional colour/black and white stocks.

0-14.jpg

So in conclusion then what can we say about Lomography Lomochrome XR 100-400 (aside from the ridic long name) well my completely subjective and unscientific analysis is: I absolutely love it! (‘What a fucking surprise’ I hear you cry)!! Fair comment - I am yet to meet a film stock that I didn’t fall in love with one way or the other…. although with this one I was especially uncertain with it being such an unusual film to begin with and then first time shooting it.

One of the things that I enjoy about film photography is that many of your creative choices are made up front when it comes to choosing films stocks etc Lomo Purple gives you a really ‘out there’ trippy vibe right off the bat. It’s not a cheap film and based on my experience it really does need good lighting so while I have another roll on ice, I’ll be waiting for the right opporutnity to bring it out. I have to say that it was great shooting the little Nikon L35AF loaded up with this bonkers film - a great little camera that will have a blog of its own one day I promise!!

Would i use Lomo Purple as a stand alone film stock for a portrait shoot? No… I feel it’s more of a creative addition to your colour pallete rather than the main focus or at least that’s how I used it, which brings us nicely to a reminder to watch this space for parts 2 and 3 of this film review trilogy - I’ll be bringin you another Lomo film this time a more traditional stock Lomography colour 100 in medium format! I bet you can’t wait…. but you’ll have to, I haven’t written the damn thing yet…

Kodak Pro image 100 & Portra 160 review - Portrait shoot out

Now that I have FINALLY settled on some camera kit that I’ll be keeping around for the long term I can focus my energies on exploring different film stocks - not that I wasn’t doing that anyway but I was finding flitting from one camera to the next a bit of a distraction, for the record the cameras which have won my heart are the Nikon F2 and Pentax 67 - today’s blog features a portrait shoot on the F2 shooting with a shiny new portrait lens and using two different film stocks Kodak Pro Image 100 (a new film to me) and Kodak Portra 160 (a film I have used a few times before)

Whilst the main focus of the conversation will be on looking at the two film stocks first up I’ll take a moment to show you the kit I used on this shoot, I’ll then take you through the shoot itself.

IMG_2740(1).JPG

I have just bought the very wonderful Nikkor 105mm 2.5 a lens which has a HUGE reputation as an amazing portrait lens, when i bought it the focus ring was quite stiff so I sent it off for repair to a chap called Miles Whitehead who did a great job of fixing it and it now has silky smooth focus action - I would highly recomment Miles if you have some camera kit in need of some TLC check his site out HERE. In fact as I write this I am reminded that Miles also serviced my F2 when I bought it so double thanks!! :)

I was originally going to include a few thoughts on the 105mm lens in todays blog but I loved using it so much that I think I’ll reserve that for a dedicated blog all of it’s own - suffice it to say that it’s reputation is very well earned, an amazing piece of glass!

Ideal for portrait, weddings and social events dontcha know…..

Ideal for portrait, weddings and social events dontcha know…..

I think most people will be familiar with Kodak Portra 160 which is a mainstay of Kodak’s professional line up, but what’s this Pro Image 100 all about? I’ve been shooting a lot of Portra 400 and 160 recently and whilst I love both film stocks I am always interested in trying new things and the results I’d seen from Pro Image appealed to me - the other great thing about Pro Image is the price! I got this for £25.95 for 5 rolls!

This film stock has only recently come to the UK/European market - despite being around since the mid 90’s, the stock was only sold in warmer climates, big thanks to the good folks at Nik & Trick for being instrumental in making the case to Kodak for getting this film available in Europe :)

Ok so I have a lovely film camera - check, a great portrait lens - check, a shiny new colour film - check, a beautiful location to shoot in….check! What’s next? I need someone to photograph! Fortunately I’m part of a great facebook group for photographers and models to network and arrange shoots - Danni is someone I met through this group and we’ve shot together before when i was testing out my Pentax 645, you can see those images HERE.

Also worth mentioning at this point that i had my films processed and scanned by the good folks at Exposure Film Lab who I must thank again for their brilliant work, I use them for all my colour films these days because I just love the results I get from them - check them out HERE

The vibe for this shoot was a really natural summer look to make the most of the bright sunshine, we had a beautiful location filled with light, flowers, tall grass and trees - let’s GO!

First up i loaded Kodak Pro Image 100…

0-14.jpg
0-17.jpg
0-10.jpg
0-3.jpg
0-16.jpg
0-26.jpg

Ok then at this stage in the proceedings the word at the forefront in my mind is wow! Danni is a very talented Model which makes my job much easier and the Pro Image film is just lovely :) Let’s move on to the Portra 160 which I loaded up next and we’ll do a bit of a comparsion at the end, here’s the Portra shots…

0-16.jpg
0-14.jpg
0-12.jpg
0-23.jpg
0-7.jpg
0-4.jpg

The entire shoot lasted about an hour (if that) we went for a stroll through some lovely scenery and together we created some properly beautiful portraits full of light and life! Danni is a great model she did a brilliant job on this shoot, she puts lots of character into her work and is just a natural in front of camera, this really shines through the images - we’ve worked together before which I think always helps so we’re relaxed and comfortable working together and meant we were able to just get right into it and enjoy the shoot. I’m over the moon with the photos we created together - thank you Danni :) Check out her portfolio HERE.

In summary then both film stocks are clearly capable of wonderfully sharp, textured images with great skin tones, colour balance, contrast and detail - I therefore love them both! They each have their own look so whilst they’re comparable I think there are some differences to take into consideration. This was never intended as a ‘one film versus the other’ contest in which we have a winner and a loser but rather an opportunity to look at how these two film stocks worked under the same conditions - to that end I simply invite you to make your own mind up which you like best - or maybe like me, you like them both?!

Here’s a few of my thoughts on each stock:

Pro Image 100 - it has a wonderful grain structure, punchy contrast and I love how it handles the greens and yellows, shadows perhaps not holding as much detail as portra, it has a classic film ‘look’

Portra 160 - minimal grain as you’d expect from portra, slightly muted colour palette although in these images it produced stronger contrast than I’d expected, Portra definitely holds on to more shadow detail and also perhaps slightly sharper.

What does all this show us then? Well they’re very close actually, much closer than I’d have thought! One aspect which does create an opportunity for comparison is the price with a five pack of Portra 160 retailing at around £35.99 and a five pack of Pro Image around £25.95 then clearly if budget is the deal breaker then Pro Image is your winner, if you absolutely must squeeze every bit of detail out of the shot then perhaps Portra is the one to choose - ultimately we’re all winners here as we in the UK now have access to the lovely Pro Image and I’ve got 4 more rolls sat waiting to go! I can’t wait to shoot it again.


Learning how to make Darkroom Prints

IMG_4954.JPG

As I've become more involved with film photography over recent years I've come to appreciate and value working with a tengible substance - a film negative. I find the challenge of working with a physical substance requires a different thought process and approach than working on digital there's the lack of an immediate opportunity to see if you got 'it' so you need to be more careful about your lighting and compostion but also I can't just hit delete and start again like I can with digital not only does this slow my creative process down it makes me much more intentional when I do (eventually) press the shutter button.

IMG_4975.jpg

So if you're such a big fan of actual factual 'things' then why the flipping heck don't you print more of your work I hear you cry! great question!! I am the first to admit that I don't print enough of my photographic work - film or digital! In fact I hardly print any of it! In this digital age the vast majority of photographs I've shot in either format are just floating around on the web somewhere or hidden away on hard drives or filed away in actual files in the case of negatives - probably never to see the light of day! Worse than that, in the case of my digital files - if I wait too long they might NEVER see the light of day.

Have you tried extracting files off a zip drive lately? what about a floppy disk?remember them? Where is technology going to be in 5 or 10 years time? Who knows what kind of electronic storage devices we'll all be using in the future and even if I can access them, data routinely gets corrupted and is lost for all time. But a 35mm negative is here with us in the real world! A different proposition entirely! My interest in film photography as tangible 'thing' is a combination of the challenge of working with a finitie, physical substance and there are literally physical limits to how far I can push this physical 'thing' to achieve my creative intentions (this is a good erm 'thing' - note to self, stop saying thing now)

OK so we get it, negatives are physical things (aaargh) and this is interesting to you, but then you just scan them into the computer so....what's that all about? Exactly my point!! A film negative is a finished article in waiting - it's a halfway point a pre-photograph, these days most people digitise their negatives to complete them but then we're back in the realm of electronic ephemera again, originally the negative was a halfway point on it's journey to becoming a photographic print and I want some of my film negatives to finally reach that destination!

IMG_4956.JPG

I've been wanting to learn how to make proper darkroom prints of my work for aaaages and a recent BIG birthday presented the perfect opportunity to do so (thanks mom)! I found a course being run by Dave Butcher a master printer who worked for Ilford and was trained by them in darkroom printing techniques, Dave is also a professional photographer too and his work is A-mazing! You can check out Dave's work here http://www.davebutcher.co.uk and also the oodles of resources and guides on darkroom printing he has created too by visiting http://www.darkroomdave.com if you are so inclined then I can heartily recommend Dave's Darkroom workshop, it was an awesome experience! I would like to say a huge thank you to Dave and his wife Jan for making feel so welcome during the course, it was fantastic and I cannot recommend it enough! :)

IMG_4955.JPG

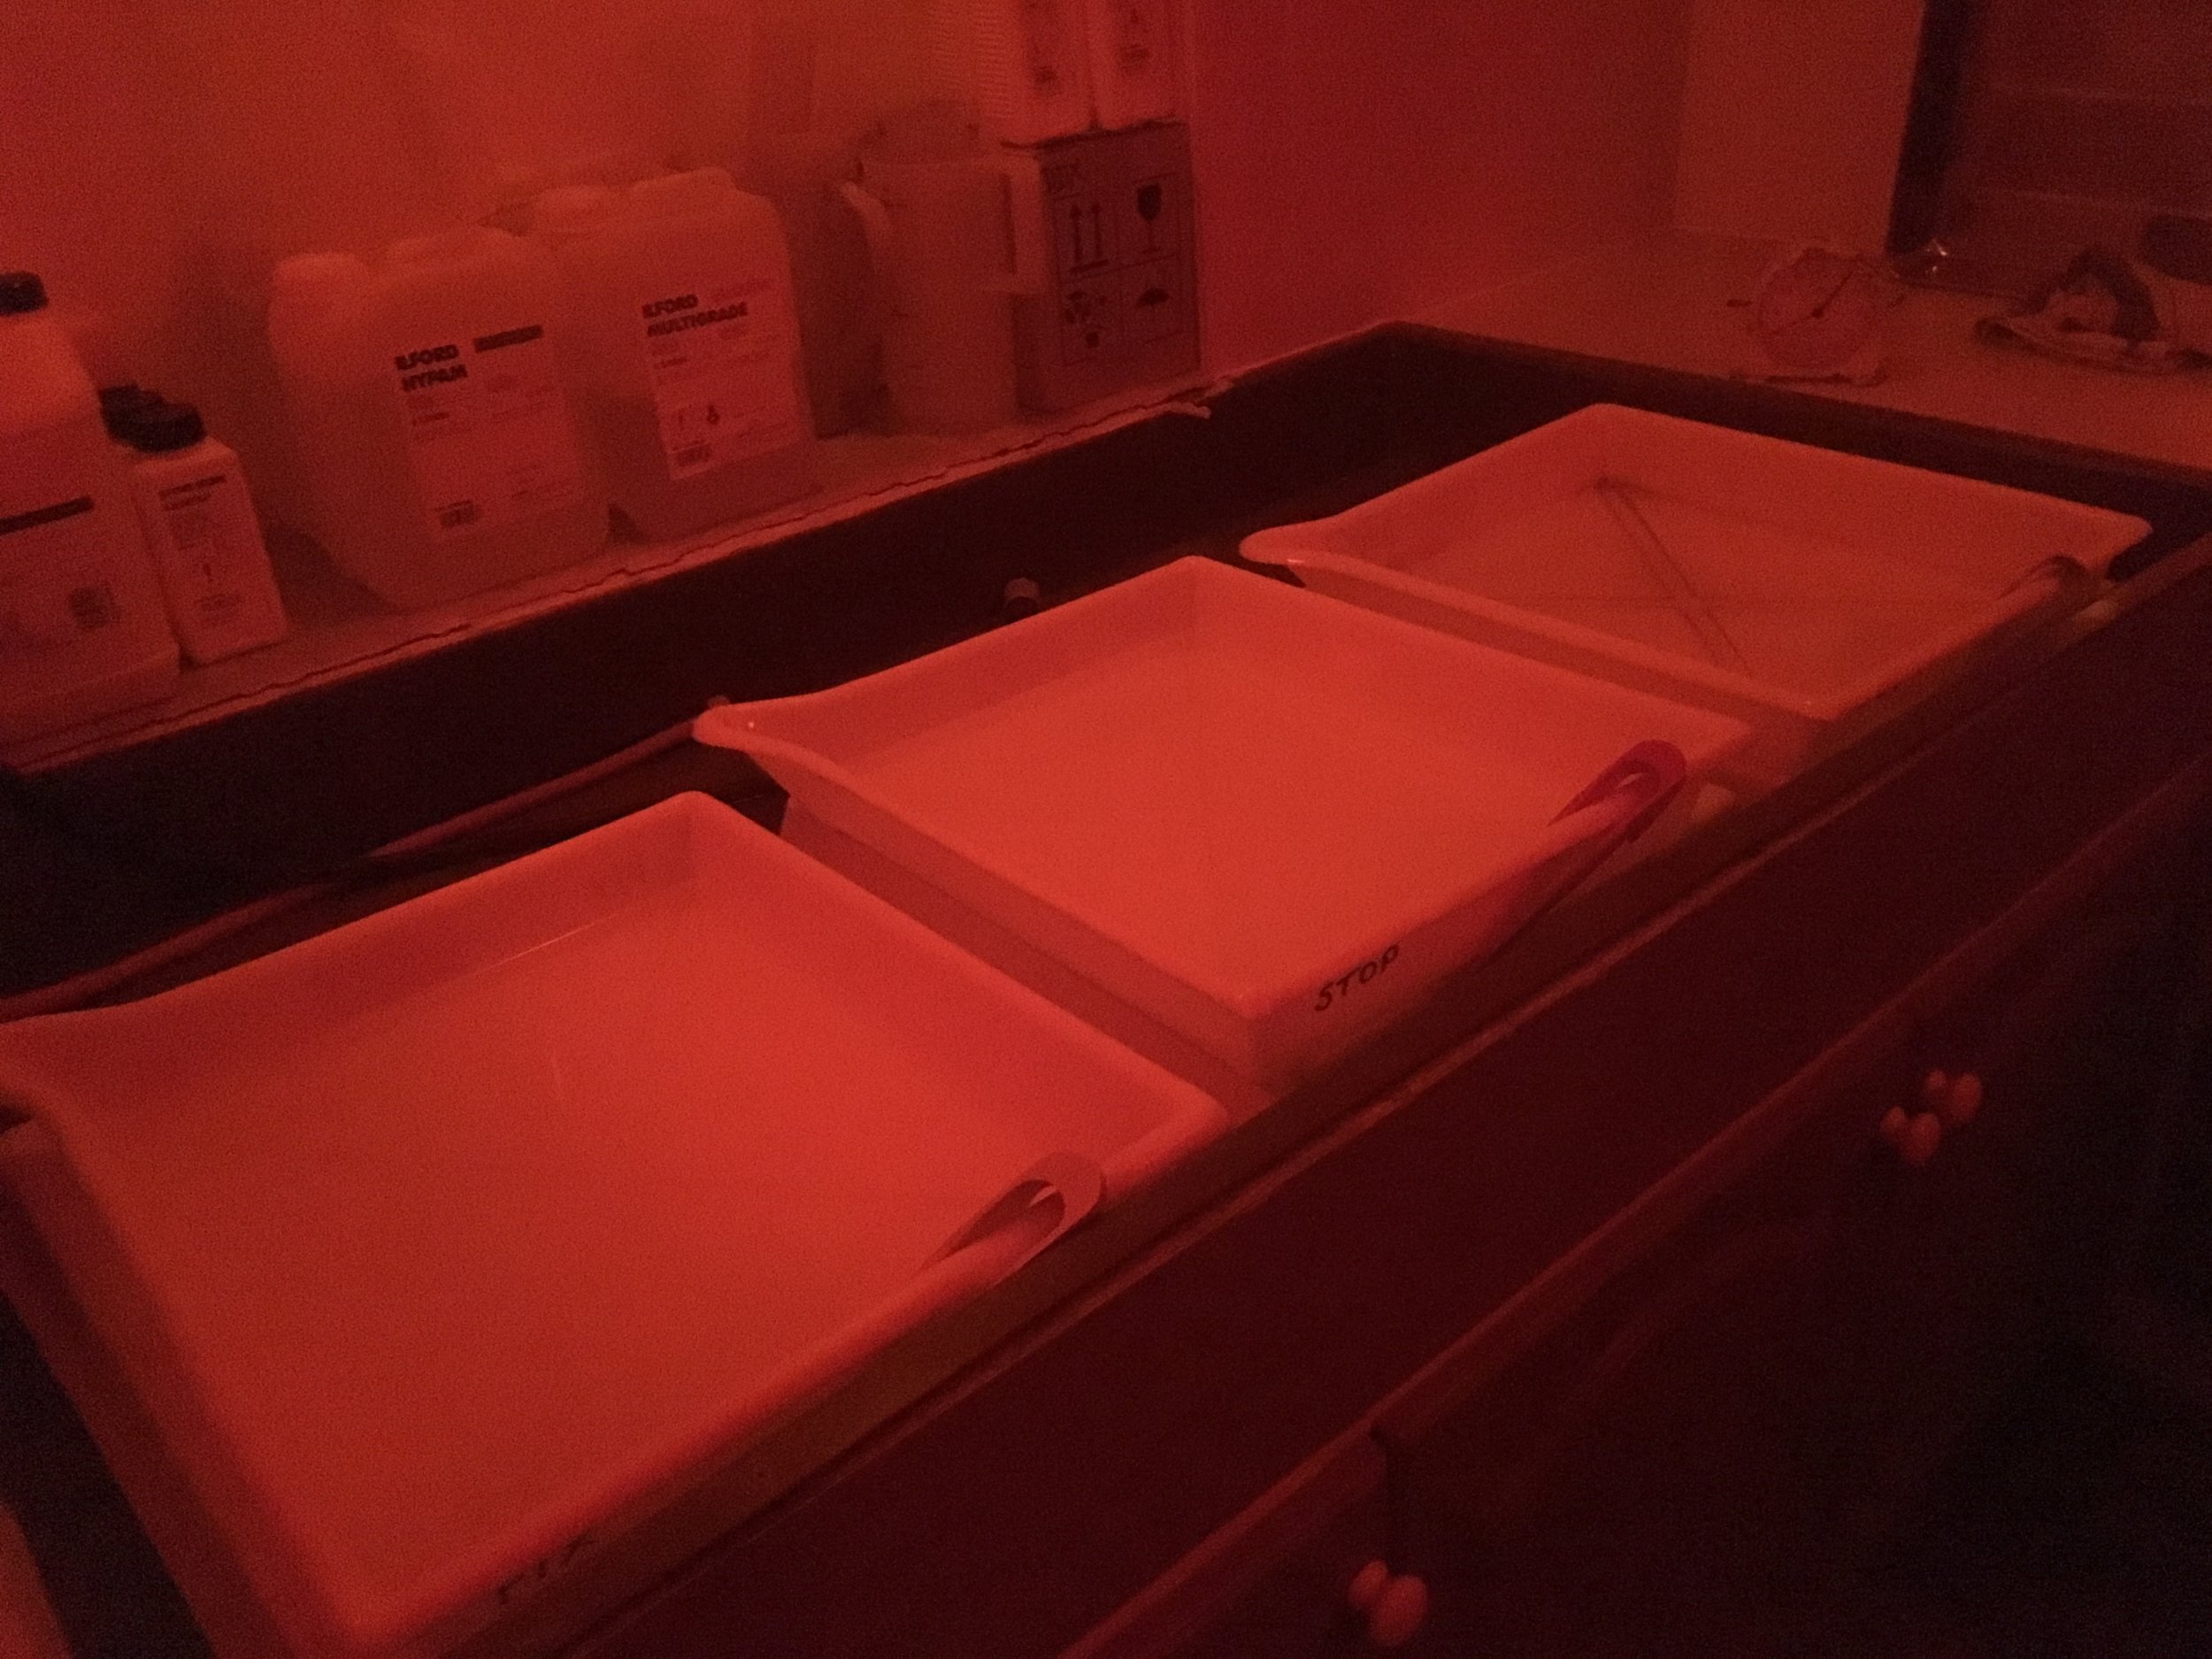
I won't try to explain the finder details of how to use a darkroom becasue a: there are a few steps involved and b: there are load of resources out there that explain the basic steps including Dave's websites linked above - suffice it to say that I spent the day at Dave's house being shown how to use all of the darkroom kit and process invovled to create black and white prints of my negatives - I took a selection of some of my fav images and I was away!! The process itself is remarkably straight forward although there is a significant amount of kit and caboodle required to enable all this - Dave is a fantastic teacher and it was great to be able to learn from someone with such a depth of knowledge on the subject, of course I am only scratching the surface and just at the beginning of this journey, what I discovered is that with the right kit, some knowledge and a bit of practice you can make decent prints and be happy - but then spend an entire lifetime learning how to make GREAT prints!!

IMG_E4960.JPG

I was over the moon to leave my first day in the darkroom with these prints to show for it! the detail, sharpness and tone of images that until now I had only viewed on a screen blew me away - I chose a selection of travel, street and architectural images along with a couple of shots of my little boy (had to be done) it was difficult to choose a small selection! but what now? surely you need a load of kit and space to set this kind of thing up right? well - yes, but not as much as you'd think and fortunately I was very lucky to have been given a complete set of darkroom equipment a few years ago which has been patiently waiting in the loft for just this very occasion!!

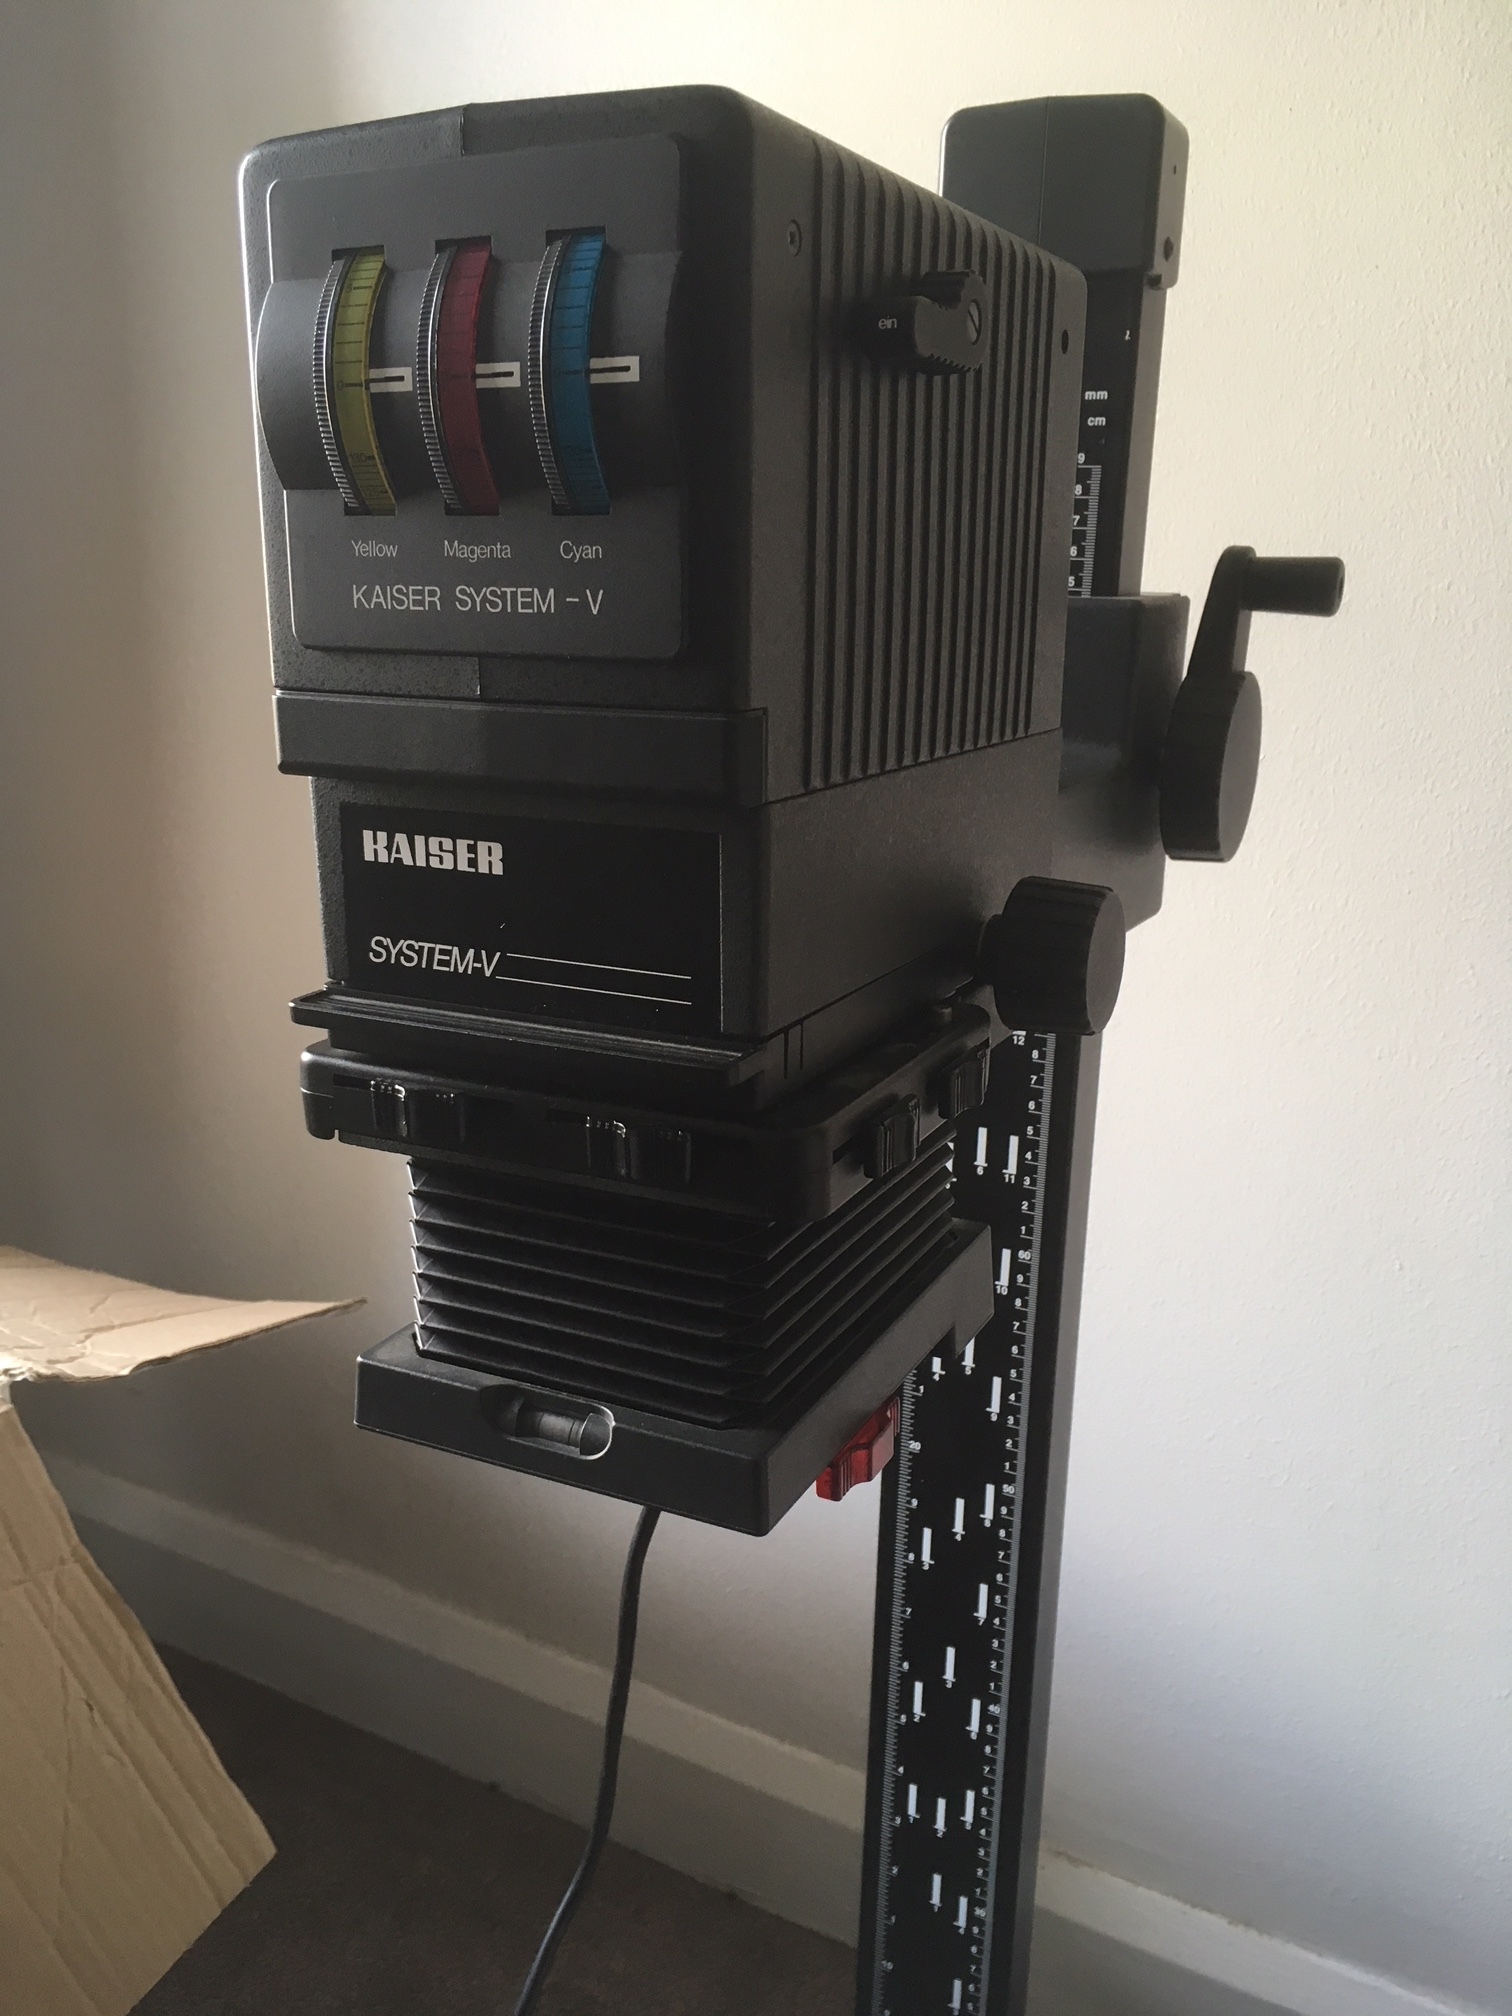
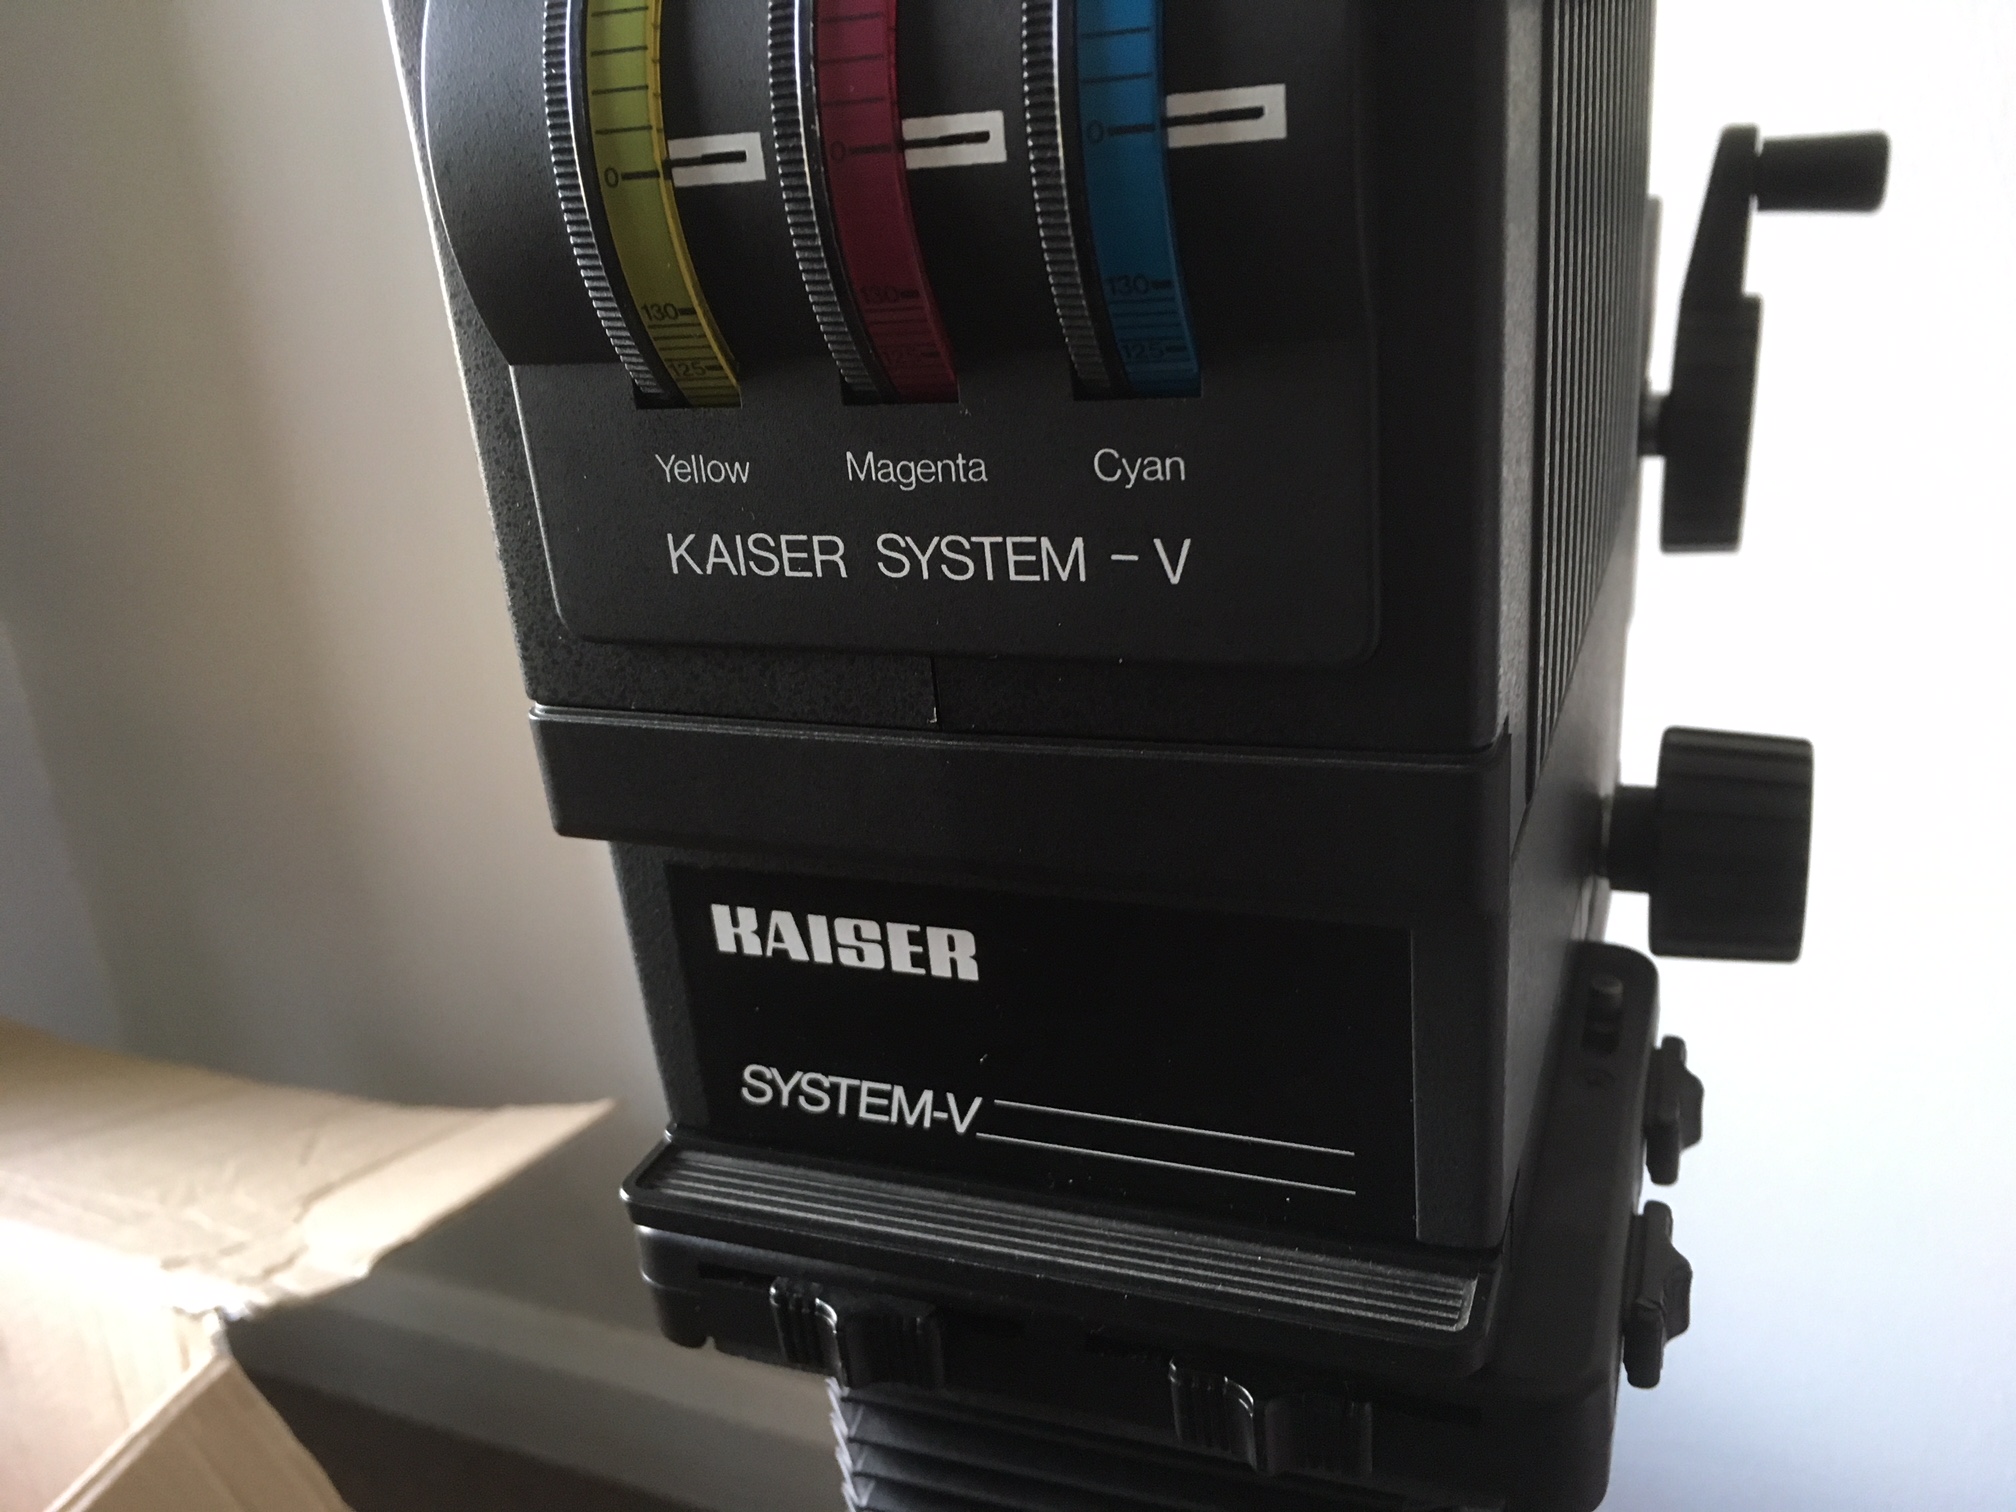
So here it is! my very own darkroom enlarger which i got along with a box full of bits and bobs that actually make sense to me now I've been on the course - before which I was really not sure what I was looking at TBH!

IMG_4964.JPG
IMG_4966.JPG

So there we have it - a thouroughly enjoyable experience! I am intrigued at how different our experience of photographic prints is to viewing images digitally on a screen - ever been round to someones house and they get the family photo album out? how does that compare to viewing some images on a screen? no value judgements here (ok well maybe some) but it's just different isn't it? our emotional response is different it's a tactile, tangible physical experience - we respond, relate and react differently to it as a medium - and this is fascinating to me, why haven't I been printing my photos more you ask, well that's about to change - big time!

Nikon FE Review

img442.jpg

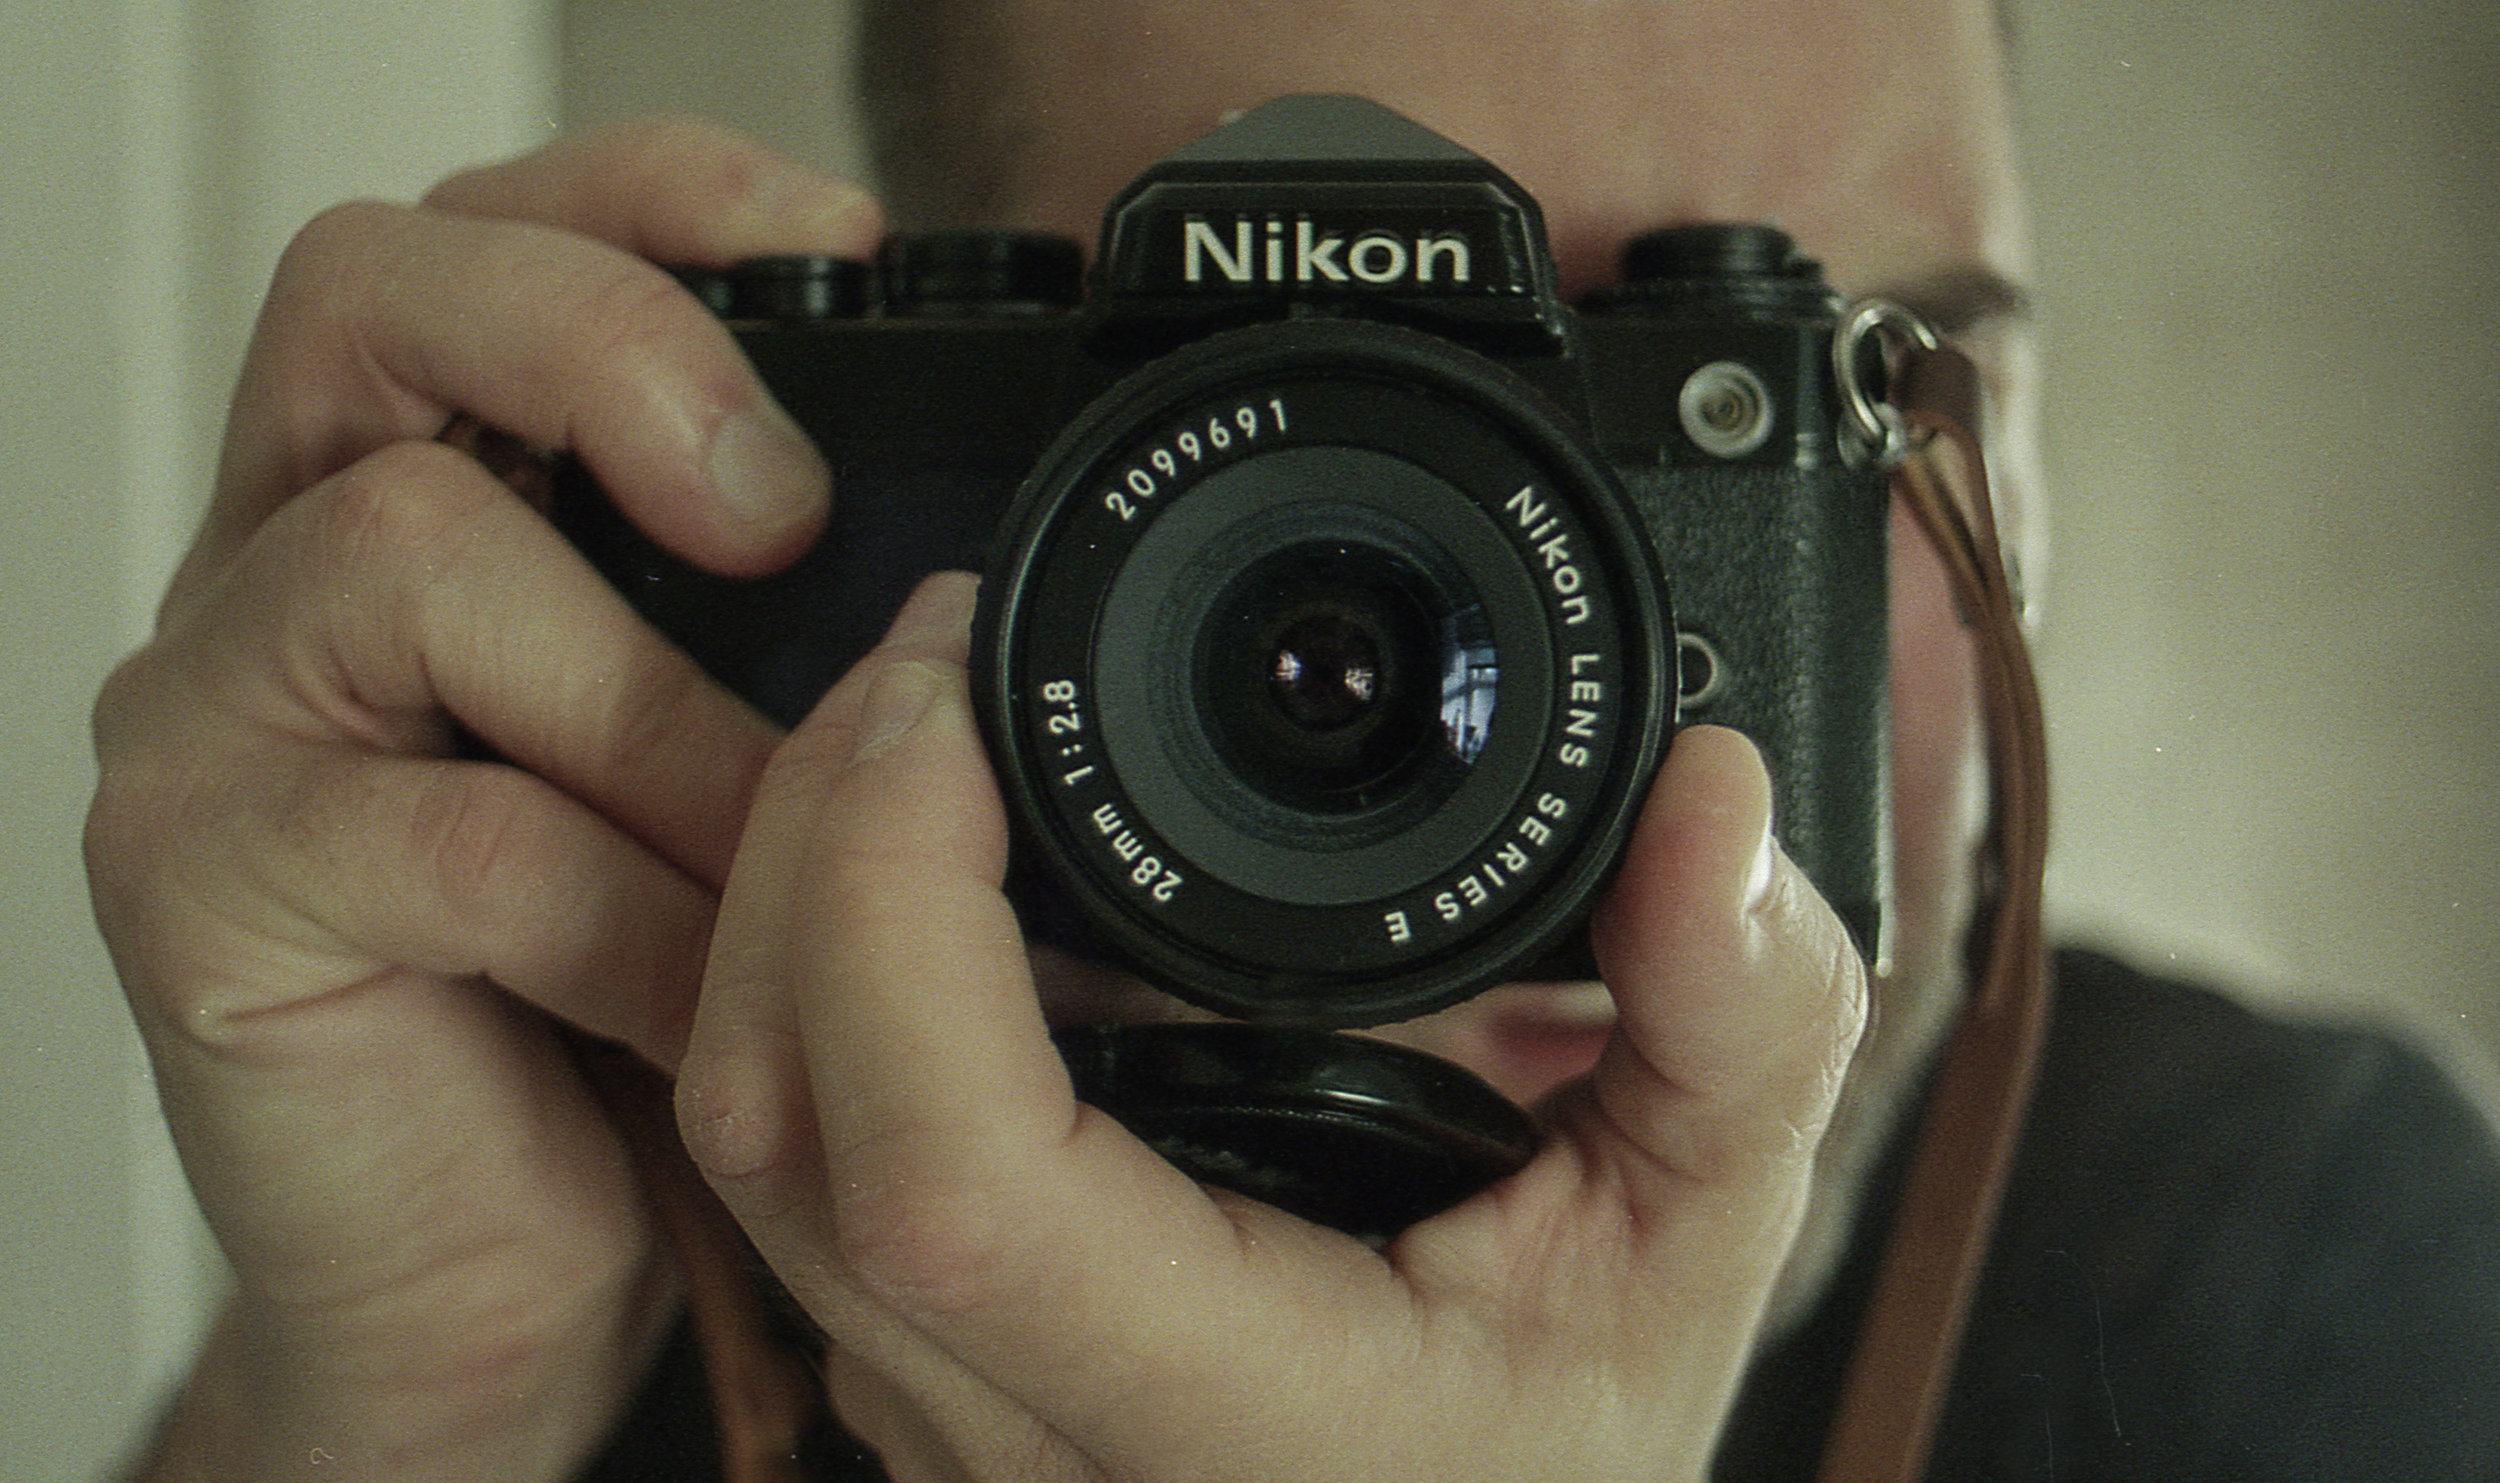
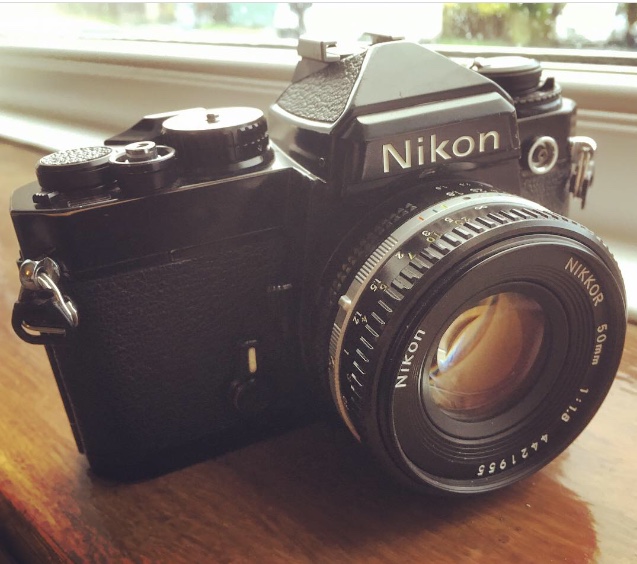
I have been on the look out to join the Nikon film camera gang for ages - it's a proper gang with hats and handshakes and everything - and now I have! Welcome the Nikon FE!! Is this another case of Gear Acquistion Syndrome you ask? yes, probably! Does this camera do anything special that my other 35mm SLR's don't? no. not really? do I love it anyway? Damn straight I do!! here's why!

img432-3.jpg
IMG_4043.jpg

So upon handling the camera the first thing you notice is the build quality it's really well put together, feels solid and the mechanical components feel smooth and sounds great (the all important shutter 'schtick' noise is present and correct) but obviously you'd expect that since back in the day Nikon were undisputed purveyors of quality cameras.

In fact (at least initially anyway) the only fly in the ointment is the lens - or should i say the action of the lens, coming from a line up of OM and Pentax cameras I have to say that at first glance the basic Nikkor 50mm 1.8 lens didn't pass muster with me in terms of the focus ring which manages to feel loose and notchy all at the same time and makes fine focussing a bit of a faff to be honest.... I've gotten more used to it having shot a few rolls of film with it now so perhaps it just takes a bit of getting used to, the flip side of this is that now all my OM and Pentax lenses feel a bit stiff! (will the madness never end)?!!! :P

I'll have to see how I go with this lens though it is more likley is that my copy has seen one too many turns and is literally a bit worse for wear - it's ok to use but it doesn't exactly scream 'quality' when you're using it, and achieving fine focus is a bit of a chore twisting the focus ring back and forth so I'm now actively on the look out for it's posher older brother the 50mm 1.4

A juicy red apple is nice, but not every apple is red..... super sharp shooter Nikkor 50mm 1.8

A juicy red apple is nice, but not every apple is red..... super sharp shooter Nikkor 50mm 1.8

You cannot argue with the quality of the optics on the 50mm 1.8 thought - seriously very good! The next couple of images were taken on a short walk around my village - the people's republic of Slawit, shot on Lomography 400 Colour film, unfortunately some of the frames have what appears to be a light leak across one side with a band of blue ish light affecting the image, bit of a pain really, or maybe that'sa special 'Lomo' feature for the film!! I'll change the light seals and see if there's an improvement - otherwise I like the Lomo 400 film it's a cheap alternative colour film, in fact I'm going to be shooting a LOT more colour film as I've been totally focussing on Black and White for ages and feel like a change. The weird thing is that I don't think it's the camera as the roll of HP5 i shot doesn't have any of these issues - ah the joys of shooting 40 year old cameras I guess, comes with the territory!

img430.jpg

Focus ring faffing aside shooting with the FE is otherwise great, the controls are well placed (although at the risk of offending my new Nikon gang mates) I still prefer the OM2n layout - being able to control aperture and shutter with one hand whilst not taking your eye away from the viewfinder is a dream! again - it's probably just my technique having grown accustomed to the Olympus 'way'

These next three images were shot on Kodak Portra 400 with my recently added Series E 100mm 2,8 lens and I have to say that I love this combination! the lens was very cheap for how well it performs and of course Portra 400 is a fantastic film to play with, I took it for a spin around Huddersfield town centre and also grabbed a portrait of my friend Marco too.

img428.jpg
img424.jpg
img429.jpg

My Nikon FE is in great condition - it's clearly been used over the years with a bit of brassing and the odd dent/scrape here and there but in my experience that's a good sign! Mechanically the FE is smooth as silk and runs really well, whenever I've bought cosmetically 'mint' cameras they can often have internal issues as the reason they are 'mint' is they've sat in uncle nobheads cupboard since 1972 and never had a roll of film put through them, it's usually much better to have a camera that has been used as intended although it may have picked up a bit of battle damage along the way.

I bought mine from West Yorkshire Cameras - a big thank you to Howard and Hattie for being super helpful and for running such an awesome shop, if you're ever in Leeds I highly recommend a visit!

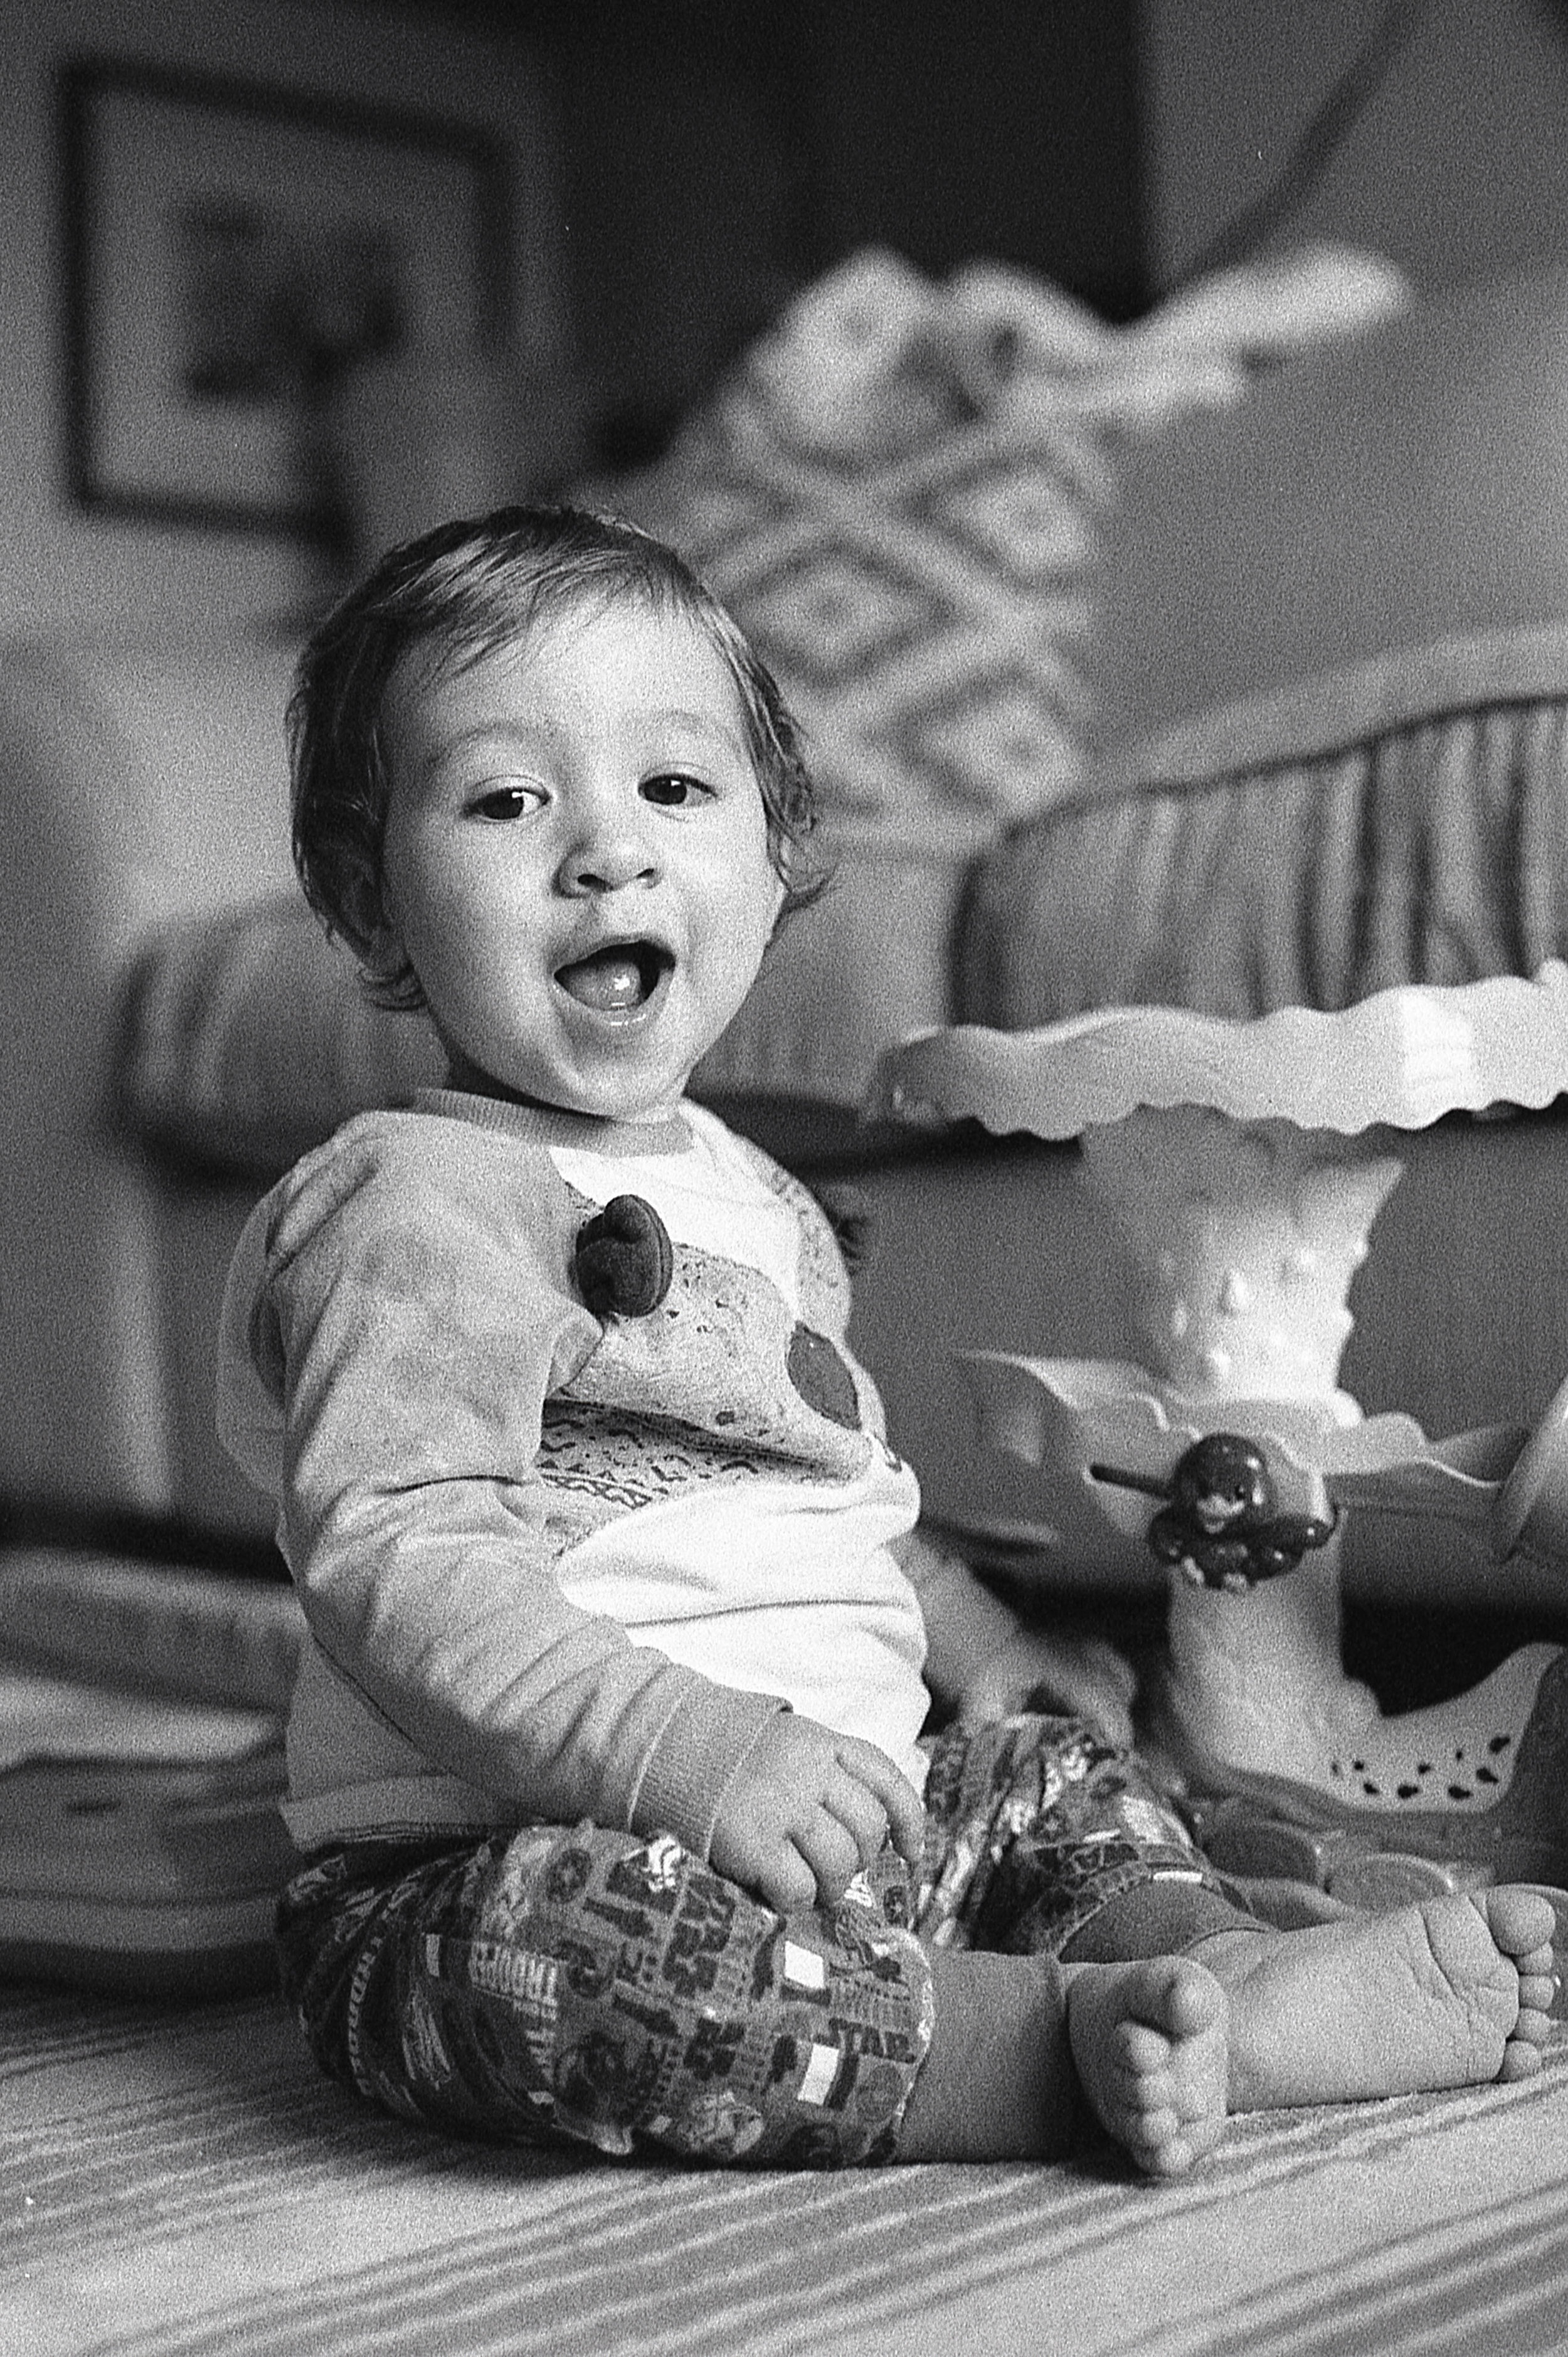
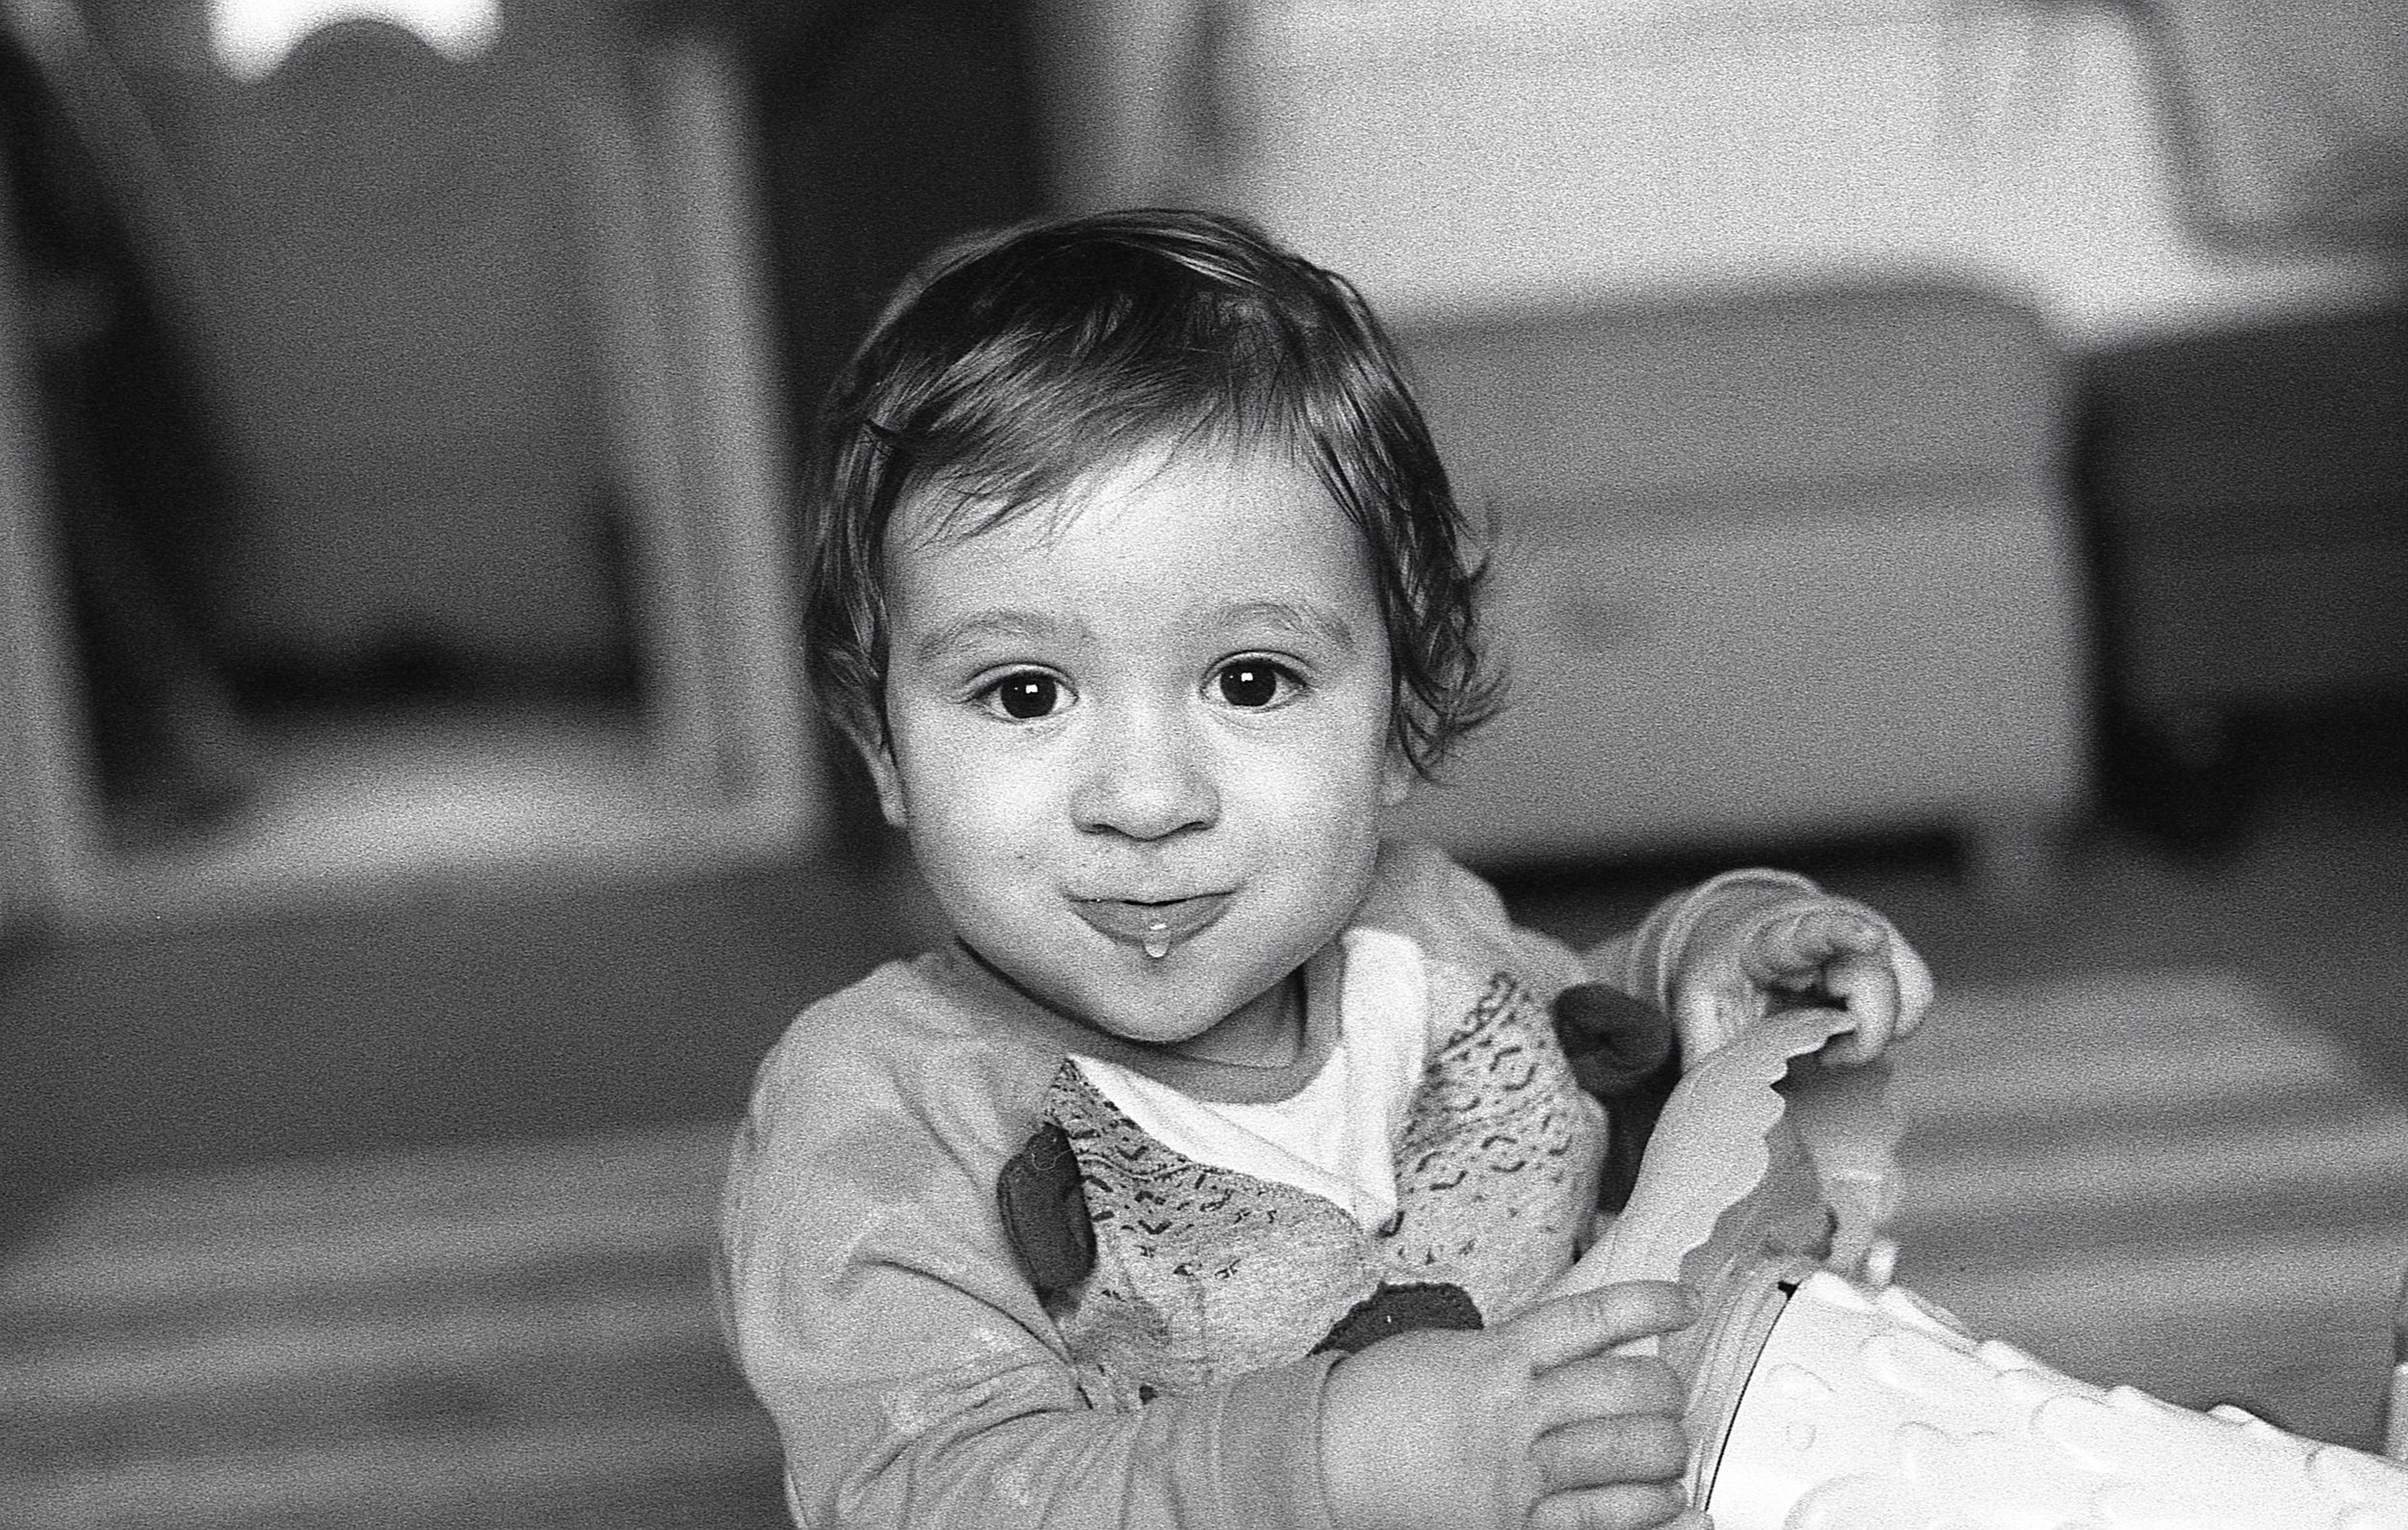
The following black and white images were a good test of the Nikkor 50mm 1.8 focussing whilst trying to get my little boy to sit still for half a second (an impossible task)! I shot HP5 rated at 800 and developed semi stand in Rodinal and I'm really happy with how they came out, the 50mm 1.8 lens really is very sharp and contrasty so I can forgive it's wobbly focussing!

img386.jpg
img367.jpg

So in short I flippin love this camera, it's very well put together, the lenses are sharp and contrasty just the way I like! I'm now on the look out for some more of the legendary Nikon glass to put in front of the FE so watch this space as the next few blogs are likley to be all about those!

In the meantime if you've enjoyed today's blog post why not subscribe to the blog and get updates on new posts - see you next time! :)

Pentax Spotmatic F Review

IMG_3534.JPG
IMG_2417.JPG

I'm gonna get a bit of camera geekery out of the way and walk you through the controls and features of the Spotmatic F and then we'll get in to the more important business of sharing some images taken with it.

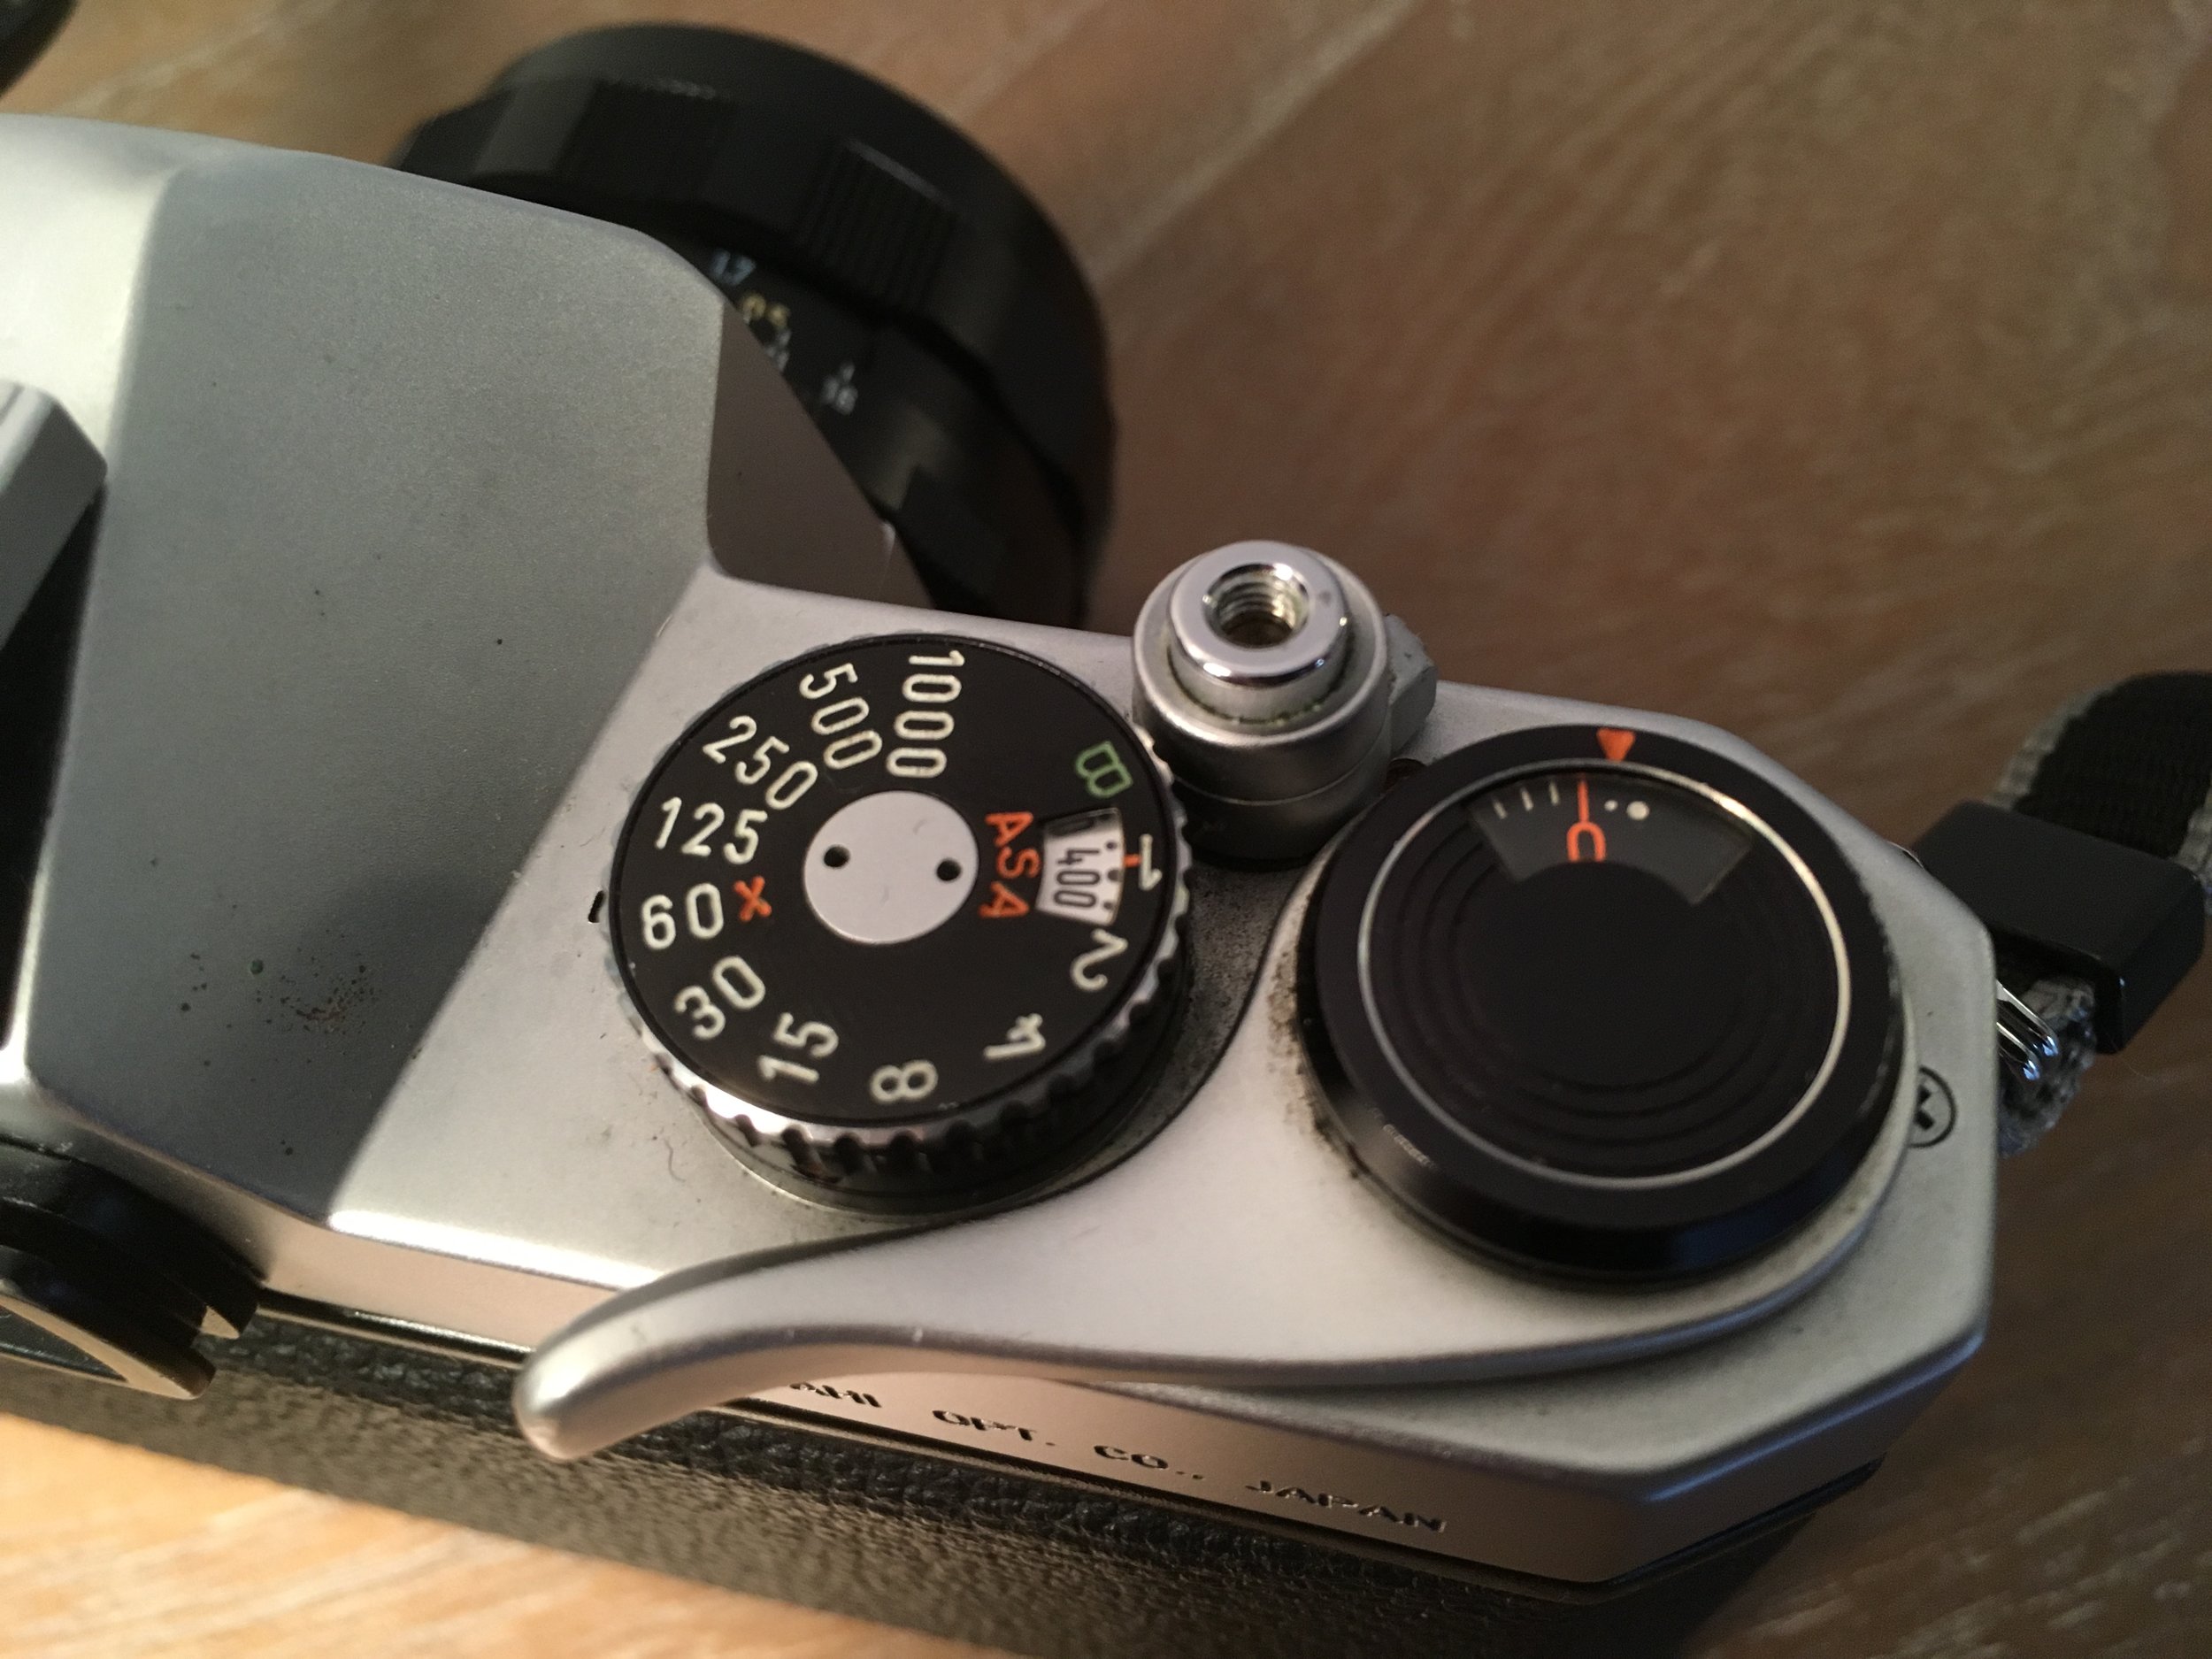
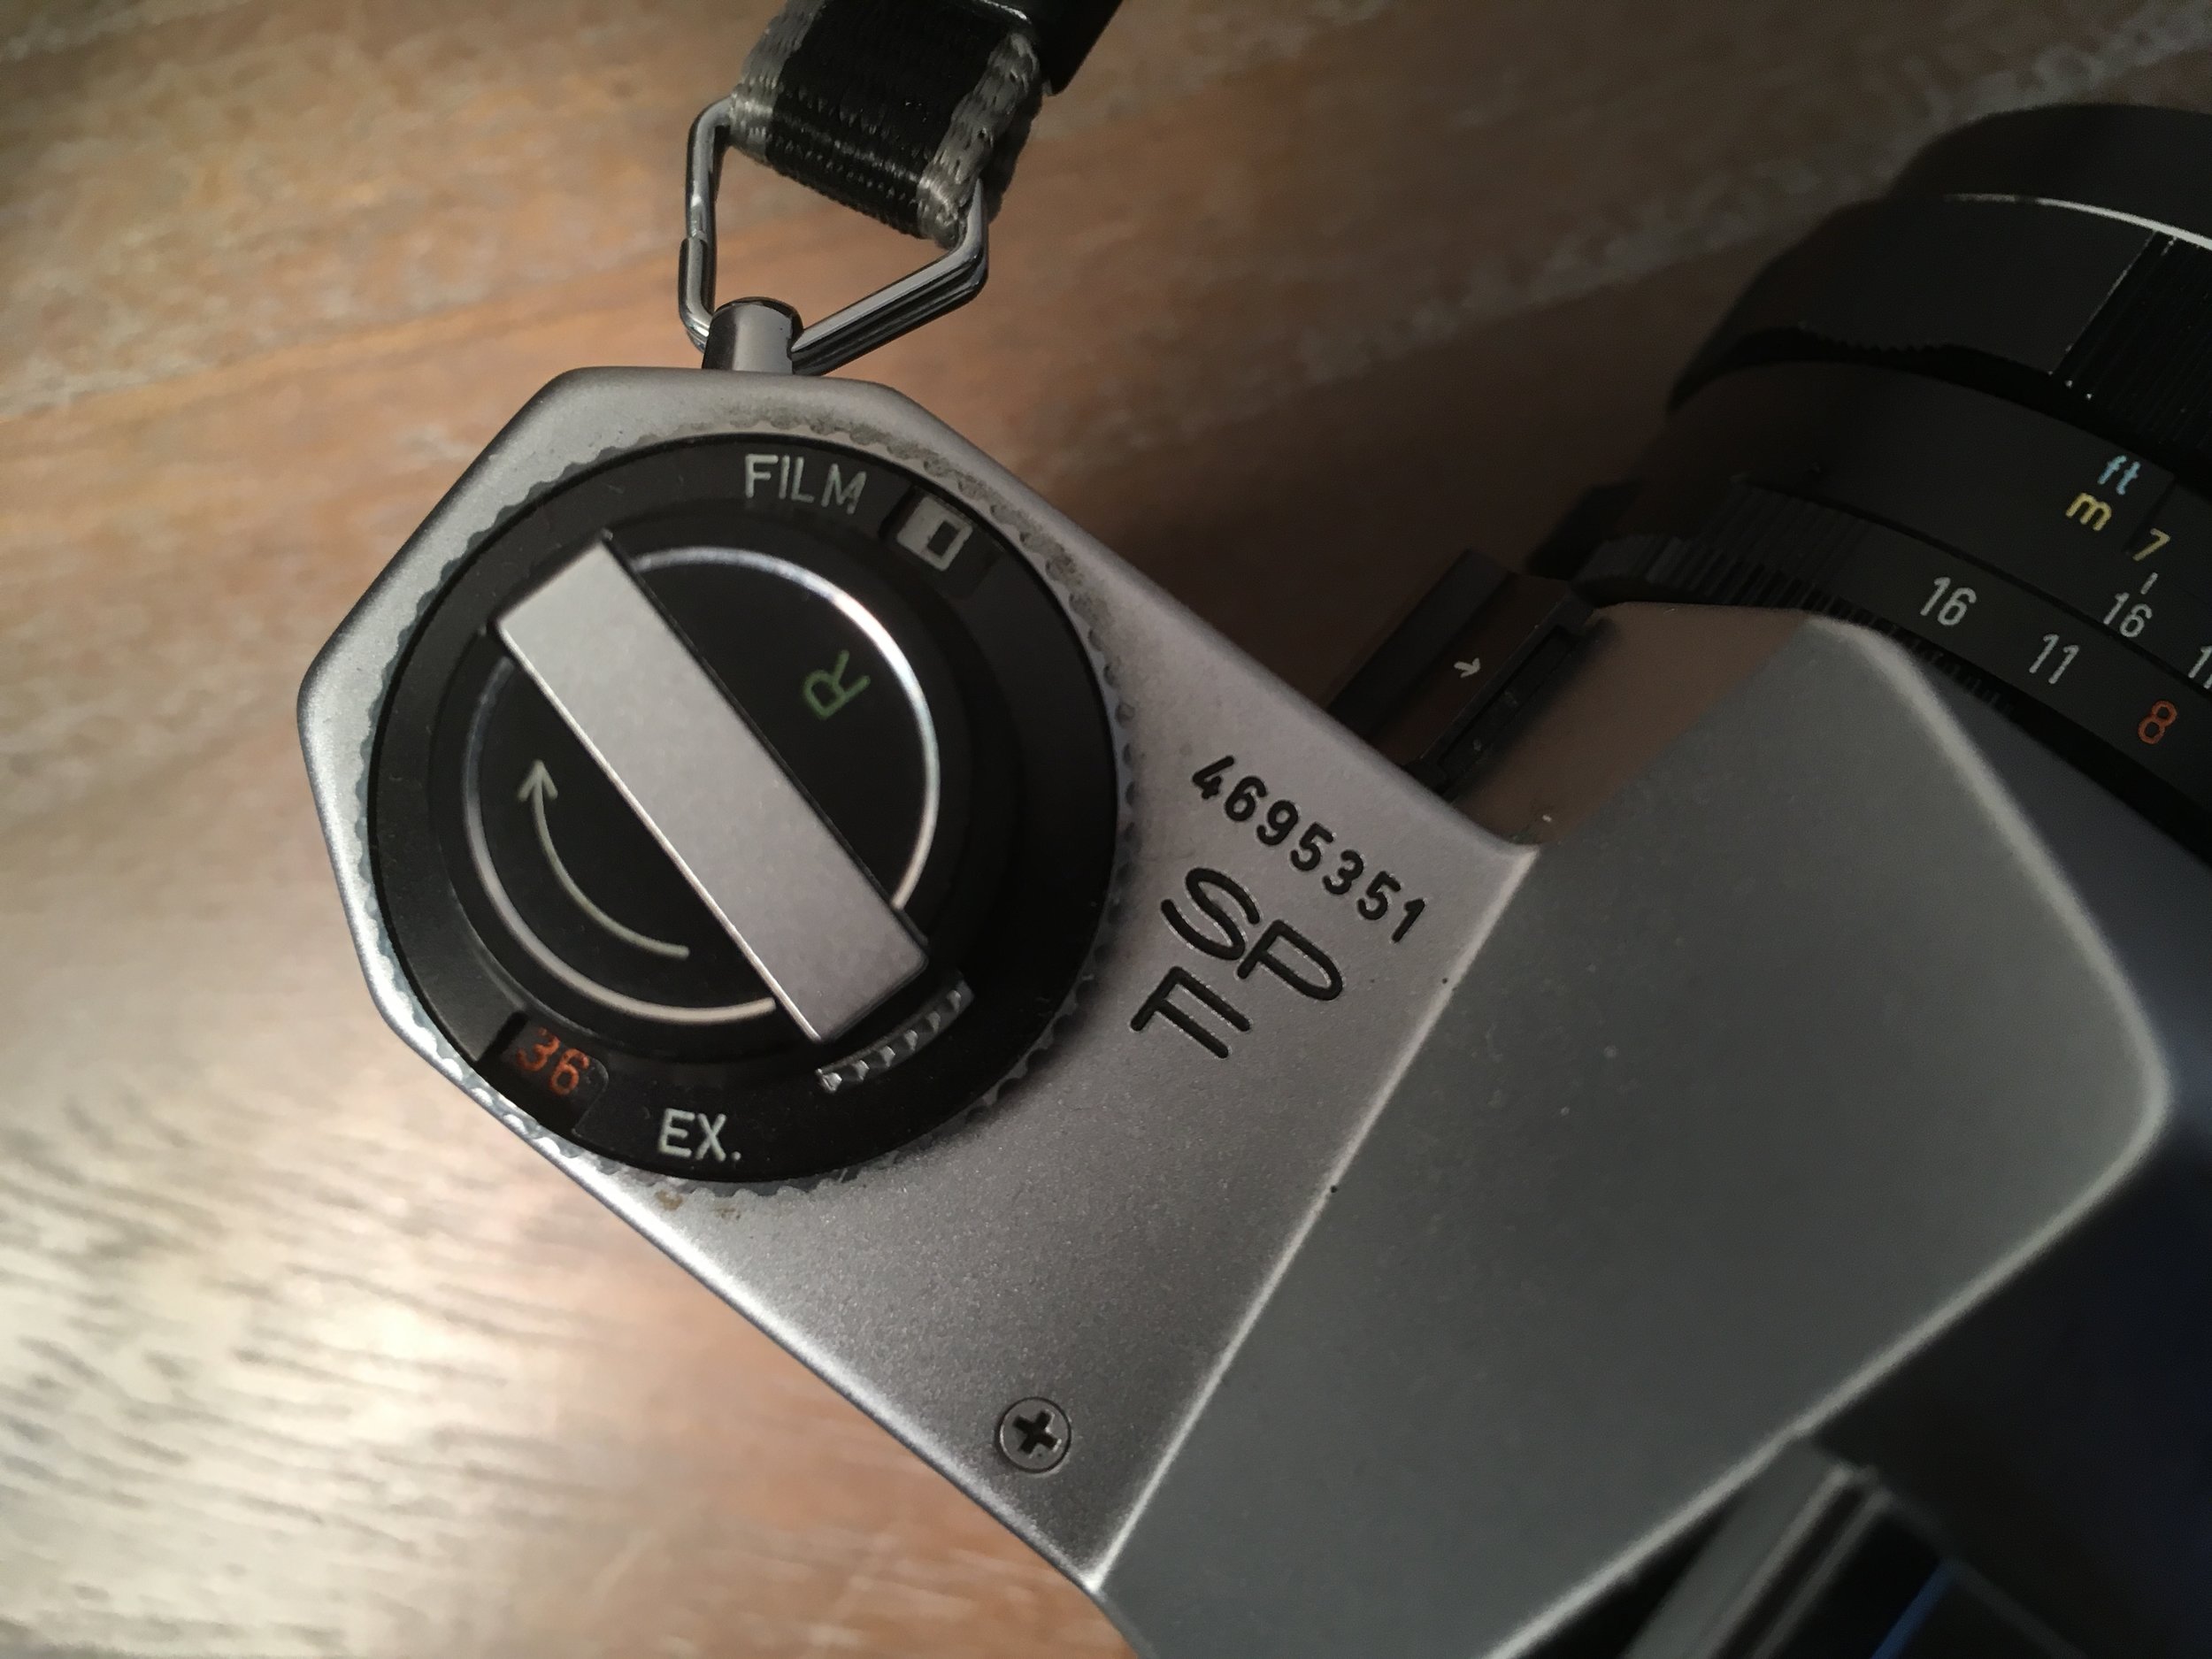
The controls are well laid out - there's a shutter control dial (pictured below left) which incorporates ISO setting and next to that is the film advance lever which is well positioned and ergonomically curved with a smooth action and quick return so it's easy to rattle off a few shots in quick succession, on the opposite side of the camera is the film rewind lever and a helpful dial which you can set with details of the film loaded (B&W, Colour, Tungsten number of frames on the loaded film) this is just visual guide in case you forget what film you've loaded it doesn't control any settings in the camera.

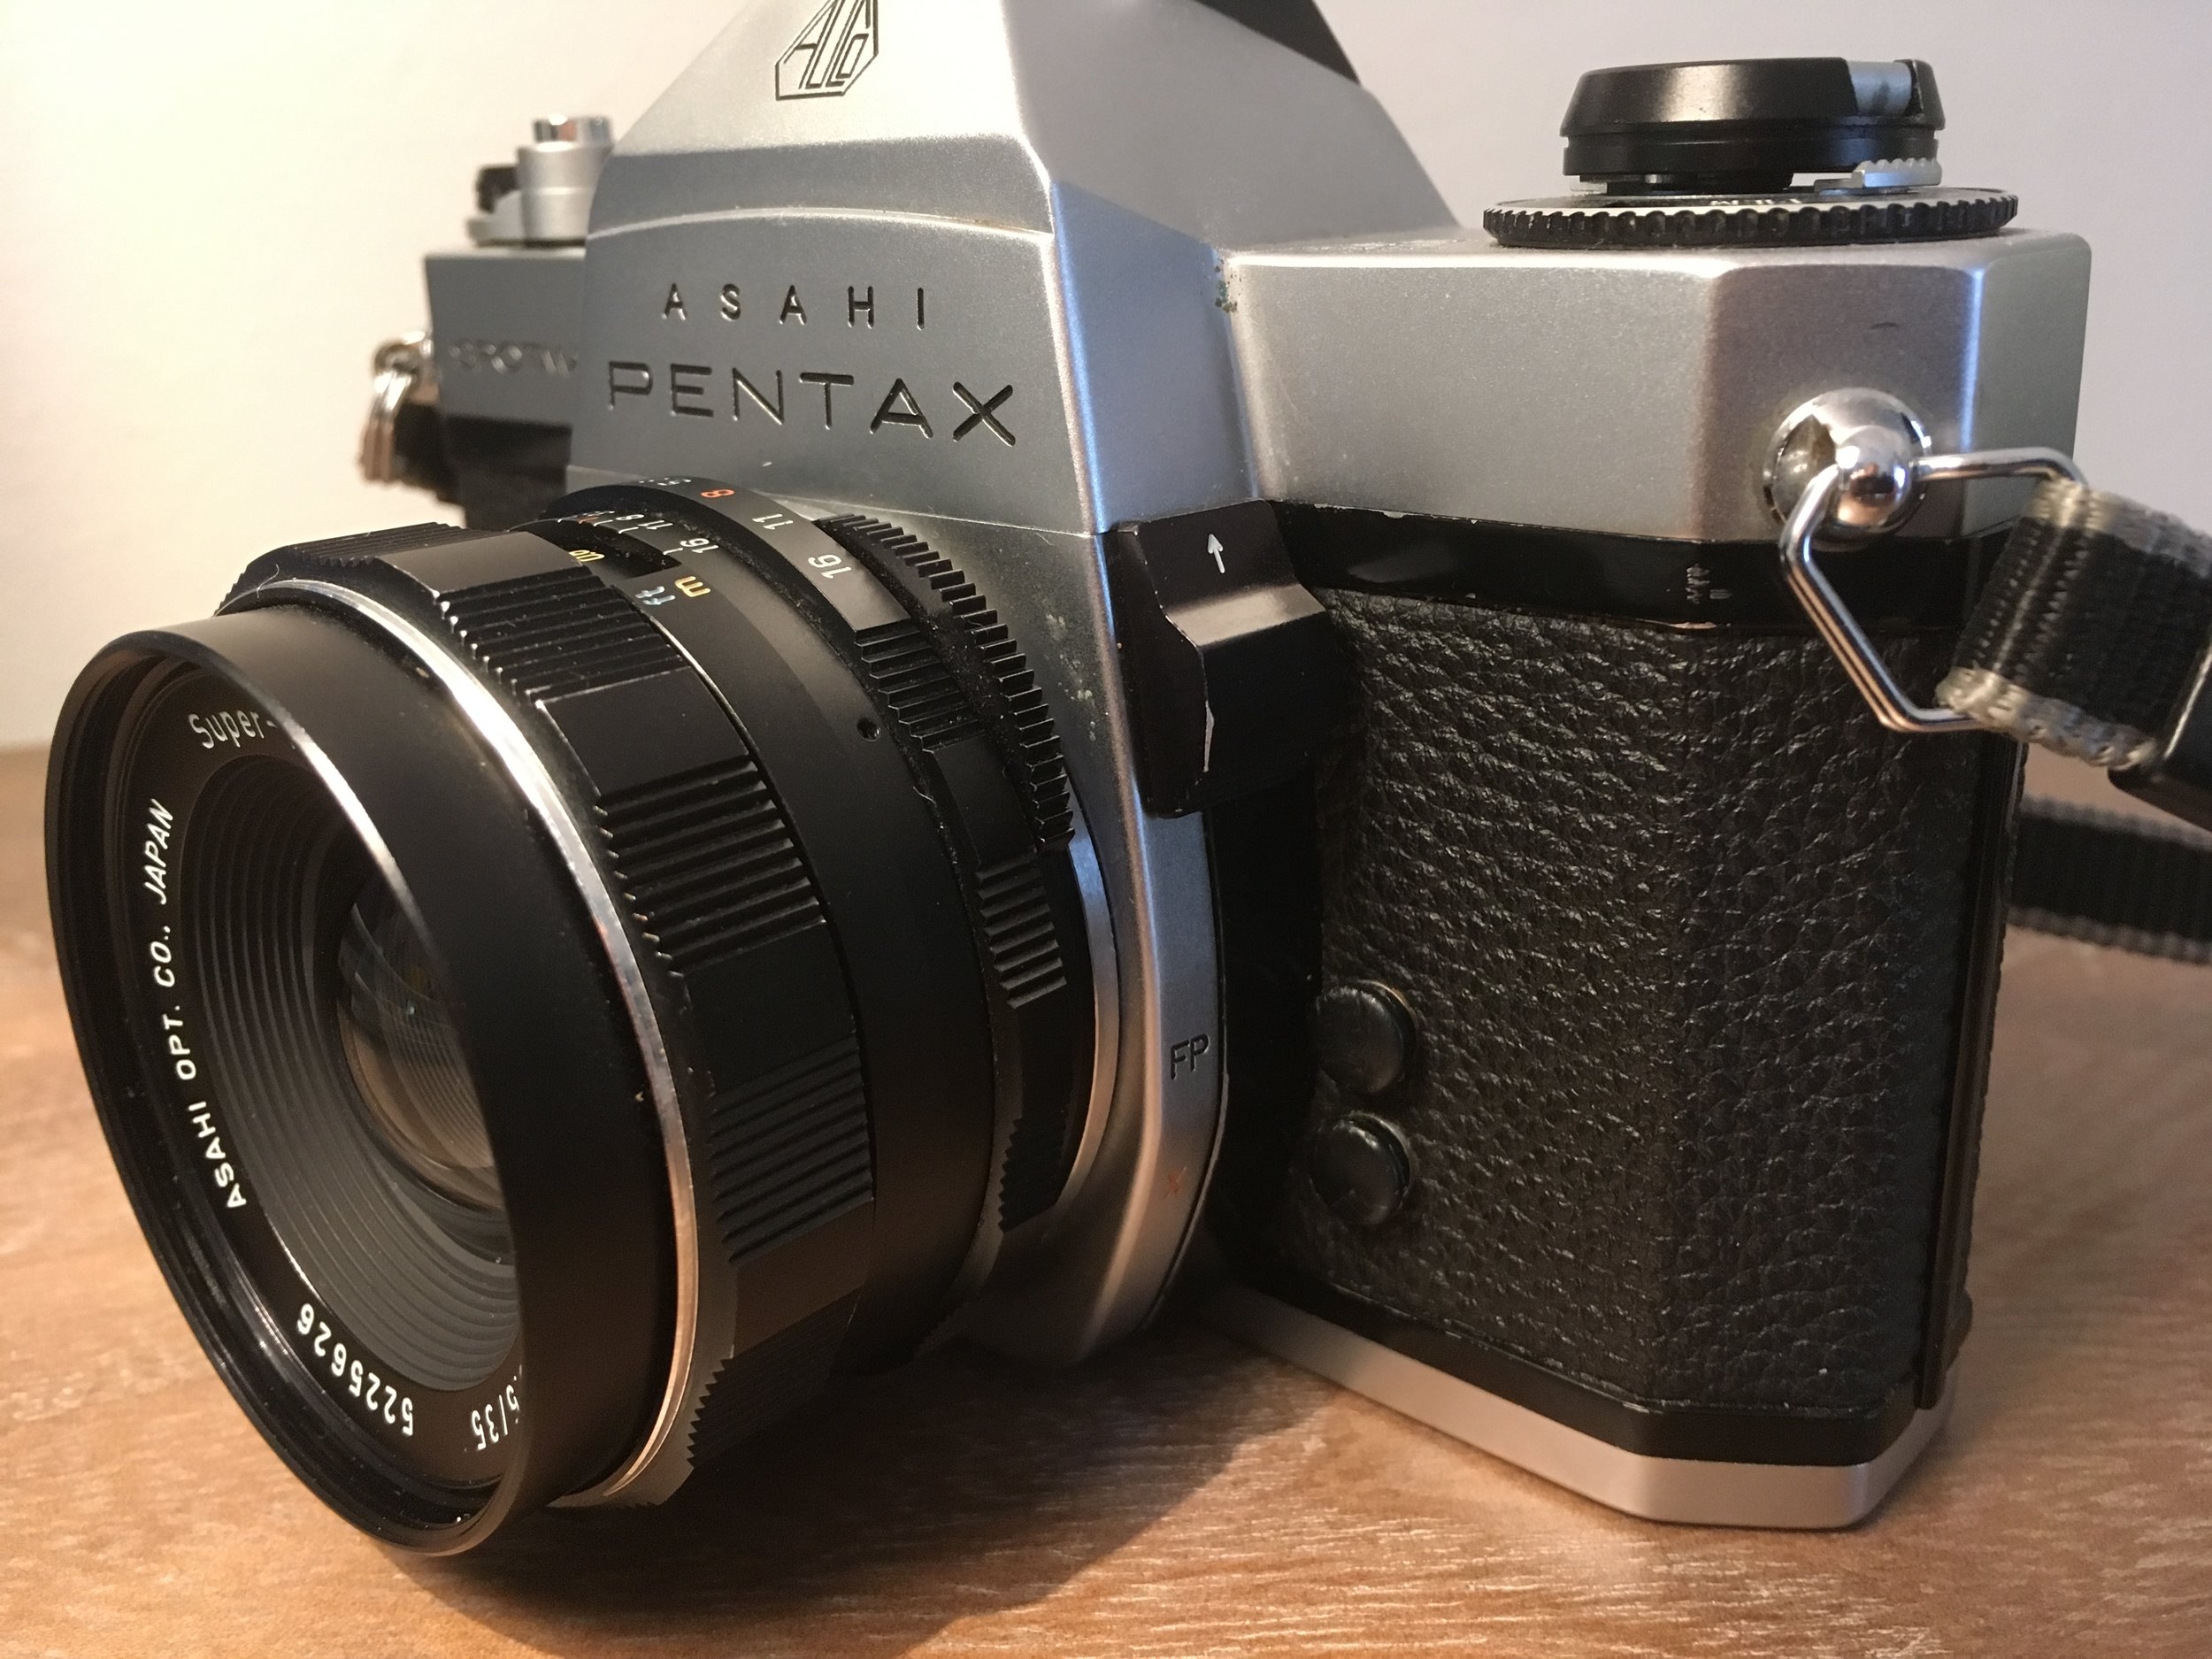
The thing that sets the 'F' model apart from other cameras of it's age is that it also includes the ability to use 'open aperture metering' when used with Pentax own branded lenses (which are in themselves legendary) this means that it can be used as an Aperture Priority camera thanks to the the built in light meter - what's that? Yawnsville Arizona you say??! how VERY dare you! I'll have you know that this was ground breaking stuff back in the day!! ;)
On mine the meter is slightly out of whack by a couple of stops so I usually use my iphone light meter app to double check exposure and then just correct it whilst im shooting. If you wanted to use non brand M42 mount lenses on this camera you can do but without the open aperture function - in the second image from the right (above) you can see on the side of the lens mount a switch which you can use to activate the stop down metering function.

IMG_3520.JPG

Looking through the viewfinder the classic simplicity continues - you get an elector mechanical needle read out on the right hand side which tells you if you are under/over exposing the scene and a focus screen with a circular etched centre to allow you to visually check focus and that's it! nothing else to clutter the view and get in the way of your eye and the subject - lovely!

img098.jpg

They just don't make em like this anymore....it's as silky smooth to operate as the day it was made (although obviously I have no way of double checking that unless i can literally go back in time - maybe it was even silkier and smoother back then). The design is simple with classically understated clean lines which I like very much but it's the superb construction, fine handling and top notch build quality that really sets it apart from the crowd.

img120.jpg

I picked mine up for a measly £30 on evilbay which included the amazing Pentax SMC 55mm 1.8 lens and is therefore a complete bargain!! the low price was due to the very visible dent on the prism viewfinder casing but it doesn't affect the use of the camera so whilst it would be nice to have a mint copy I don't want to pay £100 for one! it is otherwise in mint condition though and mechanically excellent with a very satisfying 'schtick' shutter sound.

img131.jpg

t's so nice to use that in the first couple of weeks of owning it I burned my way through 8 rolls of film which is something i haven't done before with any of my film cameras (and probably won't again as it's a very dear doo) but the Spotmatic F is such an enjoyable camera to use that it kind of makes you want to shoot more and more!

It's a little heavier than my OM2n and whilst it's only a bit of a difference after a day lugging it round you do notice so on long hauls I would probably go with the Olympus if only for it being so light - the reason that the Pentax is heavier is becuase it hails from a time when no expense was spared on the internal moving parts of the camera which are therefore predominantley brass as opposed to the plastic of the slightly later OM2n so whilst it adds weight it also adds to the smooth handling and feeling of quality.

img135.jpg

The lenses are totally amazing also - i was dimmly aware prior to purchasing the camera that the 'Takumar' range of lenses were very highly regarded by the internet (which in real terms means basically nowt most of the time) but I am very happy to report that it is indeed true! these are very very very good lenses - so much so that I very very very quickly added a 135mm 3.5 lens and a 35mm 3.5 AND most i just the other day added the almost legendary 50mm 1.4 lens to my collection. So yeah I could probably pontificate on the pentax's perfect performance inperpetuity - but leaving my alliterative allusions aside...I won't - I'll save the lenses their own mini reviews for a future date as I'd like to get them involved in some digital action with the old SONY NEX3n as well.

img137.jpg
img140.jpg

So in summary then I flipping well LOVE this camera it is quite firmly on my list of cameras that I would never part with, it's a very well made and very simple camera with no bells and whistles, it just does what you need it to do without getting in the way which is what all the best cameras should do, if you have the chance to try one or even better own one then I heartily recommend you do it! 

img151.jpg
img158.jpg

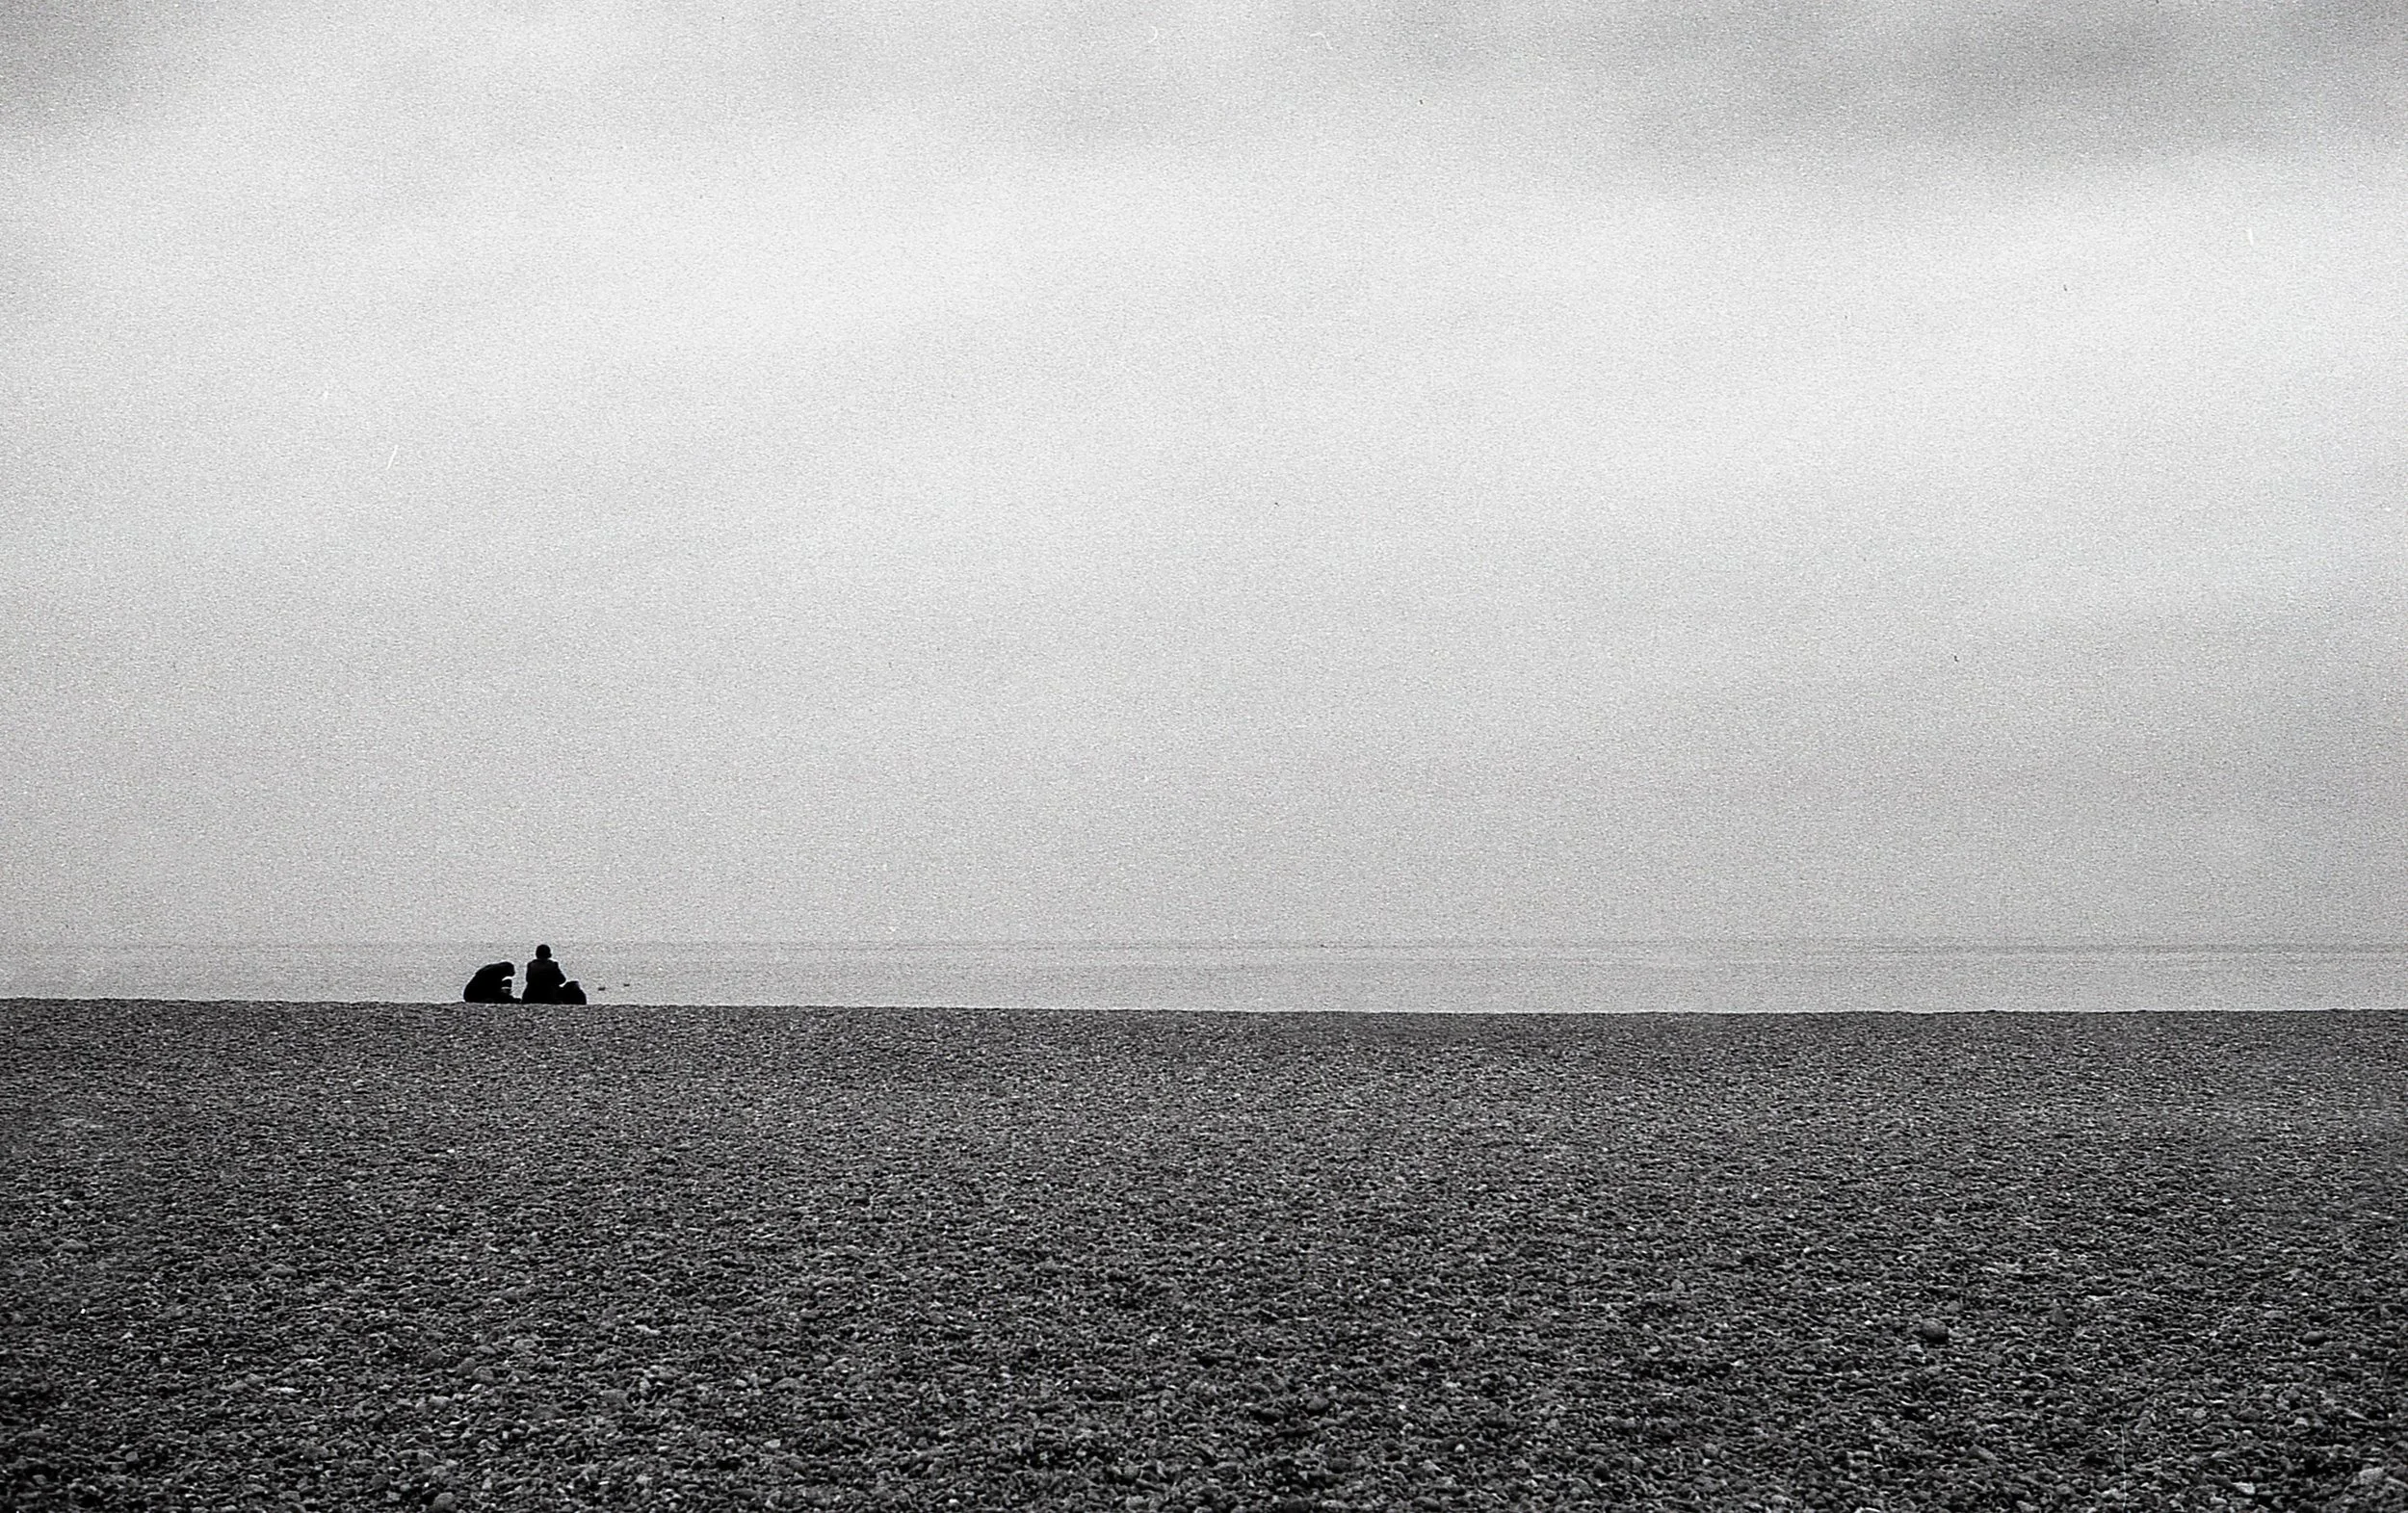
All of these images were shot on a visit to Brighton earlier this year on the Pentax Spotmatic F (of course) on Fomapan 200 and Ilford FP4 film (except for the one below which is Fuji Acros 100) and using either a Chinon 35mm 2.8 or an SMC Pentax 55mm 1.8 lens.

img216.jpg